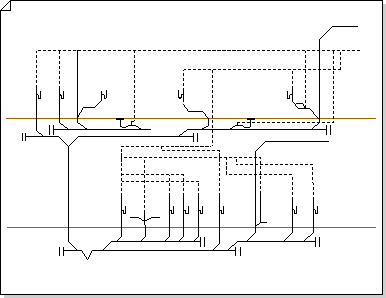
Plumbing and piping plans show the location of fixtures, pipes, and valves.
You can lay out plumbing plans on a blank page or as a layer in an existing floor plan.
You can create a plumbing and piping plan in one of the three following ways:
On a blank page
Click Templates > Maps and Floor Plans, and then click Plumbing and Piping Plan > Create.
By default, this drawing type opens a scaled drawing page in landscape orientation
As a layer in a CAD floor plan
-
Create a Plumbing and Piping Plan on a blank page. See the previous section for information on creating one.
-
On the Insert tab, click CAD Drawing.
-
Locate the CAD file, select it, and then click Open.
-
To accept the size and scale of the CAD drawing, click OK.
Note: If the drawing scale of the CAD drawing is different from the scale of your drawing page, you will be asked to match the scales or continue without matching.
-
After you insert the drawing, you can resize it, change its scale, or move it. You can also lock the Visio layer that contains the CAD drawing.
Tip: To change the properties of an inserted CAD drawing, right-click the drawing, point to CAD Drawing Object on the shortcut menu, and then click Properties. For more information, see Change AutoCAD layer properties.
As a layer in an existing Visio floor plan
-
On the File menu, click Open.
-
In the Open dialog box, locate the drawing that you want to use. Select the file, and then click Open.
-
From the Shapes pane, drag and drop plumbing fixtures, pipes, and valve shapes into the drawing.
Drag selection handles, control handles, and endpoints.
Tip: You can lock the existing layers of a drawing so that you do not accidentally change them when you create a new plan on top. For more information, see Lock or unlock a layer.
-
Enter shape data. To do that:
-
Right-click the shape, and select Data > Shape Data.
-
In the Shape Data pane, click in each field and then type or select a value.
-
-
Connect plumbing components with pipes. To do that:
-
Drag pipe shapes onto the drawing page.
-
Glue each end of the pipe shapes to connection points
-
To resize a pipe, drag an endpoint.
-
-
Label shapes by selecting them and typing. To reposition a label, drag the label's control handle.


