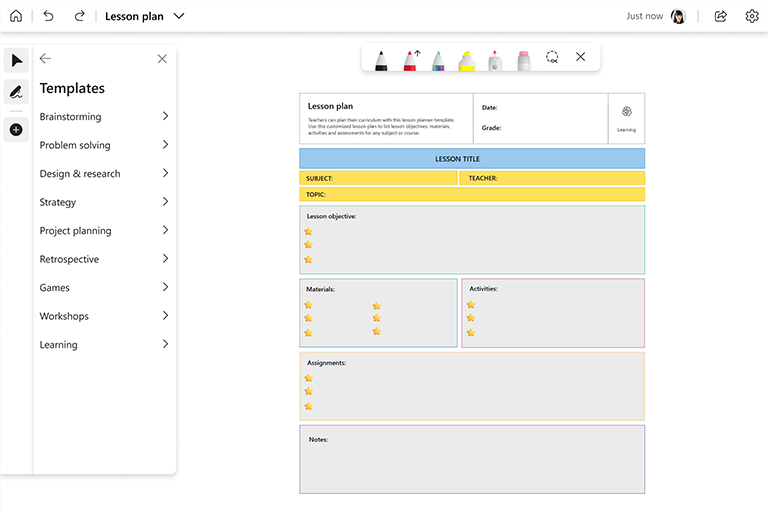
Whiteboard offers a great way to create rich and engaging lessons that inspire creativity, provoke thought, and trigger discussion.
Make use of your whiteboard’s infinite canvas to organize ideas, present concepts, fuel discussion, and encourage interaction and sharing of knowledge.
Key features:
-
Get started quickly by using the Lesson Plan template
-
Prepare your board ahead of time with diagrams, shapes, and images to make the lesson more visually engaging
-
Use ink to express ideas creatively
-
Follow a non-linear discussion flow by seamlessly panning from one side of the board to another
-
Annotate the board with colorful sticky notes
Prepare the board
-
Open Whiteboard and create a new board.
-
In the Create panel, select Templates > Learning > Lesson Plan, and then insert it on the board.
-
Customize the template to fit your goals for the lesson.
-
Add any additional content to the board that you’ll need for the lesson, such as images, diagrams, text, and so on.
-
Remember — the Whiteboard canvas is infinite! Add everything you’ll need for a successful lesson.
During class
-
Once the class has started, share your screen with the whiteboard opened.
-
Introduce the goal of the lesson.
-
Set rules on participation. For example, if using Microsoft Teams, you could let students know to use the “Raise Hand” feature before speaking.
-
Run the class as you normally would.
-
Keep an eye on the clock to make sure the lesson will end on time.
-
If you’d like the students to participate and collaborate on the whiteboard, send them a share link from the Whiteboard app, or share your board from the Share tray in Teams.
After the session
-
If you would like to share the contents of your board, export it as a PNG image from the Settings menu.
-
Send the PNG image file to the class for their notes.
-
Reuse the same board for subsequent classes if the subjects build off of each other by adding additional content for the next class.
-
Once a topic is complete, create a new whiteboard to explore additional topics.
See also
Check out our other Whiteboard guides to learn more!


