When you insert or draw a table, Word automatically adds black borders. You can change the borders or remove them.
Remove all borders
-
Click in any cell to show the table move handle
-
Click the table move handle
-
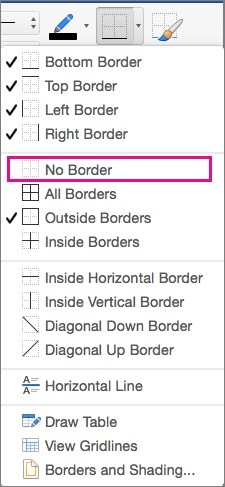
On the Table Design tab, click the arrow next to Borders and then click No Border .
Tip: Be sure to click Borders not Border Styles.
Remove only some borders
-
Select the cells where you want to remove some borders.
-
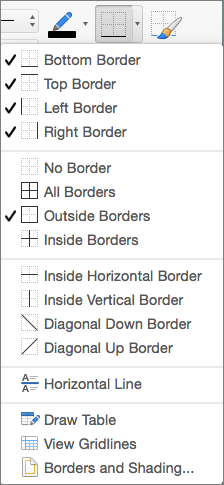
On the Table Design tab, click the arrow next to Borders and select the options you want.
Tip: Be sure to click Borders not Border Styles.
Remove individual borders
-
Click in any cell to show the Table Design tab.
-
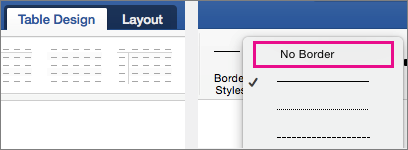
On the Table Design tab, in the Line Style box, click No Border. Your cursor will become a paintbrush you can use to erase individual borders.
-
Click the borders you want to erase.
-
When you're done, on the Table Design tab, click Border Painter to change the paintbrush back to a cursor.


