
Note: The screenshot in this article is from Clipchamp's personal version. The same principles of adding logos apply to Clipchamp for work accounts.
You can add a logo in image format (jpg or png) to videos in Clipchamp.
Either add the image to the project's media library, then add it to the editing timeline and adjust its size and position. Or add the image to your brand kit so it's available more easily across projects. Read on to find out more.
Adding a logo through the media library
Adding logos works the same way you would add other kinds of images via the media section in the menu on the left side of the editor.
There, add the logo you'd like to use from your computer by dragging & dropping it, by selecting the Import media button or by using one of the importing integrations such as OneDrive.
When the logo file is uploaded to the library, drag it onto the editing timeline, and select it there. This will let you adjust its size and position. You can crop it, rotate or mirror it via the options that appear in the panel next to the logo on the preview screen.
You can also increase or decrease the amount of time it gets shown in your video by selecting the logo on the timeline, then dragging the green handles left or right.
Adding a logo through brand kit
If brand kit is enabled on your account, you'll have access to customized branding, which means you can upload logo files that are more easily available across multiple editing projects without having to upload them into each project separately.
In Clipchamp for personal accounts, brand kit is part of the paid Premium plan. In Clipchamp's work version, brandkit is available if your organization is on a corresponding Microsoft 365 business SKU and has a license for Clipchamp's premium plan assigned to your user.
The following steps describe how to add a logo via brand kit.
Step 1. Select Brand Kit
To place your logo on top of a video, click on brand kittab on the left toolbar, then click on Add logos.
Step 2. Upload your image
Choose the logo you would like to add from your computer or one of the integrated importing options.
TIP: Make sure it is a high-resolution png file or jpg file, and no larger than 5MB in size. If you would like to avoid an unwanted white or black background, ensure the logo has a transparent background.
Step 3. Add logo to timeline
When the file has been added, drag & drop it onto the timeline above the part of the video you want it to appear on or add it by selecting the Add or Plus icon.
Select and drag the edges of the logo card on the timeline if you would like to shorten or lengthen it to adjust how long the logo appears in your video.
Step 4. Reposition the logo
Reposition the logo around your video preview by selecting it, then using the options that appear in the floating toolbar on the preview window. Select a location for the logo by using the preset positions or freely dragging it around with your cursor.
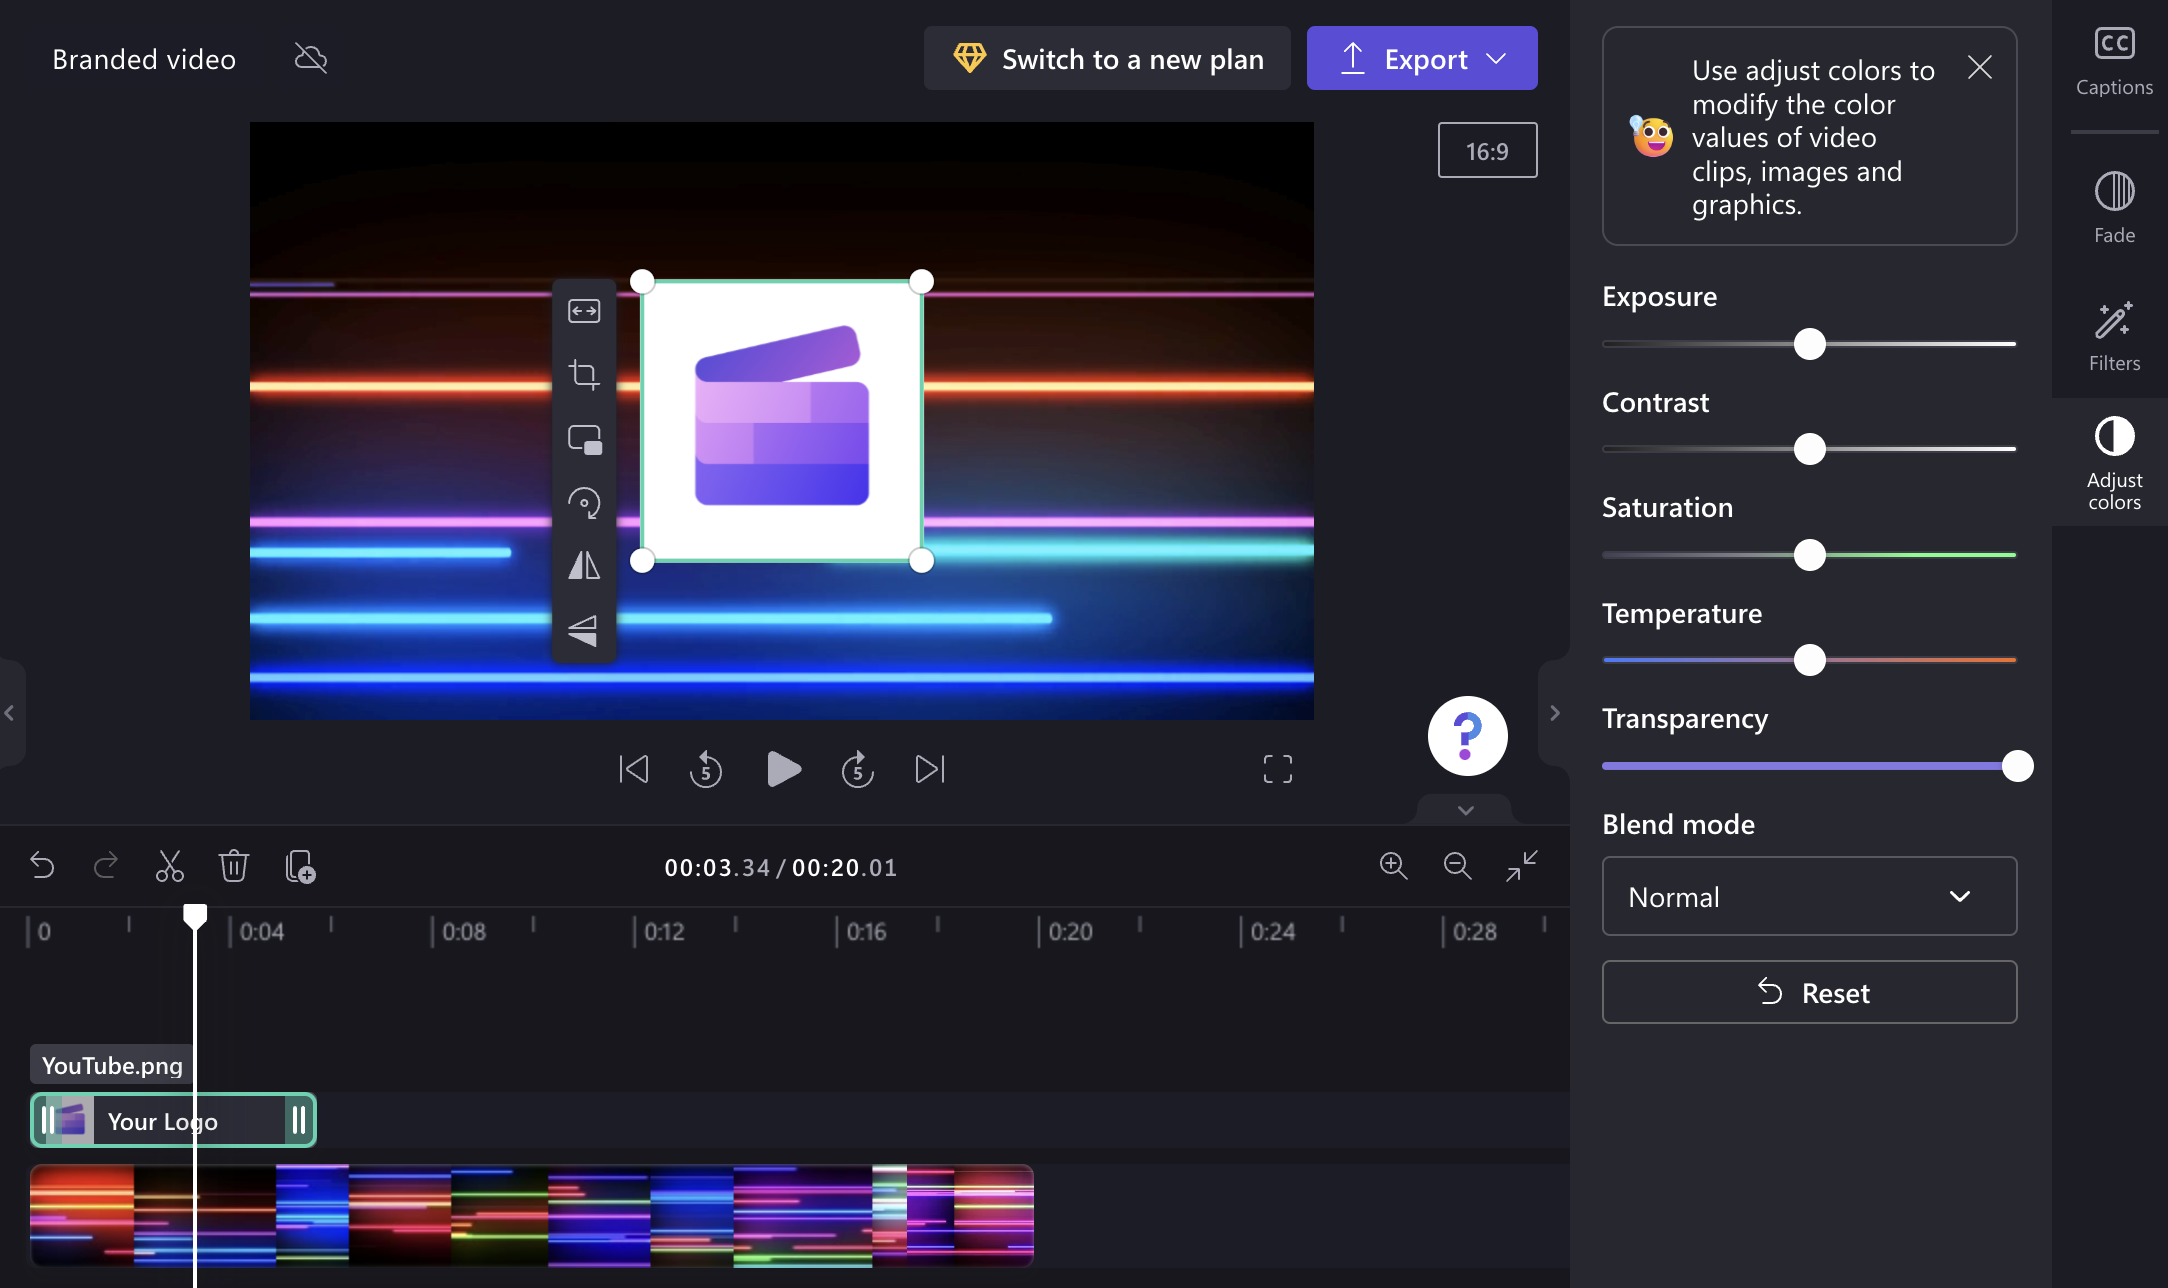
Step 5. Adjust colors and transparency
Select Adjust colors in the sidebar on the right and tweak the logo as you desire.
Finish the video, then export it
When you're finished adding a logo and are done making additional edits, select the Export button in the top right to save a copy of your video in MP4 format.


