
The webcam recorder in Clipchamp allows you to record videos and easily edit and export them. It works with your computer's built-in camera and microphone, with any connected external cameras, and external microphones. See below for a step-by-step guide.
We included troubleshooting suggestions in a section at the end of the article. These can help if your camera or microphone are not working correctly during a recording.
In Clipchamp for personal accounts, you can use the camera tool to record a video.
Visit app.clipchamp.com in Edge or Chrome to create a free account or on Windows, you can also use the Clipchamp Windows app.
How to record a webcam video in Clipchamp
Step 1. Open the webcam recorder
After launching Clipchamp, create a new video or open an existing one.
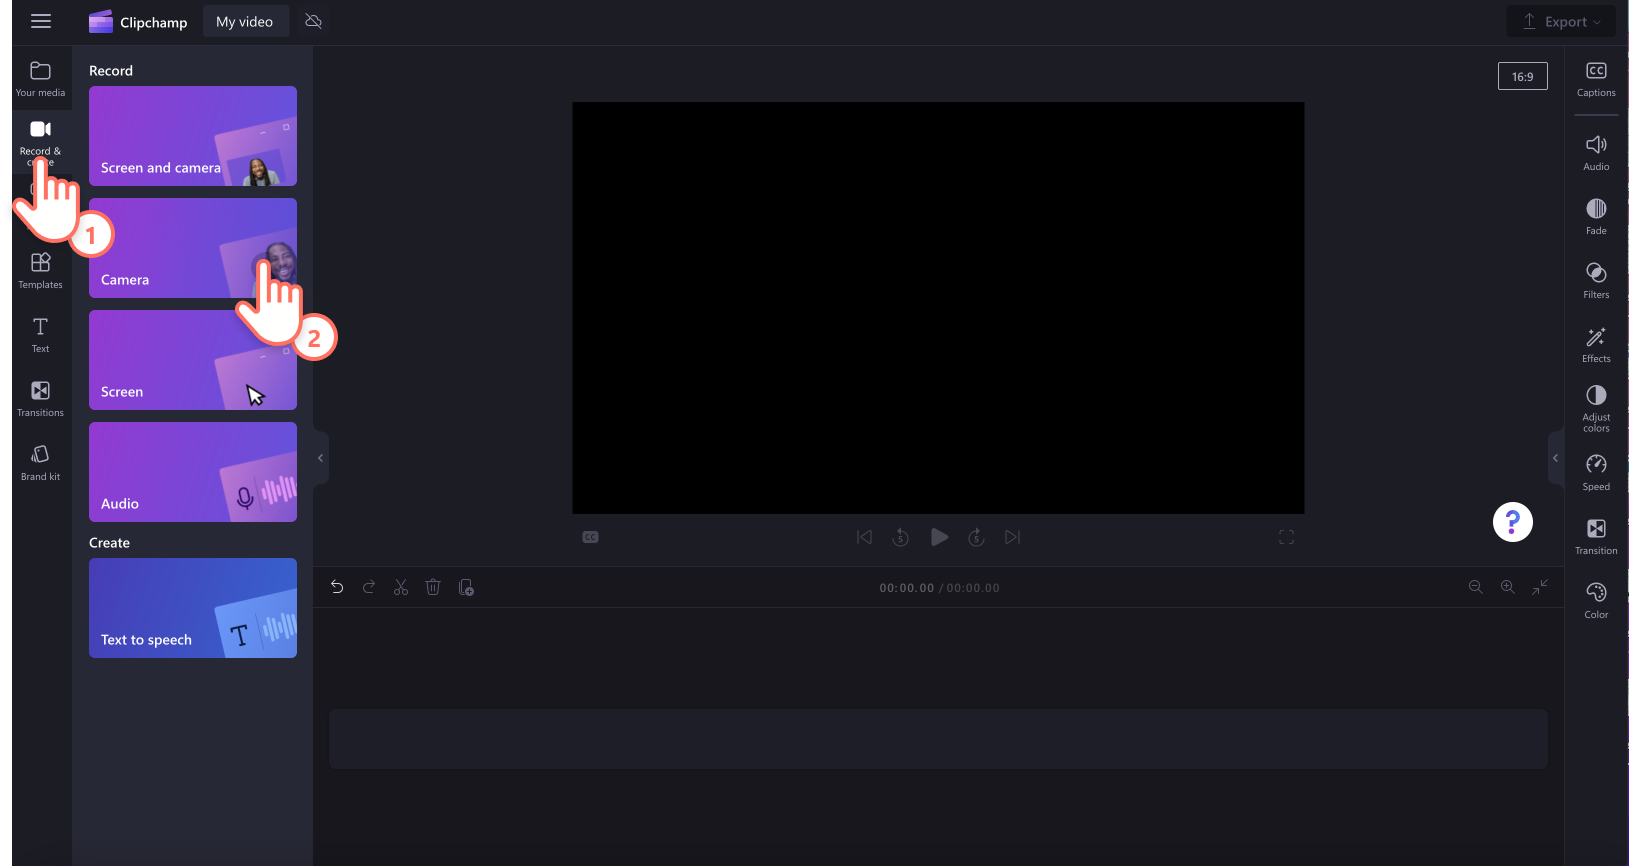
Select the record & create tab on the toolbar. In there, to record a webcam video, select the camera option.
You can also make a screen recording, record screen and camera together, make an audio and voice recording, or use the text to speech feature.
Step 2. Allow access to your camera and microphone
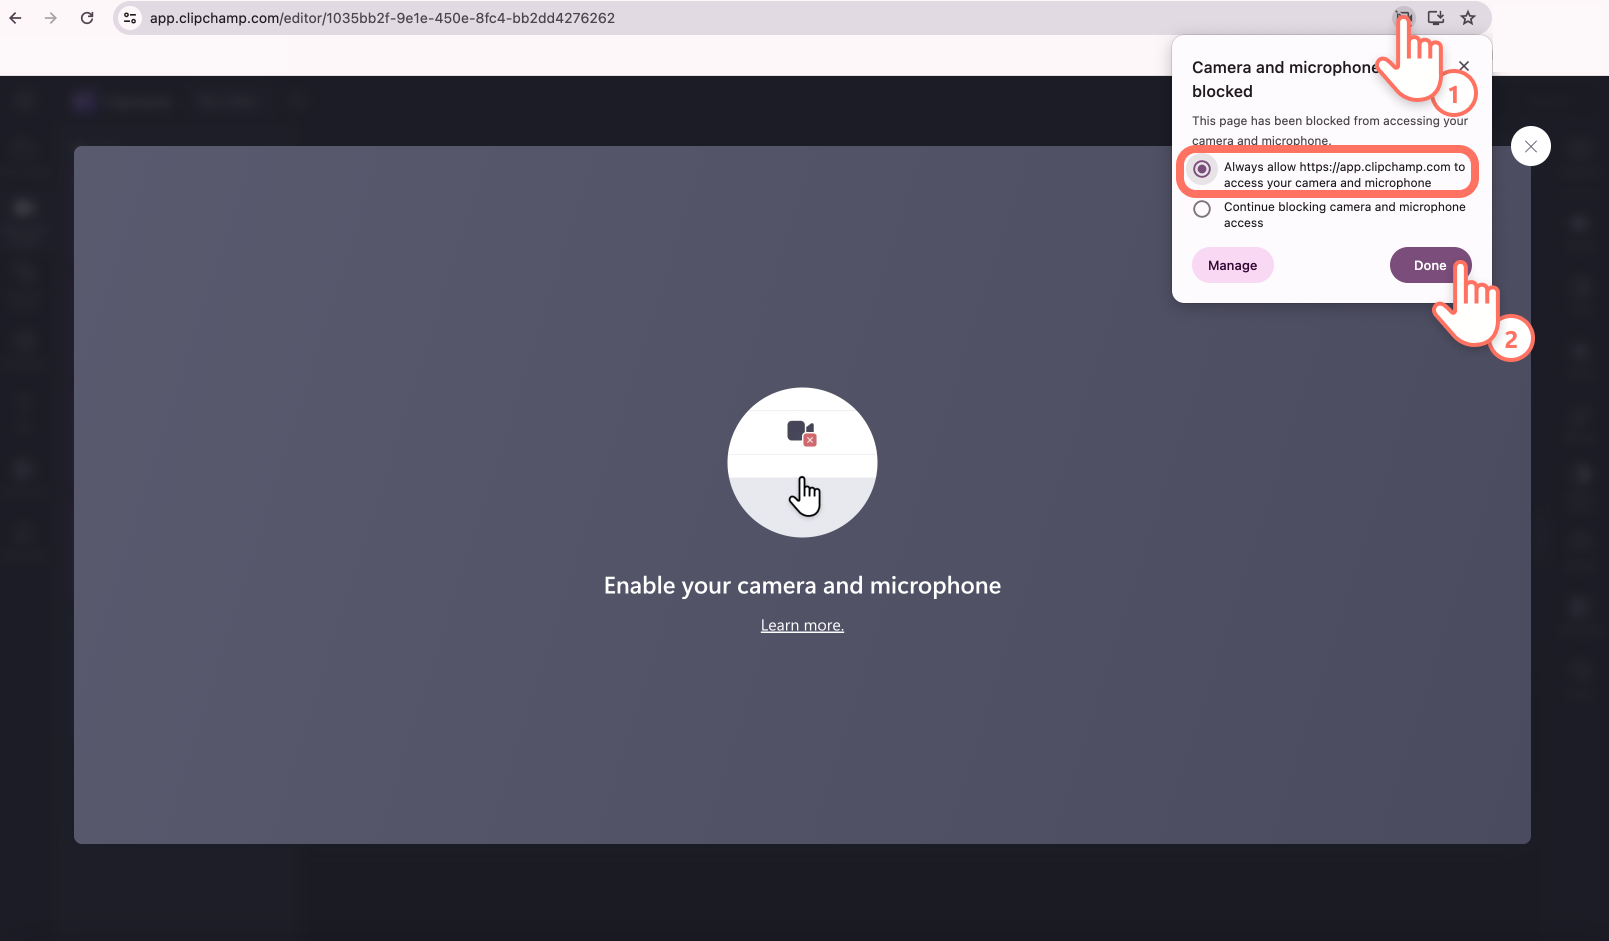
The first time you start a recording, a popup window will appear with permissions. Allow Clipchamp access to your camera and microphone if you haven't used our webcam recorder before. Click on the done button when you're ready to continue.
Note: The example screenshot below was taken in Chrome, the popup can look slightly different in Edge or Clipchamp Windows app. This step is necessary for you to be able to record a video. We don't have access to any recordings you make, they stay on your computer unless you choose to make use of content backup.
Step 3. Record your video
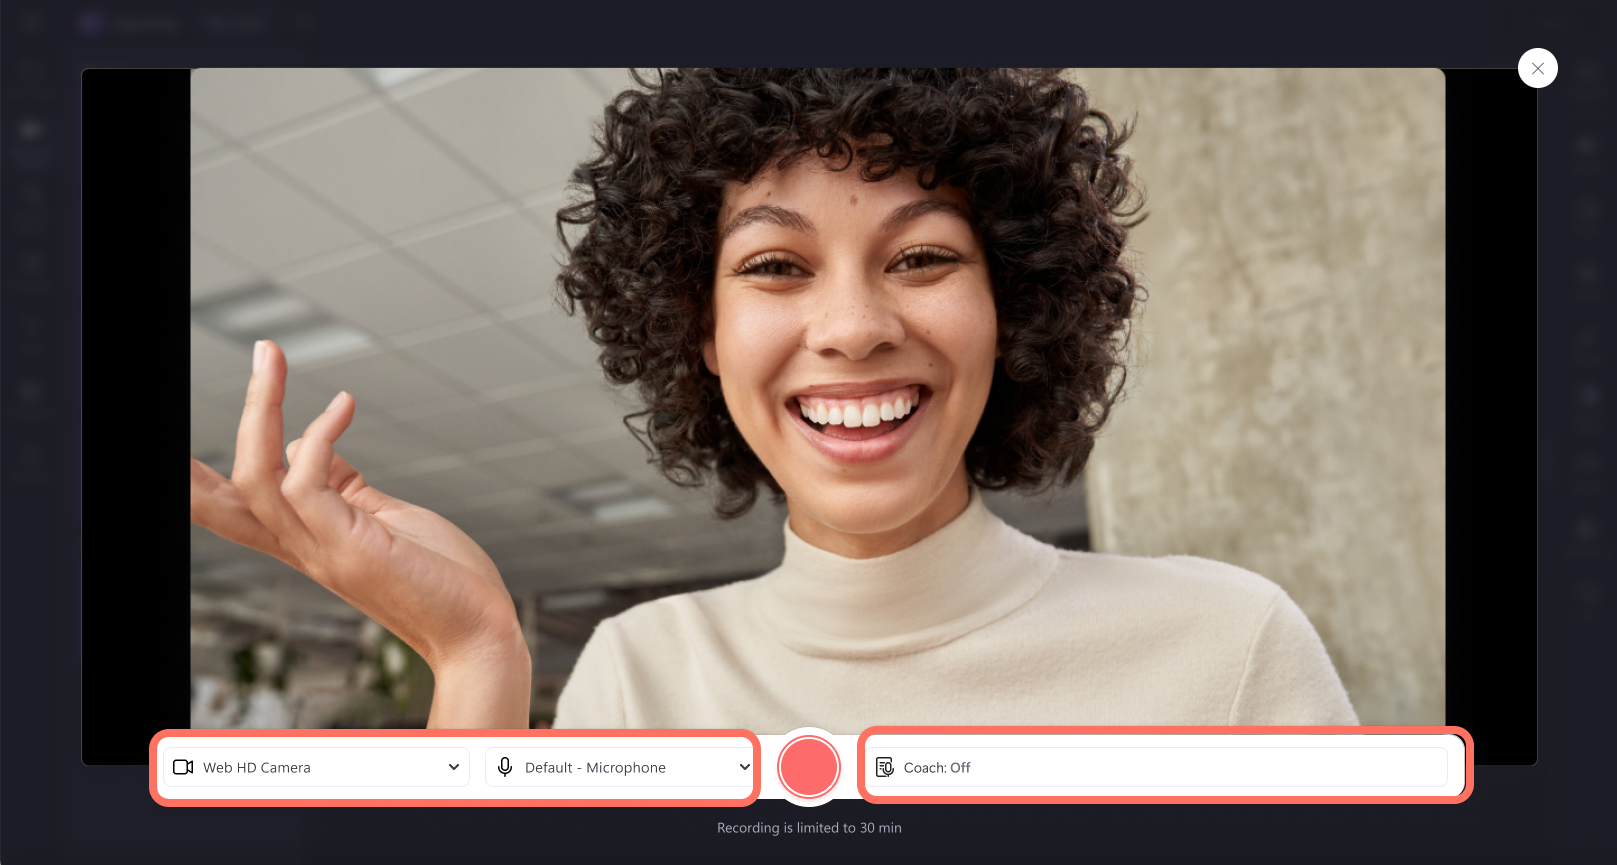
You will now see your webcam. Before recording, check your microphone and camera source, and turn on or off speaker coach. Record using your built-in webcam or apps like Camo and external webcam plugins. Click on the red record button to start recording.
Note: There's a 30 minute limit on all webcam recordings. If you would like to record videos longer than 30 minutes, just create multiple recordings. The video resolution depends on your computer's built-in camera or the external camera you connect. It ranges from 480p and 720p to 1080p.
A 3 second countdown will appear on your screen before recording commences. Click on the red stop button to stop your recording.
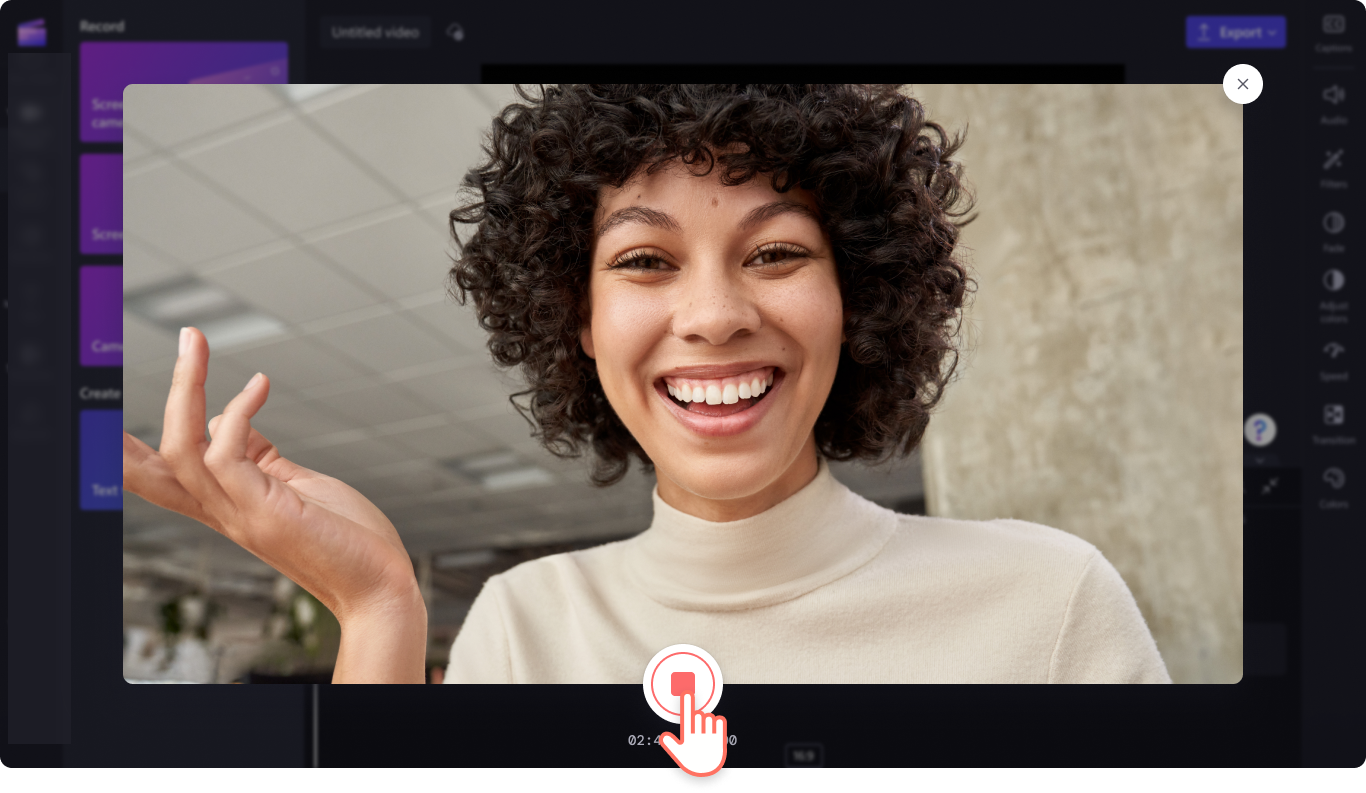
Next, watch back your webcam recording by clicking on the play button. You can watch your video playback with or without audio/sound by clicking on the audio button.
Once you're finished watching, either click retake recording if you would like to redo your video or click save and edit to return to the editor.
Using an external camera or microphone
When you plug an external camera or mic into your computer, it will automatically get recognized by your operating system and appear as an input option on the Clipchamp recording screen.
To find the options, start a new recording in Clipchamp, then select the drop-down arrow next to the default microphone and camera options. If your external webcam has a microphone built-in, it will also appear in the microphone options.
Now you can record a video using your external devices.
Recording on Chromebooks
If you're recording on a Chromebook, please be sure to close all other tabs in Chrome and also any apps that might be running in the background such as Google Hangouts. This will make sure that as much of the Chromebook's CPU and memory as possible is available for the webcam recording.
In Clipchamp for work accounts, you can use the camera tool to record a video. It's available as a recording option in addition to the screen and camera, and screen, and voice recording options.
How to record a webcam video in Clipchamp
Step 1. Open the record & create tab to select camera
After launching Clipchamp, create a new video or open an existing one.
Select the record & createtab on the toolbar. In there, to record a webcam video, select the camera option.
Step 2. Allow camera & microphone access
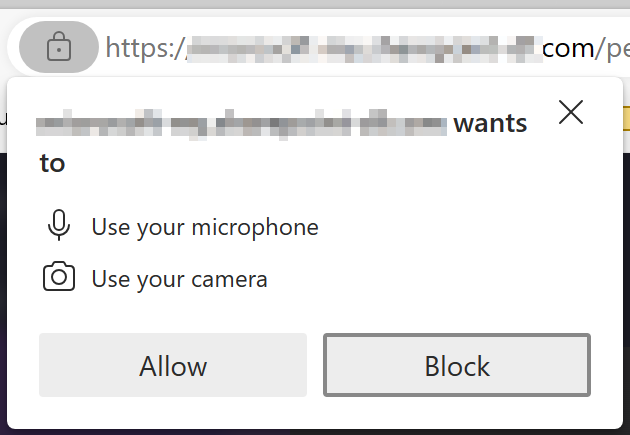
When you start a recording for the first time, you'll see a popup next to the browser address bar asking for permission to access your camera and microphone.
Allow access, otherwise the webcam recording won't work.
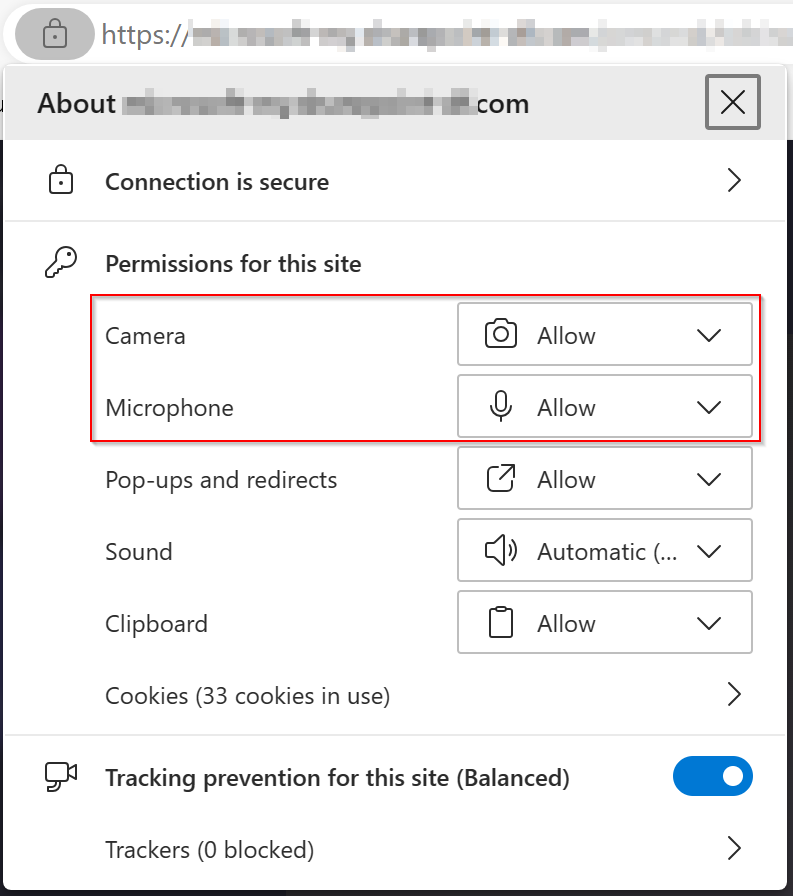
To check permissions you've given Clipchamp, select the Lock icon and make sure you’ve allowed Clipchamp access to use your webcam and microphone.
Step 3. Adjust your input settings
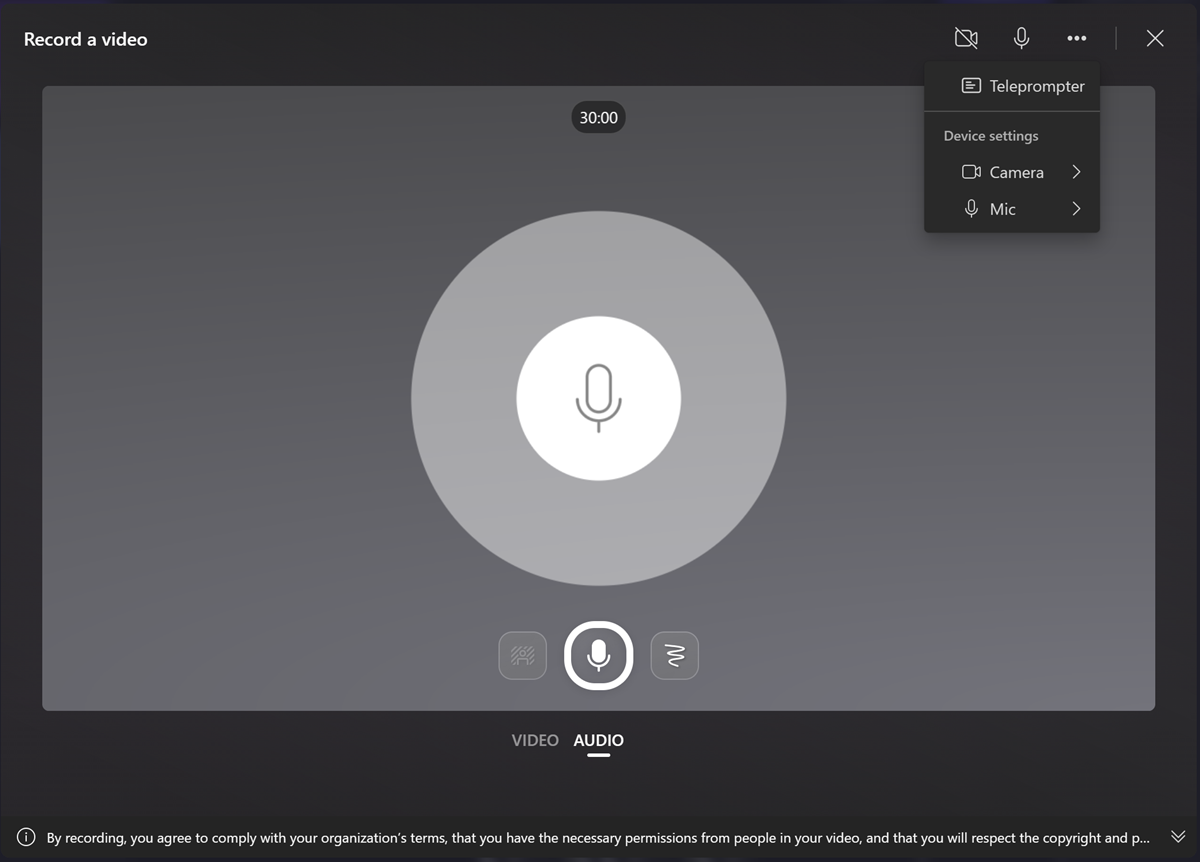
A recording screen will appear. You can choose a background or draw on the frame. Settings at the top of the screen allow you to align the presenter, mute, select an input source and choose more options. You can also turn off the camera to only record an audio track.
Note that the recording resolution depends on your computer's built-in camera or the external camera you connect. It ranges from 480p and 720p to 1080p.
Step 4. Select the grey circle button to start recording
Select the circle at the bottom of the window to begin recording. You can record videos of up to 30 minutes duration. You will see how much recording time is left at the top of the screen.
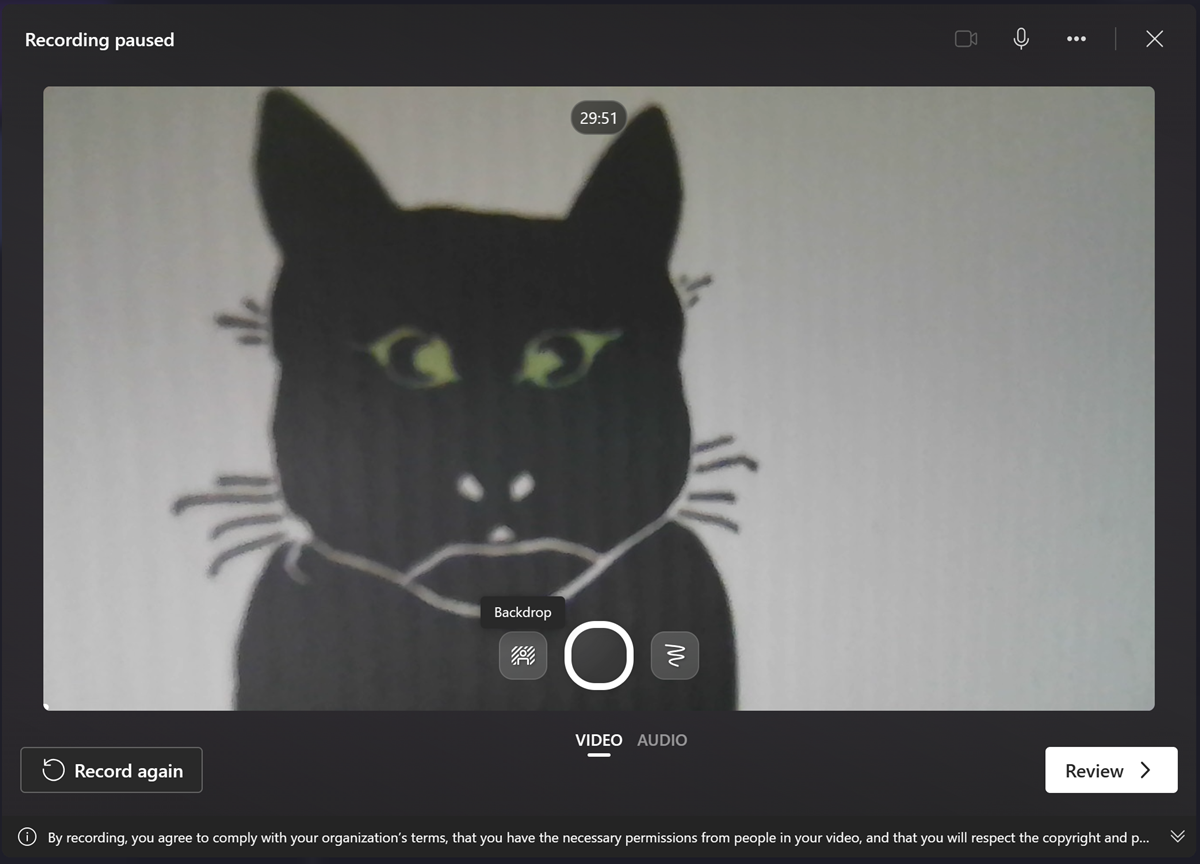
Step 5. Select the stop button to pause recording
Select the grey circle button with the red centre to pause the recording. You can either select the same button again to continue with the recording or when you're done, select the review button in the bottom right.
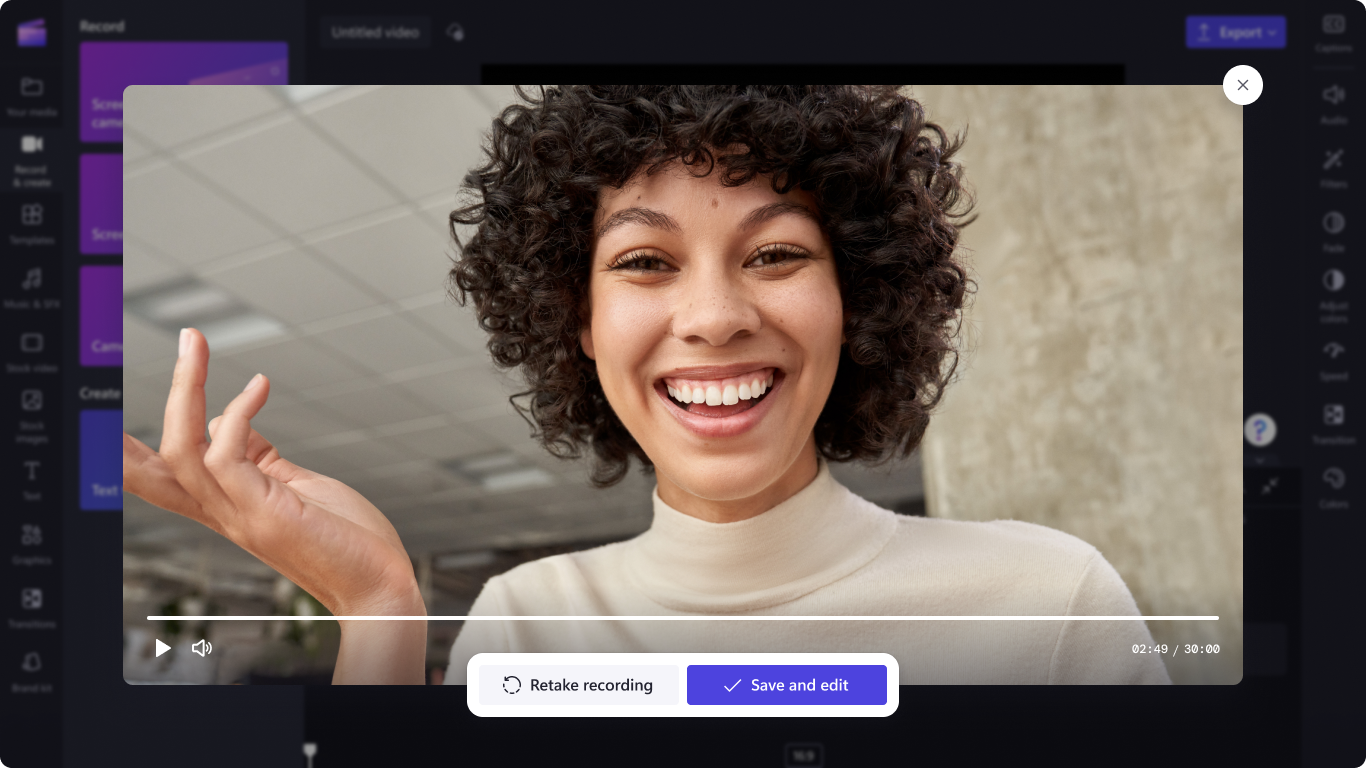
Step 6. Review the recording and add to your editing project
After you select Review, your video will appear for preview. You can watch it to check that you're happy with it. After you’ve reviewed it, select retake recording or save and edit.
After selecting Save and edit you'll be taken back into the editor. There, you can make additional edits to the clip, then select export to save an MP4 video copy of the webcam recording that you just created.
Using an external camera or microphone
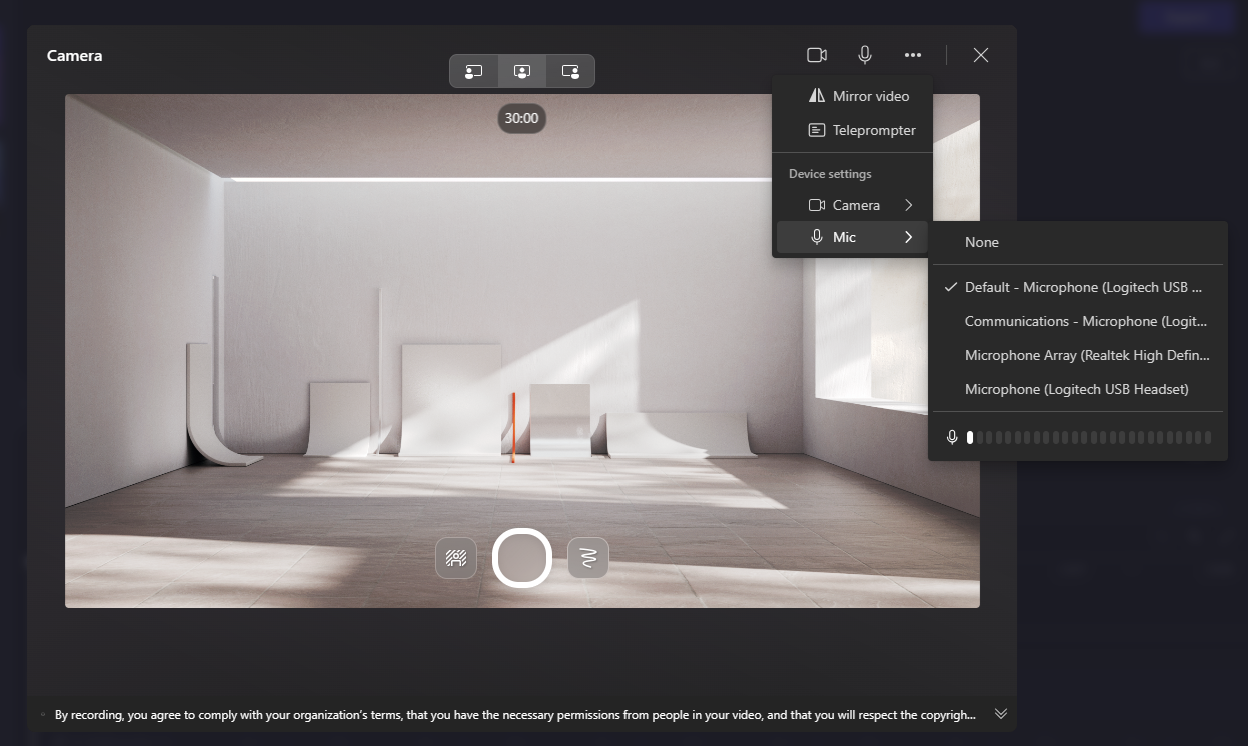
The webcam recorder allows you to use external cameras and microphones for your recordings. When you plug an external camera or mic into your computer, it will automatically get recognized by your operating system and appear as an input option on the Clipchamp recording screen.
To find the options, start a new recording via Record & create in the sidebar on the left of an editing project, and when the recorder opens, go to More options (…), select Camera or Mic, then select the device you want to use. If your external webcam has a microphone built-in, it will also appear in the microphone options.
Now you can record a video using your external devices.
Troubleshooting suggestions
If you allowed access as described above and Clipchamp is nevertheless showing a message that the camera (or microphone) is not available, check that:
-
There is no other app on your computer that is currently using the device. If so, close the respective app, then reload Clipchamp and check if it can access the device.
-
There is no other browser tab that is currently accessing the device. If this is the case, close the other browser tab, then reload Clipchamp and check if it can access the device.
-
There is no browser plugin or extension installed that prevents Clipchamp from accessing the device. If you have such a plugin installed, temporarily disable it or whitelist Clipchamp in the plugin's settings, then check if the webcam access works afterward.
-
Some antivirus or security apps might erroneously block Clipchamp from accessing your computer's camera or mic. If you have one of these apps installed, whitelist Clipchamp in the security app's settings.
-
If you're using an external camera or mic via USB, check the cable is plugged in correctly and that device drivers are up to date.
-
Check the camera and microphone settings of your computer's operating system to ensure that applications are allowed to request access.
If none of these suggestions solve the issue you're experiencing, see here for how to request additional support.


