Microsoft Teams for Education makes it easy to communicate information between educators and students. Home page is automatically included with all class teams and provides a central landing destination to check the latest announcements, pinned class resources, upcoming assignments, recently edited class files, and more. Only educators can publish changes to the class home page from the Teams app or Teams for the web—editing is not available on mobile. Students can view and access content once they're admitted to the class.
Go to your home page
-
Navigate to your class team and select Home page.
-
Your class home page will populate automatically with its basic template. Some sections will display content you've already added. Others you will need to customize and edit.
Note: If you've already created a page in SharePoint for this class team, you'll see a dialogue box asking you to choose between your current page or the class home page template. Selecting the class home page will overwrite your existing page. Keep your current page if you would prefer not to change it.
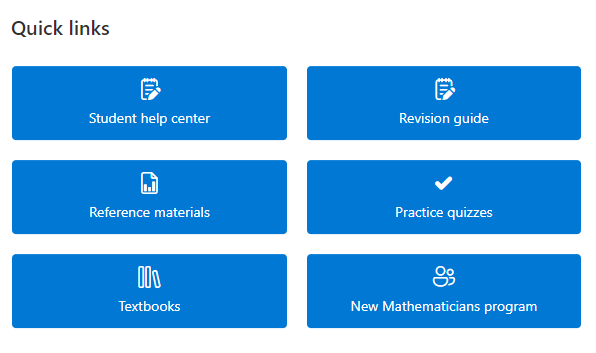
Quick Links
These sections are included by default for all class teams. You can edit, move, or remove any section.
-
Student help center
-
Revision guide
-
Reference materials
-
Lab calendar
-
Textbooks
-
New scientist program
Edit and publish changes
Note: Home page can only be edited from the Teams app or Teams for the web. Editing is not available on mobile devices, though both educators and students can access and open items from the Teams mobile app.
Whenever you want to make changes to your home page:
-
Select Edit at the top of the page.
-
Click on the section of the page you'd like to edit.
-
When you click on a section, a toolbar will appear that gives you various options. Select Edit web part
-
An editing pane will appear. Make changes and close the pane when you're done.
-
You can click on text directly to edit it in the banner, announcements, Resources, and About me sections of the page.
-
To reorganize the page, select Move web part
4. When you're ready, select Republish to make your changes visible to the whole class.
Tip: If your IT Admin has created teams for you but not admitted students yet, customize your home page before selecting Activate to admit students to the class.
Add and remove page sections
Make sure to select Edit at the top of your page first.
To remove a section:
-
Select it, then select Delete web part
To add a new section:
-
Select the + Add a new section button.
-
Choose how you want the section to look by selecting Sections or Templates.
-
Select the + Add a new web part button that appears when you hover over your new section.
-
Customize it with text, images, links, video, or one of the many other web part options available.
Tip: Learn more about the types of web parts you can add to your home page.
When you're done removing or adding sections to the home page, select Republish to make your changes visible to the whole class.
Go to your home page
-
Navigate to your class team and select Home page.
-
The home page will populate automatically with assignments, upcoming meetings, and recently edited files as your instructor adds these to your class. Other sections may not have any content yet.
Note: Only educators can edit the home page.
Quick Links
These sections are included by default for all class teams. You can edit, move, or remove any section.
-
Student help center
-
Revision guide
-
Reference materials
-
Lab calendar
-
Textbooks
-
New scientist program
Learn more
Teams for Education quick start
Using web parts on SharePoint page
Inform and engage your school staff and students with site templates


