Use these tips to set up page numbers when your document has a double-sided cover page and you want page numbering to begin after the cover. You can also choose the starting page number and customize the page number format.
To change page numbering for part of a document, you’ll need to use section breaks. If you’re using Word for the web, open the document in the Word desktop app to add section breaks.
Align the page number to the left or center
- Double-click the page number to edit the header.
- Press Ctrl+L to put the page number on the left, or press Ctrl+E to center the page number.
Include the total number of pages, like "2 of 10"
- On the Insert tab, in the Header & Footer group, go to Page Number > Top of Page.
- Scroll down until you come to the Page X of Y page numbers, and then select Bold Numbers 3.
Add text, like "p." or "Page" to the page number
- Double-click the page number to edit the header.
- Enter the text you want, such as p. or Page.
Add content, like the author name or current date, to the header
On the Insert tab, in the Header & Footer group, go to Header > Blank (Three Columns).
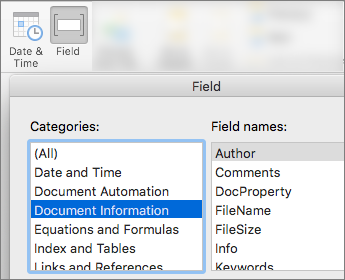
Replace the placeholders with your content. To insert content that comes from the document (like author and file name), use Document Info on the Header & Footer Tools > Design tab.
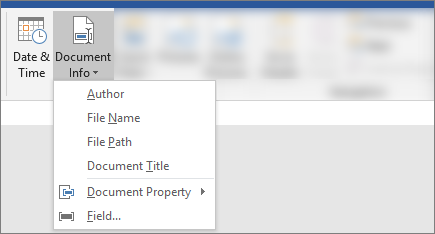
To add the current date, pick Date & Time on that same tab.Tip
If you want the printed document to always show the date it's printed, select Update Automatically.
Use one of the placeholders for the page number. On the Header & Footer Tools > Design tab, go to Page Number > Current Position, and choose Plain Number.
If you don't use all the placeholders, delete the ones you don't use.