
The docking stations for Surface Pro 3, Pro 2, and Pro (1st gen) models (as well as Surface 3) are designed so you can switch quickly from your Surface on the go to using it as a full desktop PC. If you have a Surface Dock, see Use Surface Dock.
Note: For information on how to find your docking station model, see Identify your Surface Dock and features.
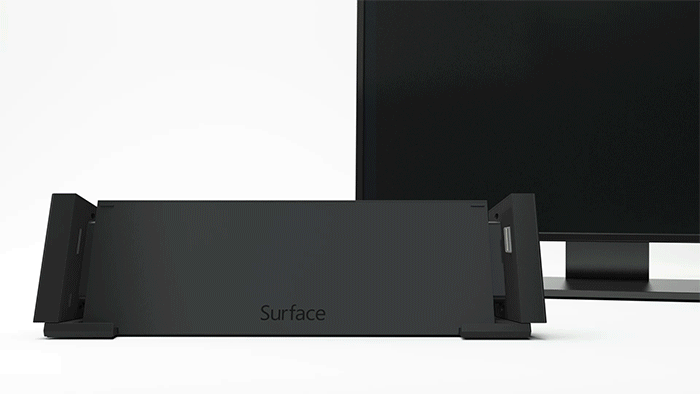
Get to know your docking station
Use the docking station to connect your Surface to full-size monitors, an ethernet connection, external speakers, and more. It also charges your Surface.
Ports
Get to know the ports available on your dock.
|
Power jack |
The power jack connects your docking station to its power supply. |
|
Mini DisplayPort |
Use this port to connect to your external monitor. Depending on your monitor's connectors, you may need a display adapter (sold separately). |
|
USB ports |
Transfer large files to an external drive, connect a USB printer or headset, charge accessories, and more. |
|
Audio ports |
Connect your favorite audio accessories, such as wired speakers or headphones, to your docking station’s 3.5mm audio port. |
|
Ethernet port |
When you need the reliability and speed of a wired network connection, connect your Surface to a wired network using the ethernet port on your docking station. |
Set up your docking station
After you've unpacked your docking station, put it where you want on your desk and leave out any necessary cords or cables to get to them easily. Now you're ready to set it up.
Set up your workspace and plug in
-
Plug the AC end of the docking station's power cord into an electrical outlet or power strip, then plug the other end into the power jack on the docking station.
-
If you want to use a wired network connection, connect a network cable to the Ethernet port on the back of the docking station.
-
Connect your USB computer peripherals to the USB ports on the docking station.
-
Connect a video cable from your monitor to the Mini DisplayPort on the docking station.
If your monitor cable doesn't have a Mini DisplayPort connector, you'll need to buy another cable or an adapter. For more info on adapters, go to Connect Surface to a TV, monitor, or projector. -
Connect any audio accessories, such as wired speakers or headphones.
Without external speakers, you may not hear audio when you're using your Surface. To learn how to switch to the built-in speakers on your Surface, go to Troubleshoot Surface Dock and docking stations.
Connect your Surface to the docking station
After you've set up your workspace, place your Surface in the docking station to connect to it. Here's how:
-
Unplug the Surface from its power supply and remove any attached accessories from your Surface. If you're using a Type Cover, open it so it lies flat.
-
Slide your Surface down into the docking station, then slide the sides of the docking station into the sides of your Surface.
Note: If you don't have a Type Cover attached to your Surface, you'll need to connect a USB (wired or wireless) or Bluetooth® keyboard before you can start typing.
Set up your monitor
After you’ve connected your Surface and your external monitor to the docking station, you can choose what to display on each screen. Here’s how:
-
Go to Start > Settings > System > Display .
-
Under Multiple displays, choose one of the following options:
-
Duplicate these displays. Your screen appears on two screens.
-
Extend these displays. Your screen is spread over two screens, and you can drag items between the two screens.
-
Show only on __. Your screen appears on the selected screen, and the other screen is blank.
-


