
SharePoint in Microsoft 365 lets you easily add alternative text, also known as alt text, for all of your multimedia content. Alt text is one of the first steps toward full document accessibility. It helps users with visual impairments to learn the content of images, screenshots, charts, videos, and more. Deaf users rely on text transcripts to access the content in videos or in audio files.
In this topic
Add a picture with alt text
When using photos, images, clip art, or audio, you're responsible for respecting copyright. For images, the license filter in Bing can help.
-
To open the Editing ribbon and to enter Edit mode, on the page you want to edit, select the Edit link.
-
Place the focus where you want the picture to appear.
-
To open the Upload Image dialog box, from the Insert tab, open the Picture group and select From Computer.
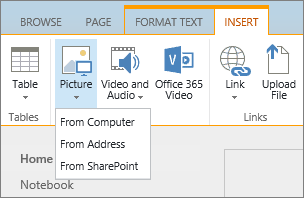
Tip: To insert a picture from the Internet by pasting in an image URL, select From Address. To insert an image from your SharePoint in Microsoft 365 site, select From SharePoint.
-
Choose your file, select a destination folder in your SharePoint in Microsoft 365 site (the default choice is the Site Assets folder), and include any notes about the different image version.
-
To insert your picture and activate the Image tab, select OK.

Tip: The Image tab is only visible when an image is selected.
-
Move to the Alt Text box on the Image tab, and enter your alternative text for the image.
-
When you finish, click Save.
Accessibility tips
-
Alt text should be brief but descriptive.
-
Good alt text tells the listener why the picture is important.
For more information about alt text, including examples and links to more information, visit the WebAIM Alternative Text page.
Add video in a media web part
Whenever you add a video to a page, make sure to include captions and audio descriptions of the content. Captions let hearing-impaired users learn about the content, and they provide assistance to non-native speakers who watch the video.
To make an audio recording accessible to deaf users, create a transcript and make that available along with the audio file.
-
To open the Editing ribbon and to enter Edit mode, on the page where you want to display the video, select the Edit link.
-
Place the focus where you want the video to appear.
-
To open the Upload Media dialog box, from the Insert tab, open the Video and Audio group and select From Computer.
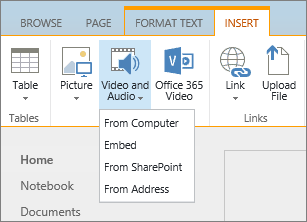
Tip: To insert a file from the internet, select From Address and paste in a URL. To insert an audio or video from your SharePoint in Microsoft 365site, select From SharePoint. To add embed code from sites such as YouTube or Vimeo, select Embed.
-
Choose your file, select a destination folder in your SharePoint in Microsoft 365 site (the default choice is the Site Assets folder), and include any applicable notes about the different file version.
-
To insert your video inside of a Media Part component and to activate the Media and Web Part tabs, select OK.
Tip: The Media tab is only visible when a media file is selected.
-
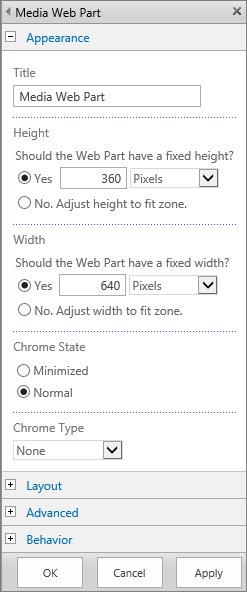
Open the Web Part tab, and select Web Part Properties. The Media Web Part Properties pane appears.
-
In the Title box, type the title.
-
Scroll down, and open the Advanced panel.
-
In the Description box, type a brief description of the audio or video file.
-
To apply your changes to the media web part, scroll to the end and select Apply.
-
When you finish, to save your changes to this page, select Save.
Embed an audio file in your page
These instructions tell you how to place a much smaller, slimmer control bar into a webpage. This control bar works best for audio files, like podcasts, in which the full media web part would be too large.
-
Upload the audio file and transcript file into your Site assets folder.
-
To open the Settings menu, in the upper-right corner, select the Settings icon.
-
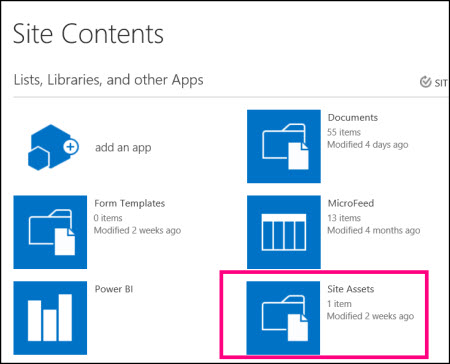
Select the Site Contents link.
-
Go to the Site Assets folder.
-
Drag the audio and transcript file into the folder.
-
Get the URLs for the files. To open the file action menu, next to the file name, select the ellipsis. Copy and paste the link from the action menu to another file. You will need this link later, in the audio embed code.
-
-
To open the Editing ribbon and to enter Edit mode, on the page where you want to display the video, select the Edit link.
-
Place the focus where you want the video to appear.
-
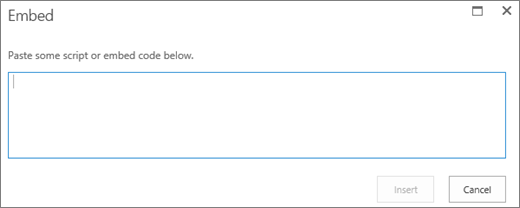
To open the Embed dialog box, from the Insert tab, open the Video and Audio group and select Embed.
-
Paste the embed code into the field, with the URL of your audio file after “src=” and between the quotation marks.
<audio src="your-audio-file-URL-here.mp3"controls="controls"></audio>
This code places the media control bar on the page. The bar lets users start and stop the playback.
Tip: If your embed code is not formatted correctly or if it points to a file location that does not exist, the Insert button will not be active.
-
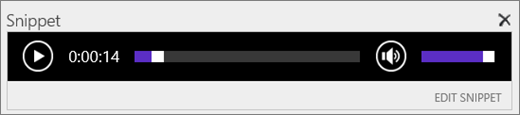
When you are done, select Insert to put your audio control on the page. The embedded audio control looks like this:
-
Place the focus at the end of the audio control snippet and to go to the next line, press Enter.
-
Insert a link to your audio transcript file.
-
To open the Select an Asset dialog box, from the Insert tab, select Link and From SharePoint.
-
Select your audio transcript file, and press Insert. This inserts a hyperlink with the name of the file as the text of the link.
-
Place the focus in the link, just before the last character of the file name. Slowly backspace to remove all but the first and last characters in the file name.
Tip: This leaves the link intact and keeps your cursor exactly where it needs to be so that you can change the text of the link.
-
Type the text that you want for the link. For example, for an audio transcript, type View the audio transcript.
-
Delete the remaining characters of the file name.
-
-
When you're done, to save all your changes, at the top of the page, click Save.
Related information
Resources for creating accessible sites in SharePoint Online
SharePoint lets you easily add alternative text, also known as alt text, for all of your multimedia content. Alt text is one of the first steps toward full document accessibility. It helps users with visual impairments to learn the content of images, screenshots, charts, videos, and more. Deaf users rely on text transcripts to access the content in videos or in audio files.
In this topic
Add a picture with alt text
When using photos, images, clip art, or audio, you're responsible for respecting copyright. For images, the license filter in Bing can help.
For SharePoint Site pages, complete the following steps:
-
To allow for adding content to the page you want to edit, select the Edit link.
-
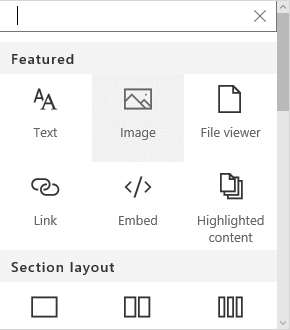
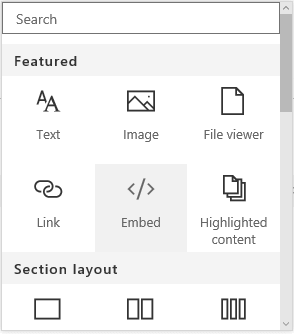
Select the Add a New Web Part button.
-
Select the Image web part from the selection menu.
-
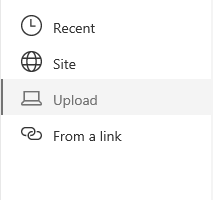
Choose the location of the file from list of file locations.
-
Choose the file and select Open.
-
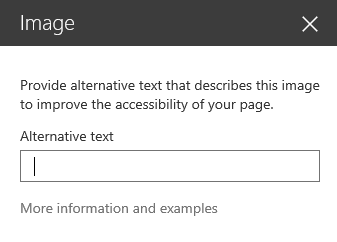
To add alt text to the image, select the Edit Web Part link.

-
Enter the alt text in the Alternative Text box.
-
Select X to save the alt text.
Accessibility tips
-
Alt text should be brief but descriptive.
-
Good alt text tells the listener why the picture is important.
For more information about alt text, including examples and links to more information, visit the WebAIM Alternative Text page.
Add video in a SharePoint page
Whenever you add a video to a page, make sure to include captions and audio descriptions of the content. Captions let hearing-impaired users learn about the content, and they provide assistance to non-native speakers who watch the video.
-
To allow for adding content to the page you want to edit, select the Edit link.
-
Select the Add a New Web Part button.
-
Select “Embed.”
-
Enter the URL or embed code of the video you wish to display.

Note: For YouTube videos, include this line in the embed code immediately following the video address information: &cc_load_policy=1 (for example, <iframe width="560" height="315" src="https://www.youtube.com/embed/7XocqGYt4J4&cc_load_policy=1" frameborder="0" allowfullscreen></iframe>).
-
Select X to save the embedded video.
-
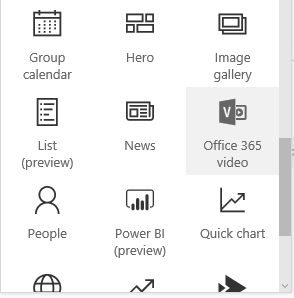
To add a video from your collection of site assets on SharePoint Modern Experience, select Office 365 Video from the Web Part menu.
-
Select Add Video.
-
Enter the URL of the Office 365 Video to display on the page.
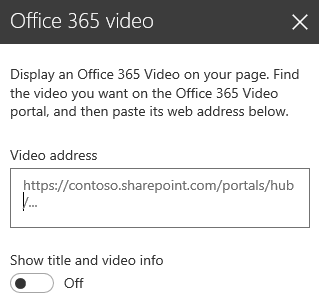
-
After entering the address, select X to save the video to the page.
Note: Only videos in your SharePoint site collection are selectable here. External items such as YouTube or Vimeo videos must be embedded.
-
When you finish, to save your changes to this page, select Save and Close or Publish.
See also
Resources for creating accessible sites in SharePoint Online


