To draw a perfect circle you hold down the Shift key while you draw.
-
Go to Insert > Shapes.
-
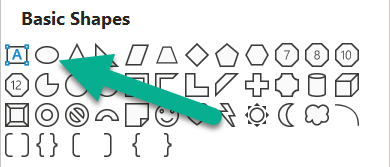
Under Basic Shapes, select the Oval.
-
Hold down the Shift key while you drag the mouse to draw a circle on the slide.
Tip: Not pressing the Shift key yields an oval instead of a perfect circle.
-
After your circle is in the right size and position, right-click it and use the floating toolbar to change the style, fill color, or border color (outline) of the circle:
-
Select Insert > Shapes.
-
Under Basic Shapes, select the Oval.
-
Drag the mouse on the canvas to draw an oval.
-
With the oval still selected, choose the Shape tab on the ribbon, and manually change the Height and Width settings to make the oval a perfect circle.
-
To resize the circle and maintain the aspect ratio, hold down the Shift key while you drag a corner handle of the shape.
You can also move the shape by selecting it and dragging to a new position.
-
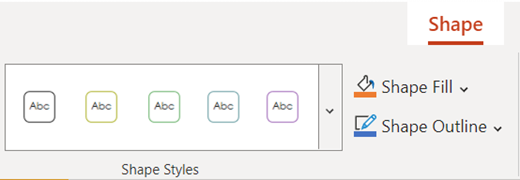
With the circle selected, choose the Shape tab on the ribbon. You can change the fill color or outline color, or choose a preset style for the circle:
To draw a perfect circle you hold down the Shift key while you draw.
-
Go to Insert > Shapes.
-
Under Basic Shapes, select the Oval.
-
Hold down the Shift key while you drag the mouse to draw a circle on the slide.
Tip: Not pressing the Shift key yields an oval instead of a perfect circle.
-
After your circle is in the right size and position, change the style, fill color, or border color (outline) of the circle under the Shape Format tab:


