If Office is pre-installed on your new Windows 10 PC, and you uninstall it before it can do the initial update, it may leave behind the Office app shortcuts in the Start menu. It may seem that Office is still installed, when it's not. To remove the unwanted shortcuts, do one of the following:
Option 1 - Use the Office uninstall troubleshooter
Use the uninstall troubleshooter to uninstall Microsoft 365, Office 2021, Office 2019, or Office 2016 from your Windows PC.
-
Select the button below to start the uninstall troubleshooter.
-
Click Open if you get a pop-up window indicating This site is trying to open Get Help.
-
Follow the prompts on the remaining screens and when prompted, restart your computer.
-
Select the steps for the version of Office you want to install or reinstall.
Microsoft 365 | Office 2024 | Office 2021 | Office 2019 | Office 2016
Important:
-
The uninstall troubleshooter currently can't uninstall Office 2024.
-
Run the troubleshooter on the same Windows PC with the Microsoft 365 or Office product you want to uninstall.
-
You need to be on Windows 10 or higher to run the troubleshooter.
Tip: If the Microsoft 365 uninstall troubleshooter doesn't completely uninstall Microsoft 365 or Office from your PC, you can try to manually uninstall Office.
Option 2 - Manually delete the shortcuts
To manually remove an Office shortcut that's left behind after an uninstall, locate it in the Start menu and click on it. In this example, we're removing the Word 2016 shortcut:
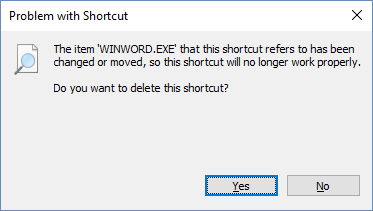
A dialog box appears asking if you want to delete the shortcut. Choose Yes.
Continue to find other Office shortcuts and follow the same process to remove them.


