Note: The Payments app is only supported for businesses registered in the United States and Canada at this time.
Use the Payments app to get paid in a Teams meeting.
Send a payment request
Before moving on to the steps below, make sure you've successfully added and set up the Payments app.
1. Join your meeting.
2. When ready to make a payment request, select Show conversation 

3. From beneath the compose box, select Messaging extensions 
4. If prompted, choose which service you’d like to handle the transaction.
Note: This prompt only appears if you’ve connected more than one service.
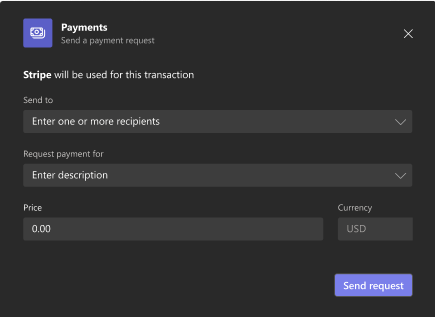
5. Fill out the payment request form.
If you’d like to send the same request to multiple people, put more than one name under Send to.

6. When done, select Send request.
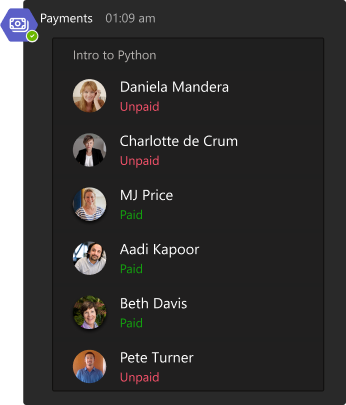
You'll see a card similar to the one below:
The status below a customer’s name changes from Unpaid to Paid once that person has completed payment.
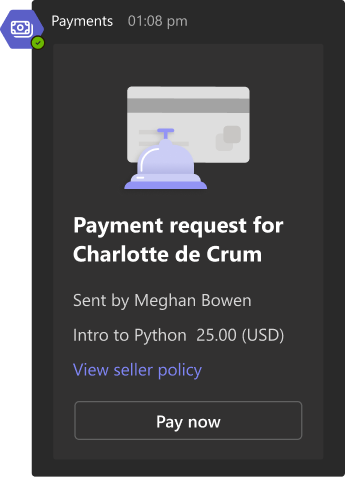
Your customers will have a different view of the card:

Customers should select Pay now then follow the prompts to complete their payment.
Tip: If your customers aren’t familiar with Teams, you may need to instruct them to open the meeting chat to view the payment request.
Next article: View payment activity in your accounts
More articles
As long as you’ve successfully added and set up the Payments app, you can request payment in a meeting with one guest from your mobile device.
Note: Requesting payment in meetings with two or more guests isn’t supported on mobile.
Send a payment request
1. Join your meeting.
2. When ready to make a payment request, open the meeting chat.
3. Select More messaging options 
4. If prompted, choose which service you’d like to handle the transaction.
Note: This prompt only appears if you’ve connected more than one service.
5. Fill out the payment request form.
If you’d like to send the same request to multiple people, put more than one name in the Send to field.
6. When done, select Send request.
You’ll see a card similar to this:
The status below a customer’s name changes from Unpaid to Paid once that person has completed payment.
Your customers will have a different view of the card:

Customers should select Pay now then follow the prompts to complete their payment.
Tip: If your customers aren’t familiar with Teams, you may need to instruct them to open the meeting chat to view the payment request.
Next article: View payment activity in your accounts


