If you’ve seen unfamiliar users show up in your Word, Excel or PowerPoint files or unexpectedly accessing your file, it might be because certain email services are interacting with the document when people click on the link you've shared.
Why it’s happening
When you invite other people to view or edit your document, they will get an email invitation with a link to open it. By default, a link is shared with the recipient that lets anyone with that link edit the file (this can be changed, look for steps below). Some email providers offer a “Safe Browsing” functionality that may trigger additional sessions when opening WXP documents, which looks like additional Guest users in your document that you may not recognize.
Solutions and ways to prevent this from happening
Removing Anyone Access from previously shared files
If you’ve already shared a file with others using “Anyone” links and you would like to restrict access to the specific people you’ve selected, you’ll need to first delete the “Anyone” link that was created previously. You may need to share this file again with the specific people if you still want them to have access.
1. Select Share on the top-right corner of Word, Excel or PowerPoint.
2. On the drop-down menu, click on Manage Access.
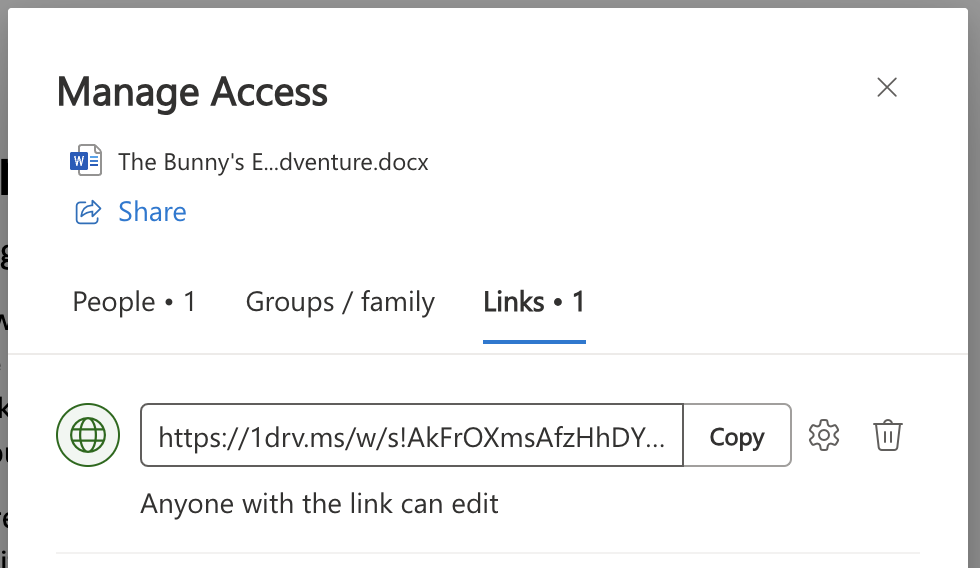
3. Select the Links tab.
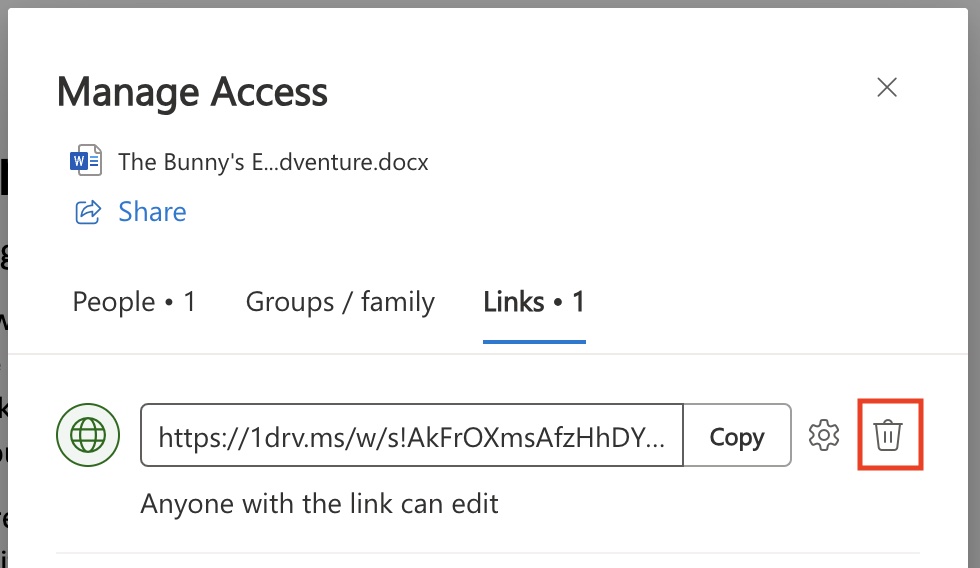
4. Select the trash can icon to delete links that give Anyone access to your file.
Changing sharing permissions to only specific people
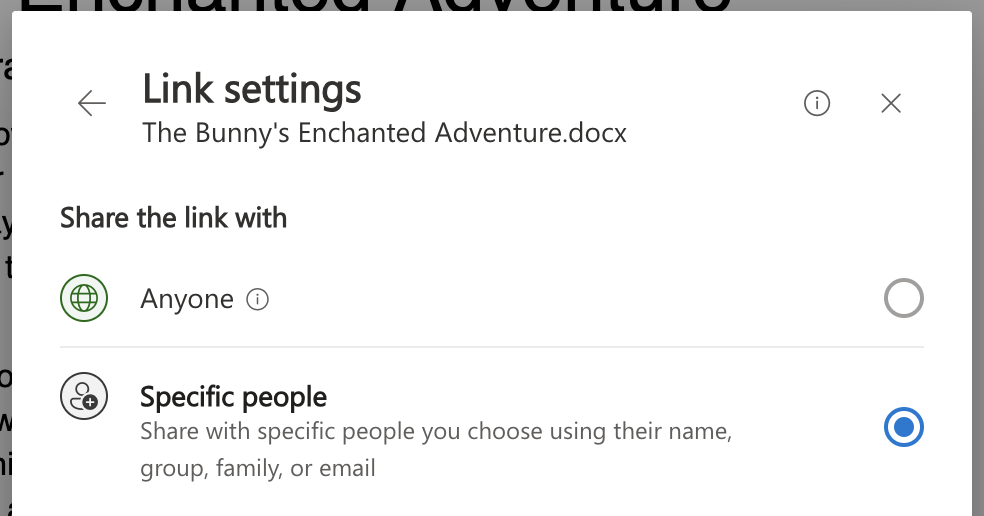
If you want to restrict access to your WXP files to only a specific set of people, select the option Specific People in the Share dialog.
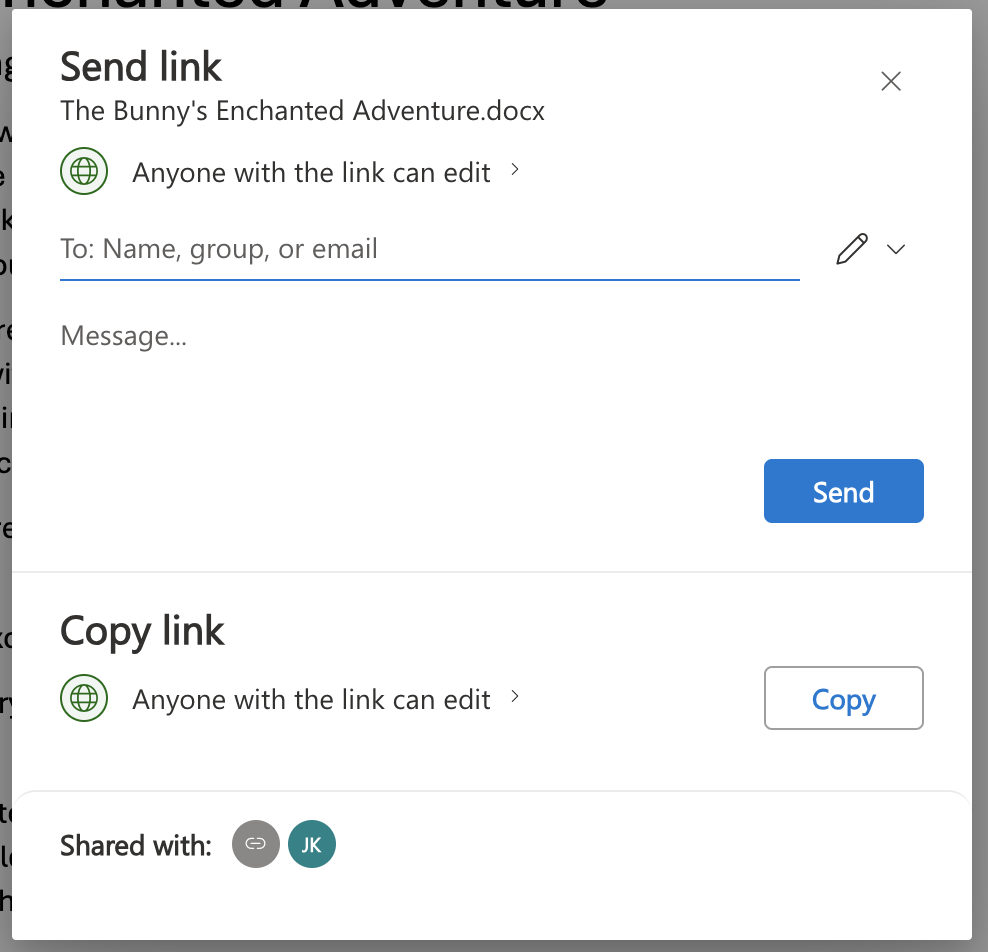
If your dialog looks like the image below, please follow these steps:
1. Select Share on the top-right corner of Word, Excel or PowerPoint.
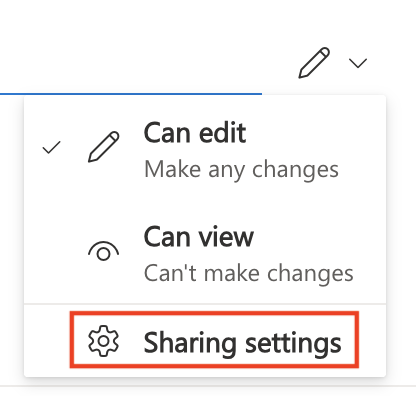
2. Click on the dropdown menu in the image below and select Sharing settings.
3. Select the option Specific people.
4. Go back and enter the emails of the people you want to share the file with.
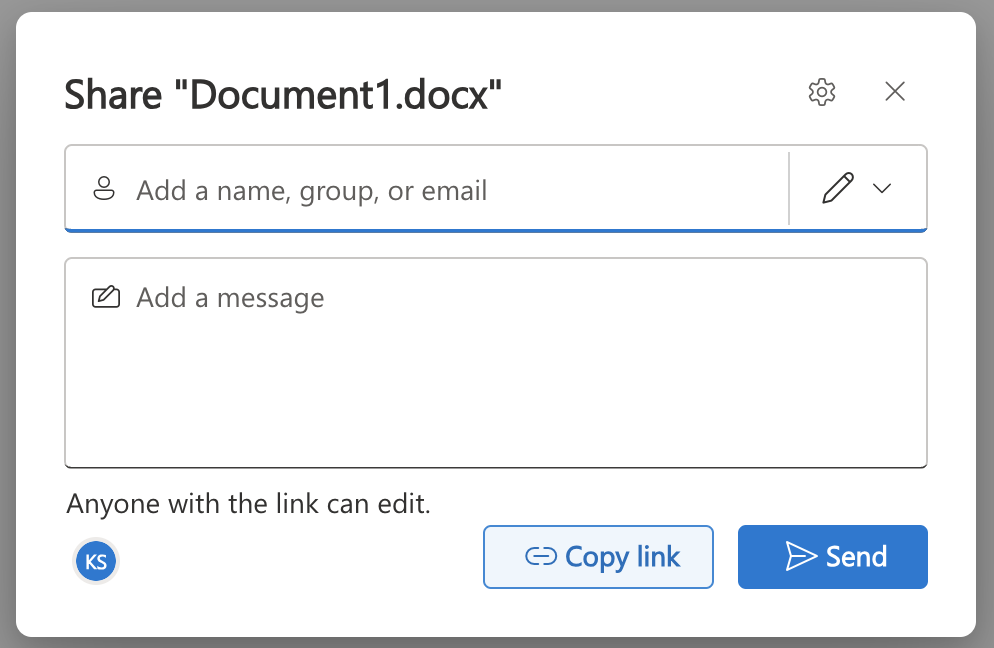
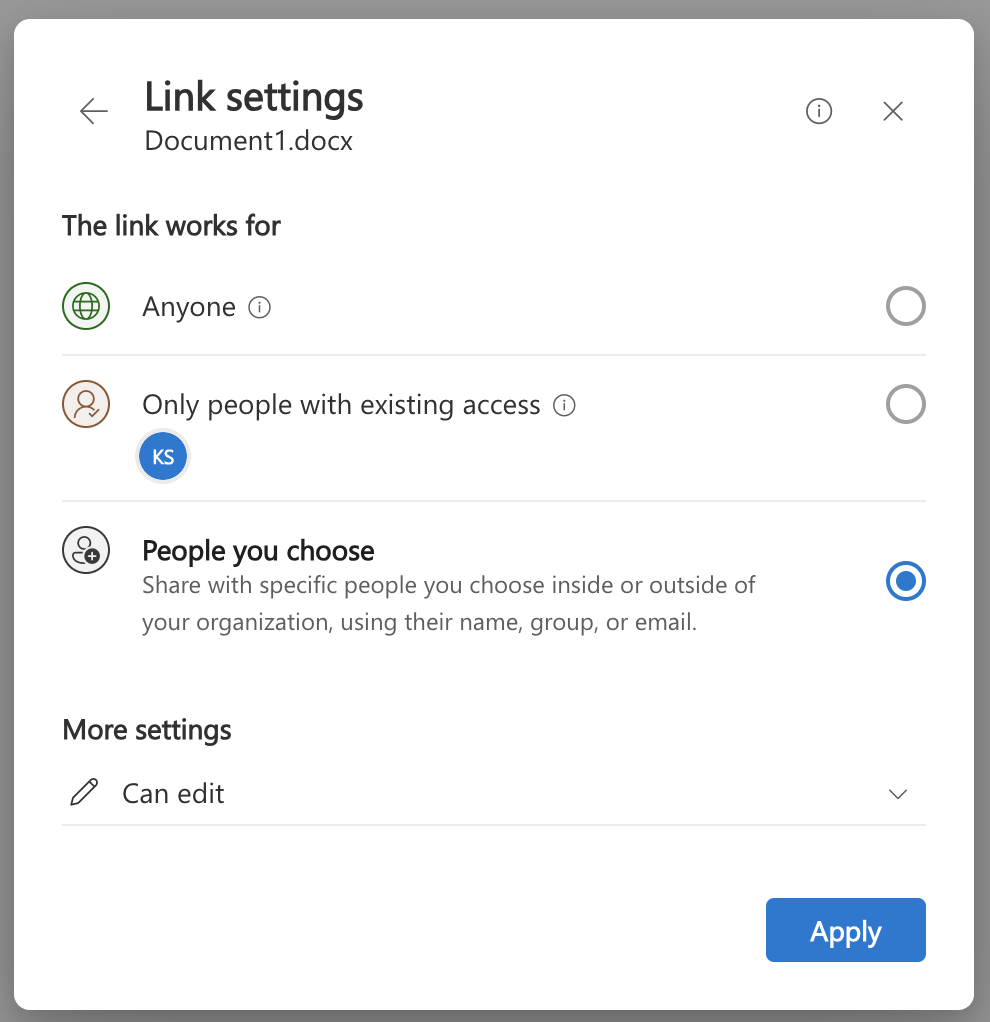
If your dialog looks like the image below, please follow these steps:
1. Select Share on the top-right corner of Word, Excel or PowerPoint.
2. Click on the gear wheel to go to Link Settings.
3. Select the option People you choose.
4. Click Apply.
5. Enter the emails of the people you want to share the file with.
Related Topics
Sharing files, folders, and list items

