
Forward or redirect your email messages by setting up Inbox rules in Outlook Web App.
You can use inbox rules to automatically forward or redirect messages sent to your mailbox to another account. This is useful if you won’t be checking your primary mailbox and want to be able to read and respond to messages from another account.
|
This article is for Outlook Web App, which is used by organizations that manage email servers running Exchange Server 2013 or 2010. If you're using Microsoft 365, or Exchange Server 2016 or 2019, your email program is Outlook on the web. For help with Outlook on the web, see Get help with Outlook on the web. |
Redirected messages appear as though they came from the original sender. Use a redirect message rule when you want replies to redirected messages to go to the original sender.
-
In a web browser, sign in to Outlook Web App using the URL provided by the person who manages email for your organization. Enter your user name and password, and then select Sign in.
-
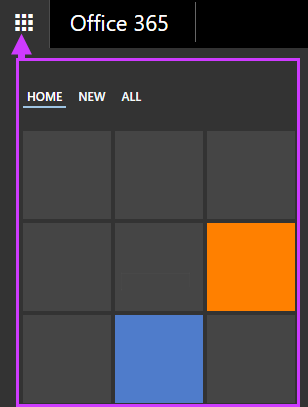
At the top of the page, choose Outlook. Or, choose the app launcher

-
At the top of the page, select Settings

-
Organize email > Inbox rules > New

OR
-
Mail > Automatic processing > Inbox rules > New
-
-
Type a name for your rule.
-
Under When the message arrives, select Apply to all messages.
-
Under Do the following, select Forward, redirect, or send > Redirect the message to.
-
Enter the email address you want in the To box, or choose it from your list of contacts.
-
Choose OK to save your selections, and OK or Save to create the rule.
Forwarded messages appear as messages that are forwarded by you. Use a forward message rule when you want the replies to go to the address the messages are forwarded from, and not to the original sender.
-
At the top of the page in Outlook Web App, select Settings

-
Organize email > Inbox rules > New
OR
-
Mail > Automatic processing > Inbox rules > New
-
-
Under When the message arrives, select Apply to all messages.
-
Select one of the following, depending on the settings you see:
-
Forward, redirect, or send > Forward the message to
OR
-
More options > Forward, redirect, or send > Forward the message to
-
-
Enter the email address you want in the To box, or choose it from your list of contacts.
-
Choose OK to save your selections, and OK or Save to create the rule.
-
A copy of messages that you redirect or forward remains in your mailbox. If you add an action to delete the message, the message goes to your Deleted Items folder and still is counted against your mailbox limit. If you exceed your mailbox limit, you may be blocked from sending or receiving new messages. Forwarding rules also may not work until you delete enough messages to bring the total below your mailbox limit.
-
When you create a forward or redirect rule, you can add more than one address to send to. The number of addresses you can send to may be limited depending on your account settings. If you create a rule with more than one address, test it to make sure it works.
-
If you don’t want a forward or redirect inbox rule to apply to all messages, choose any option other than Apply to all messages.
-
Your administrator may have blocked the ability to use forward or redirect rules to send mail to some or all domains outside of your own. After you’ve created a redirect or forward rule, test the rule by sending a message from a third account to your account. Then check the account your rule is set to redirect or to forward messages to.
For more information about setting up and managing Inbox rules, see Inbox rules.


