Note: The information in this article applies to Clipchamp for personal accounts. While you can also import your own GIF files in Clipchamp's work version, the Giphy integration and exporting in GIF format as described in the article are only available in Clipchamp's personal version at this stage.
You can add GIF files to your Clipchamp projects, either by:
-
adding them directly from your computer, or by
-
adding them from the GIPHY tab in the editor's Graphics section
How to add GIFs from your computer
Click the import media button to upload your .gif file from your computer. You can also click on the down arrow to see our importing integrations like Google Drive. Alternatively, drag and drop your gif media file using the media bar.
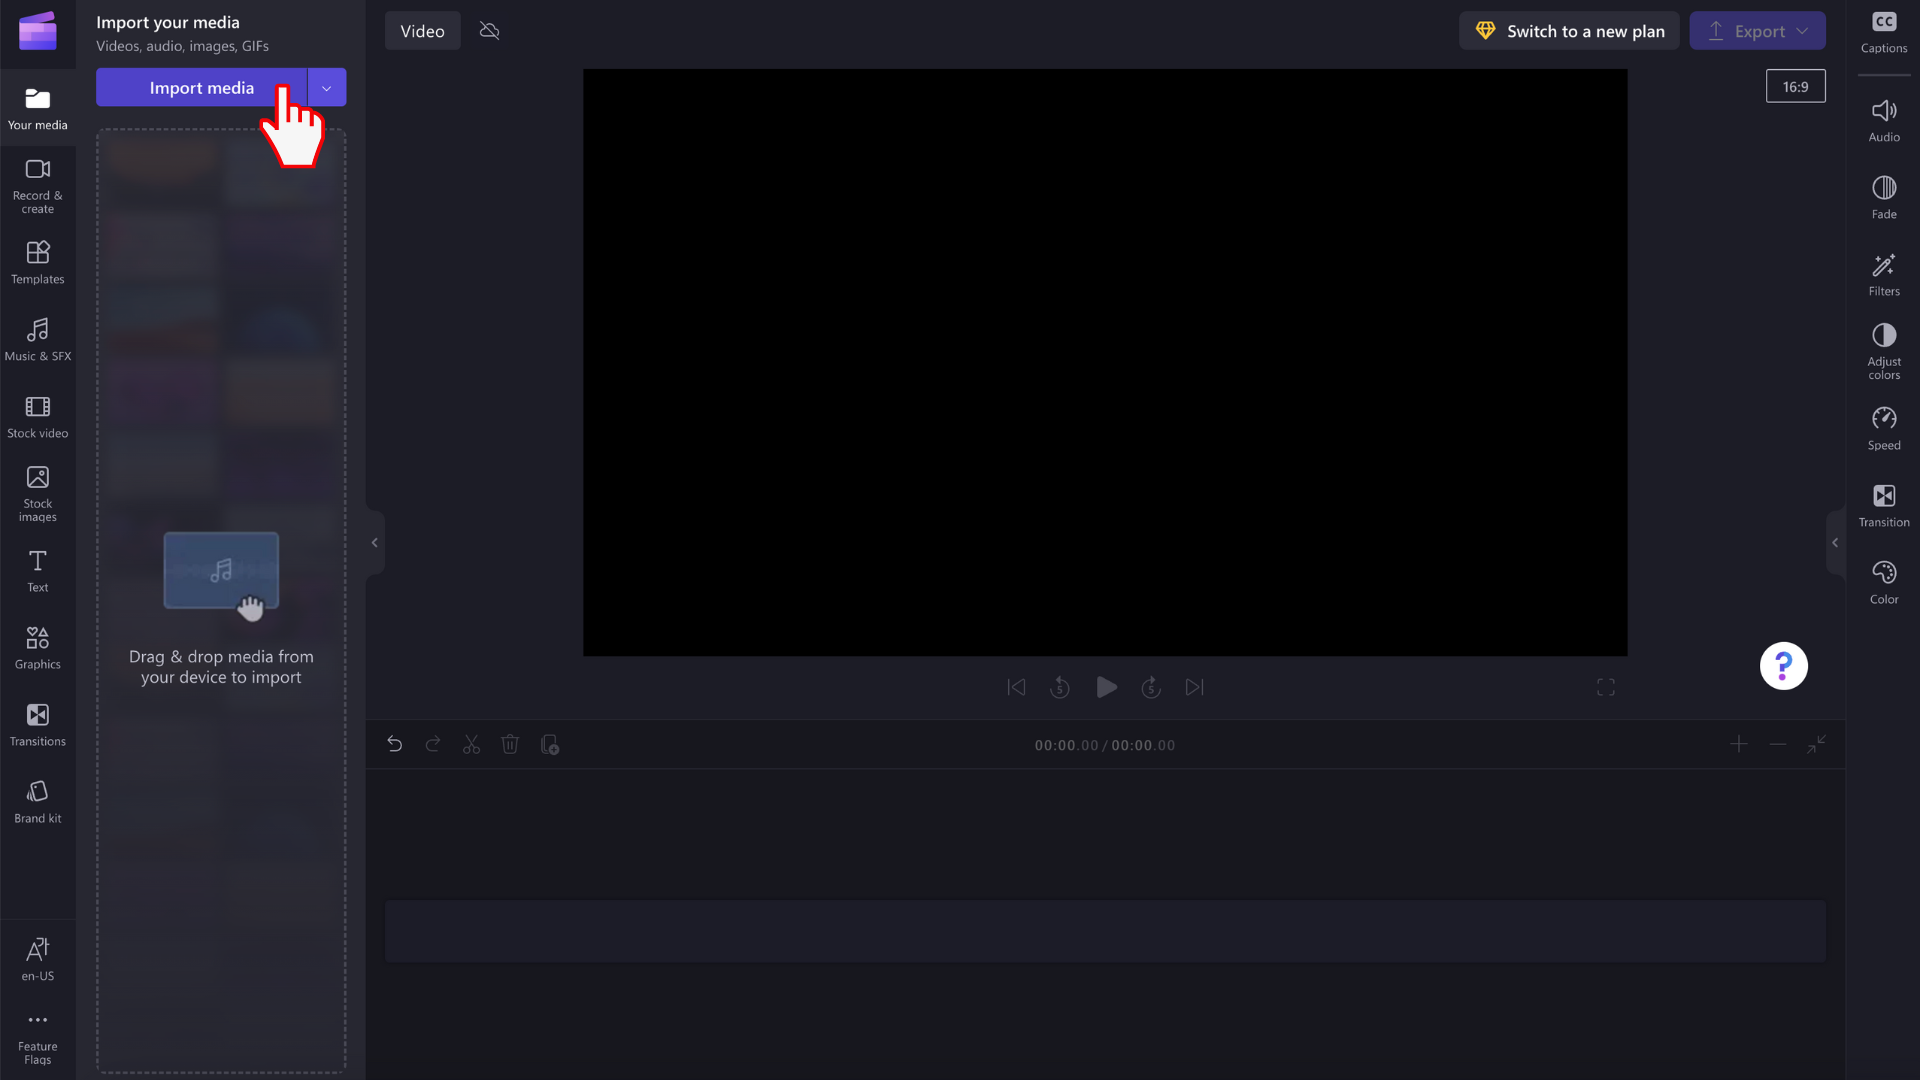
The GIF will now appear in the your media library. To start editing it, drag it to the timeline.
How to add GIFs from the stock library
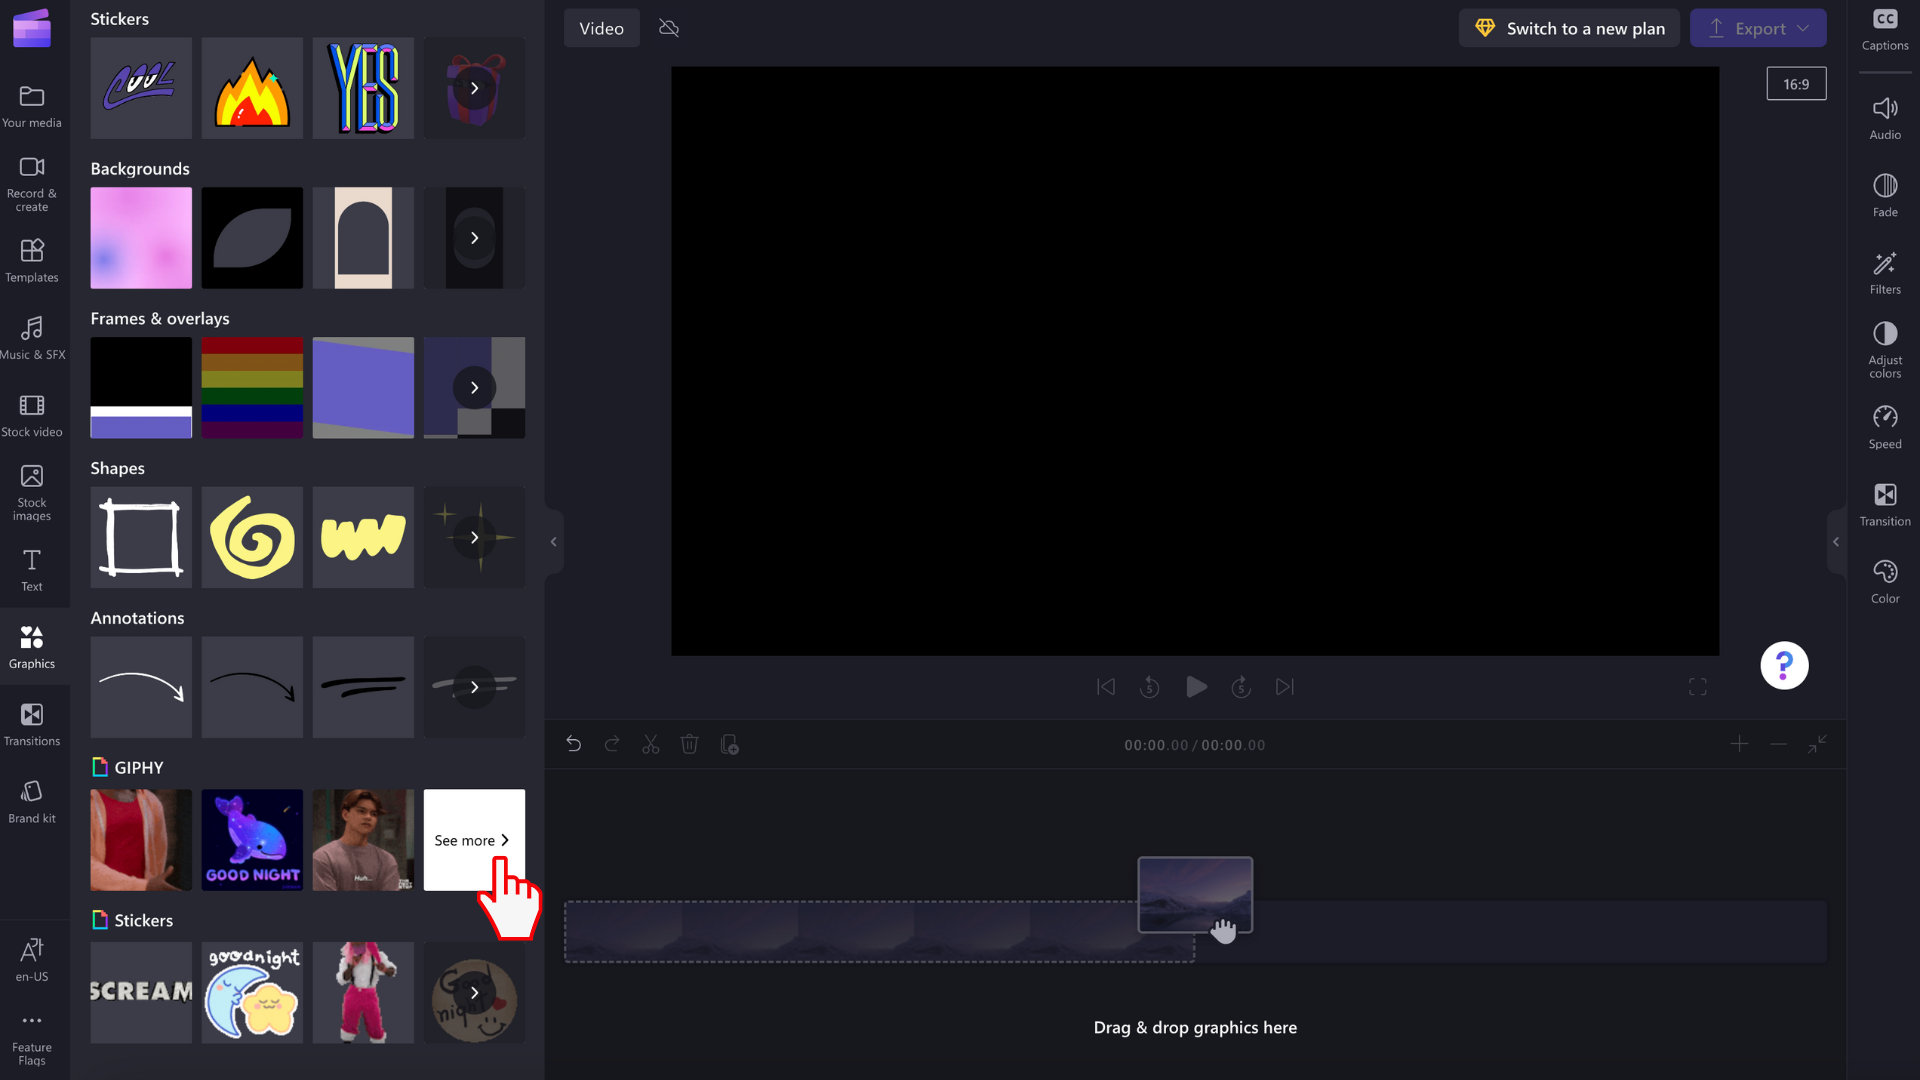
Click on the graphics tab on the left toolbar.
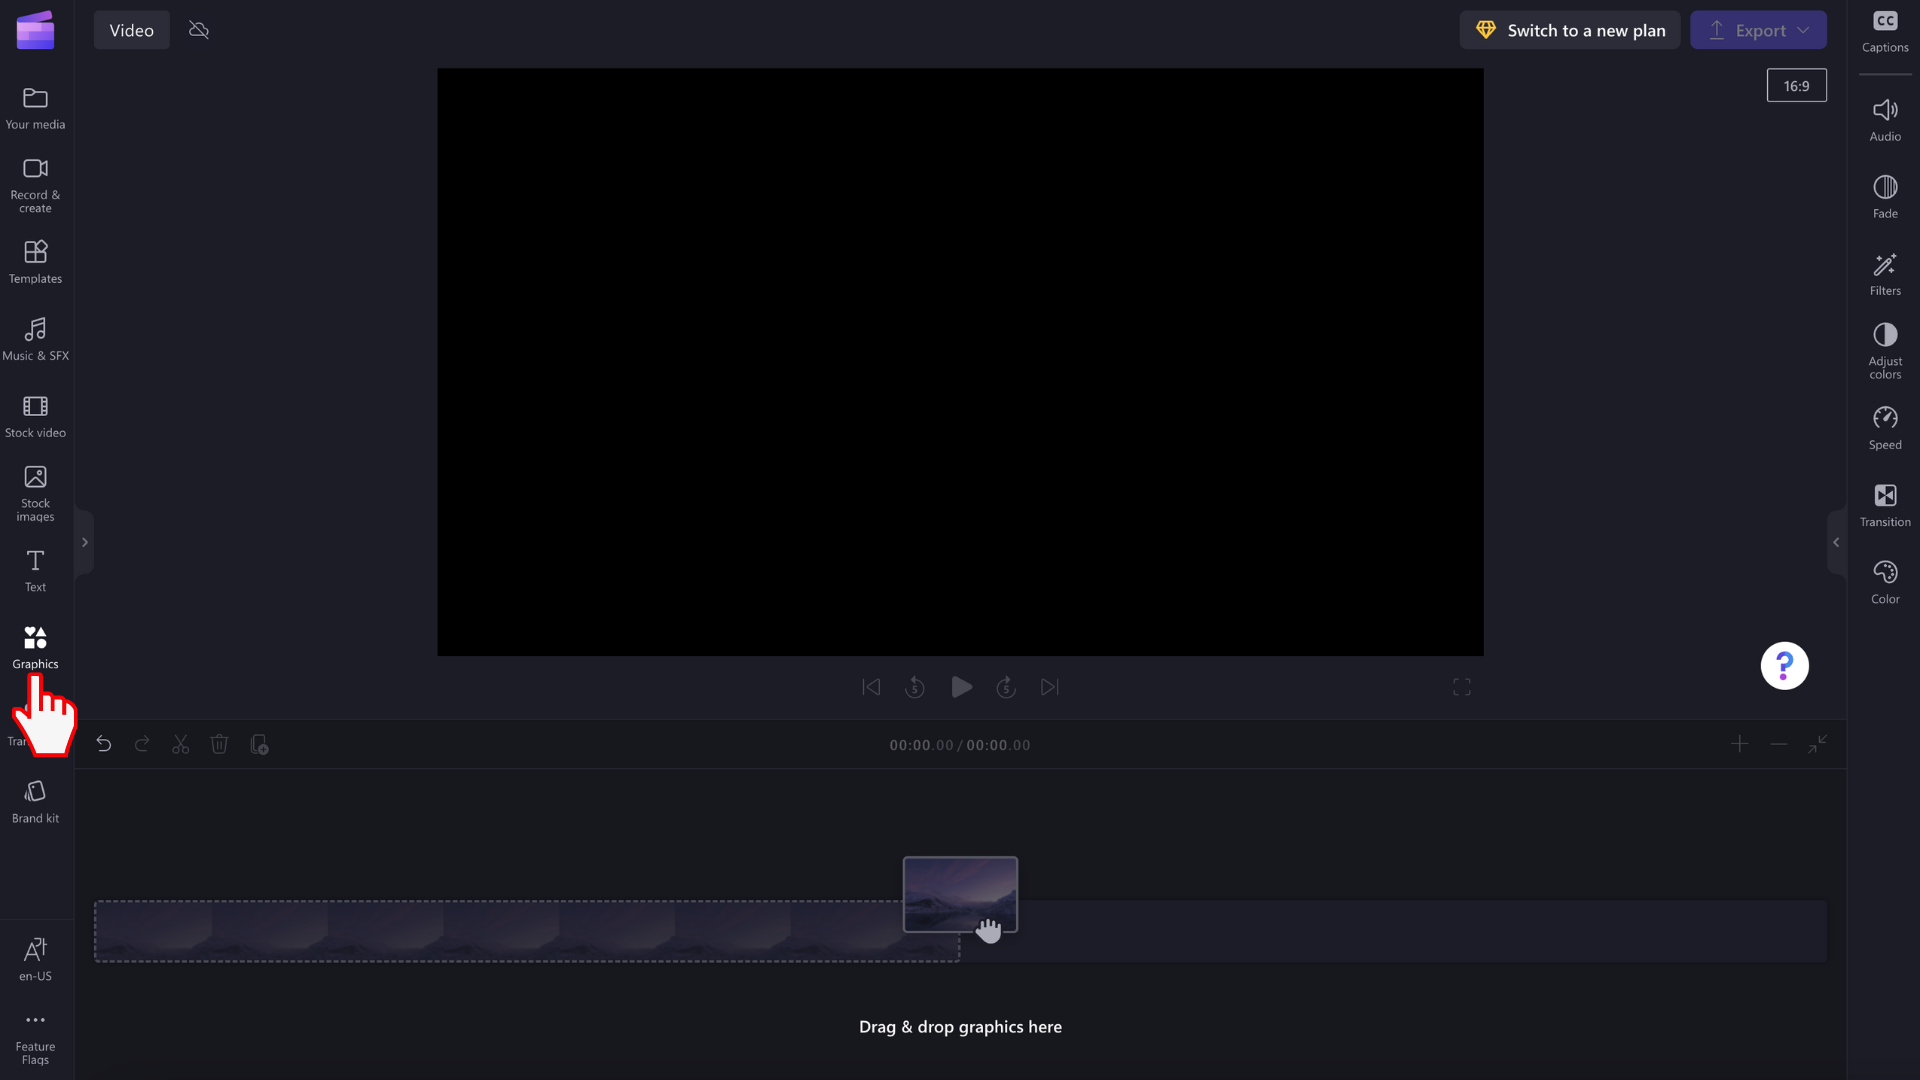
You will see stickers, backgrounds, frames and overlays, shapes, annotations, GIPHY and GIPHY stickers.
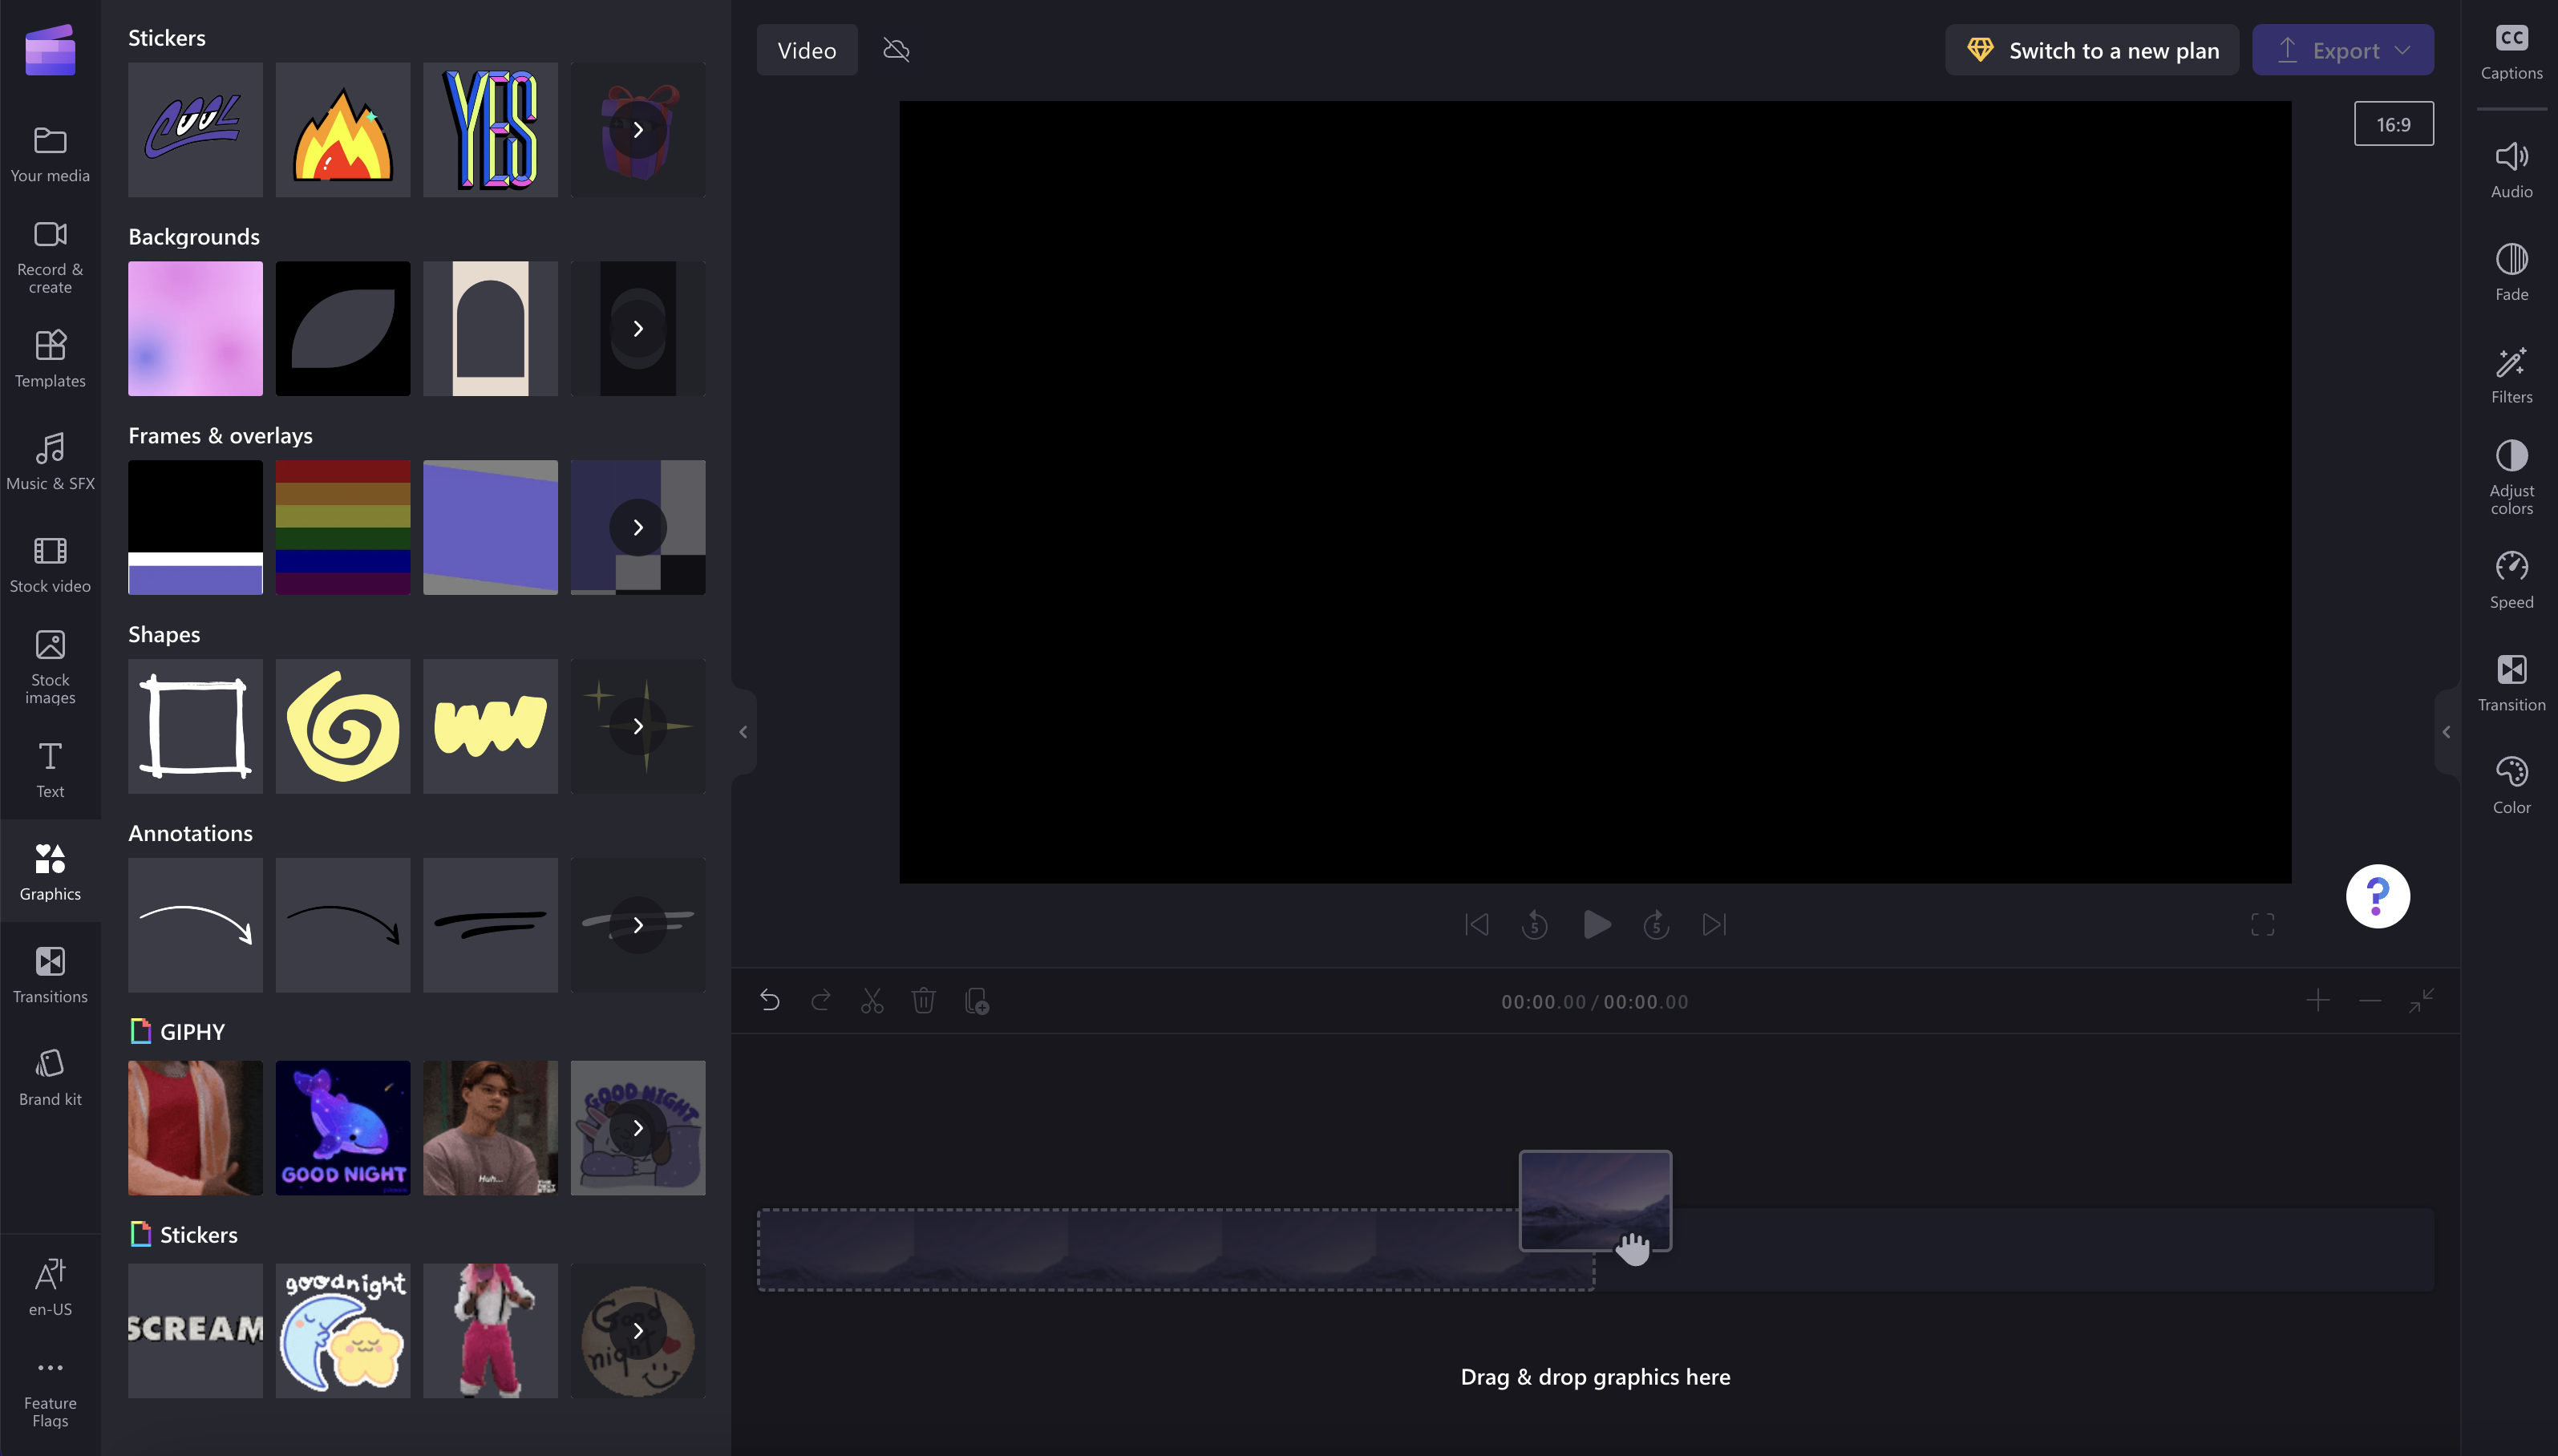
Click on the arrow to see more GIFs.
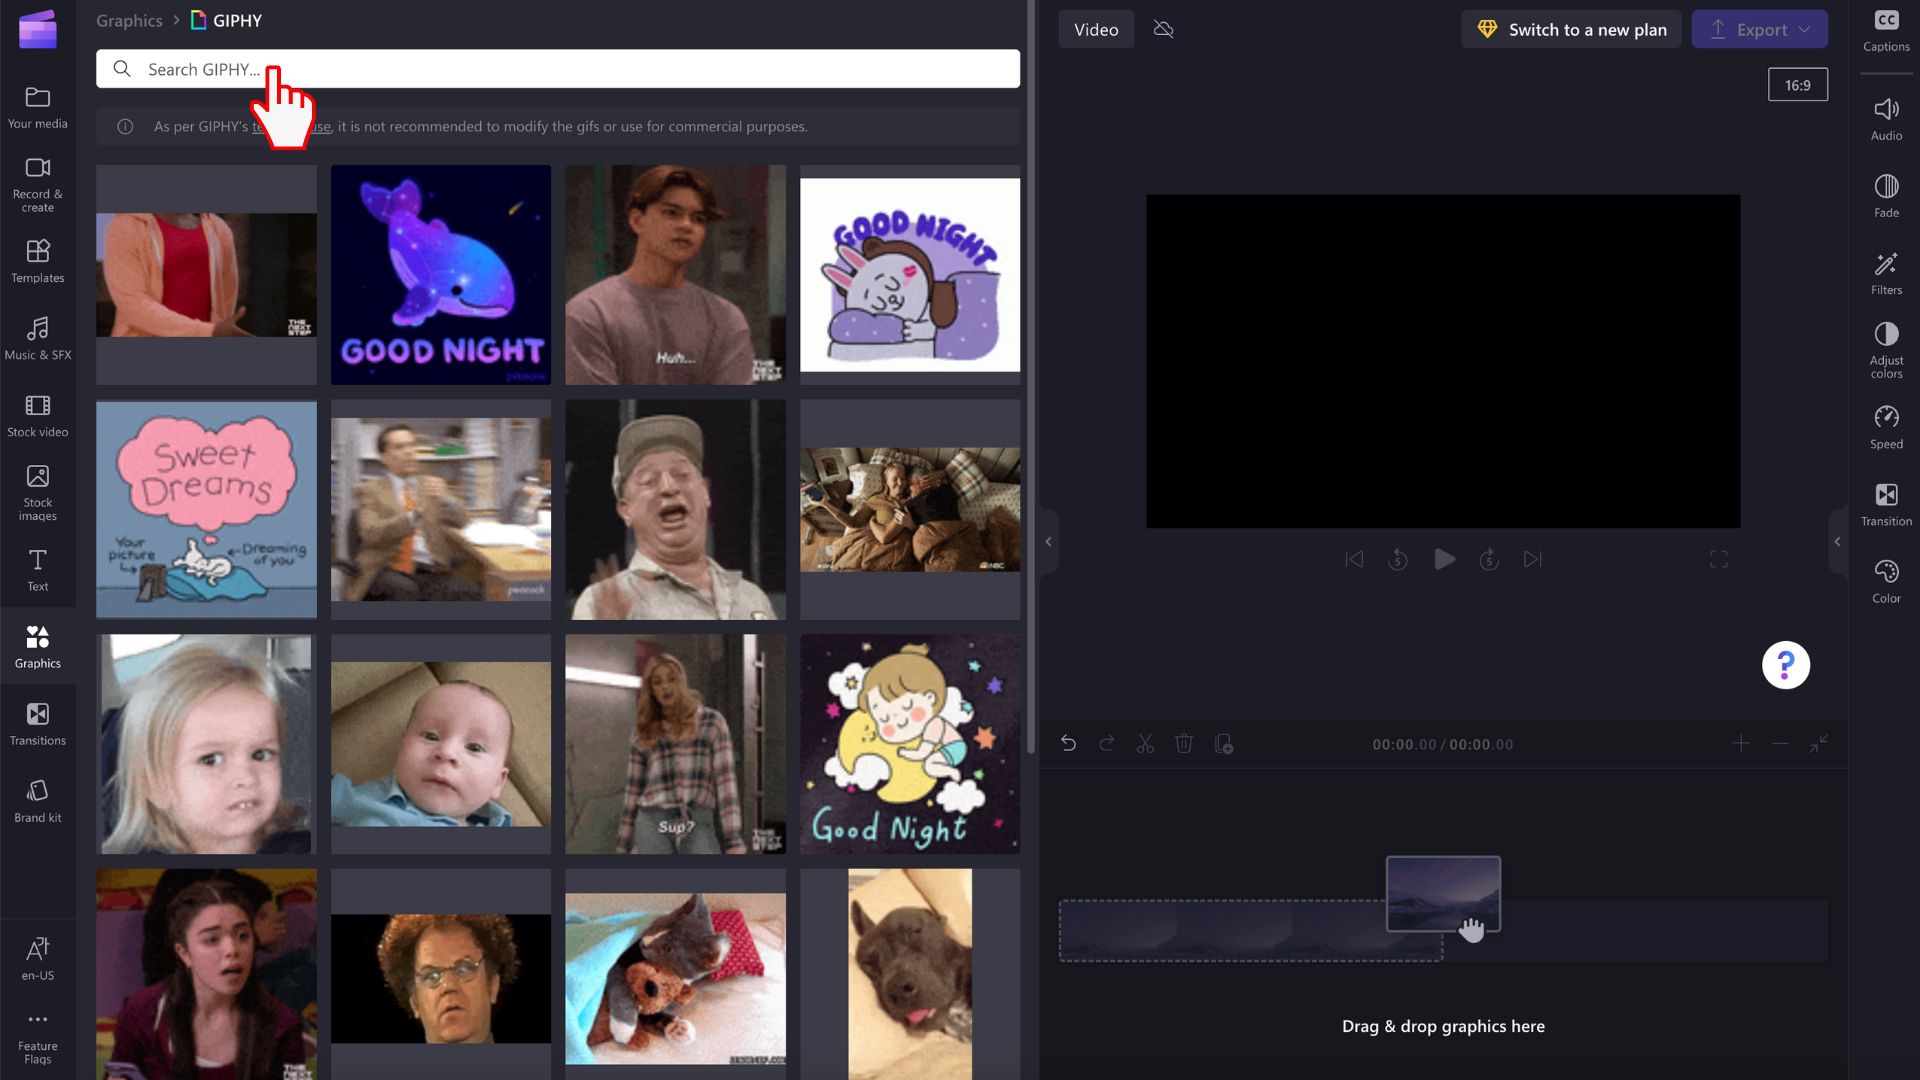
Using the search bar, search for a specific genre, or scroll through our trending GIFs.
How to edit GIFs in your video
Drag and drop a GIF onto your timeline.
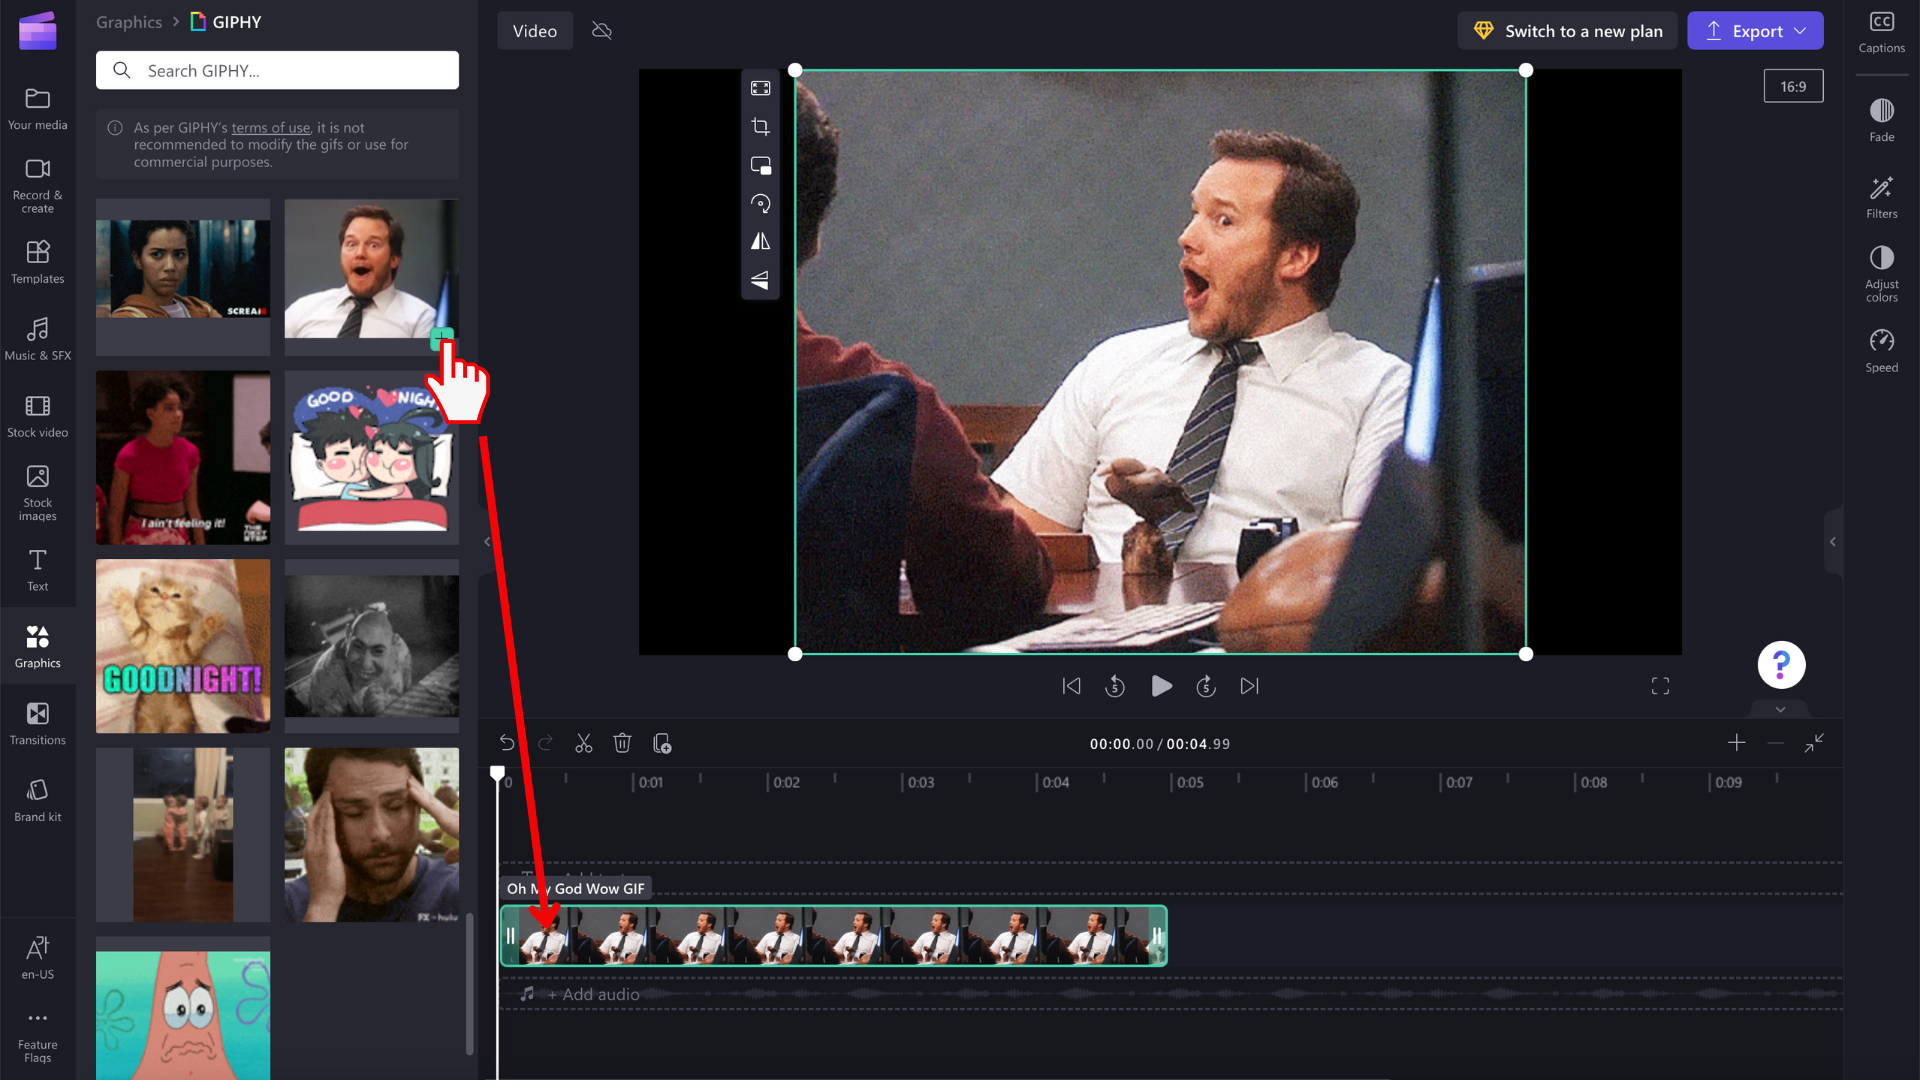
GIF images come in various sizes, so if they don't fit your video's aspect ratio, you have two options to remove the black bars on either side.
Option 1. Using the fit button
Click on your GIF on the timeline so it's highlighted green. Next, click on the fit button on the floating toolbar.
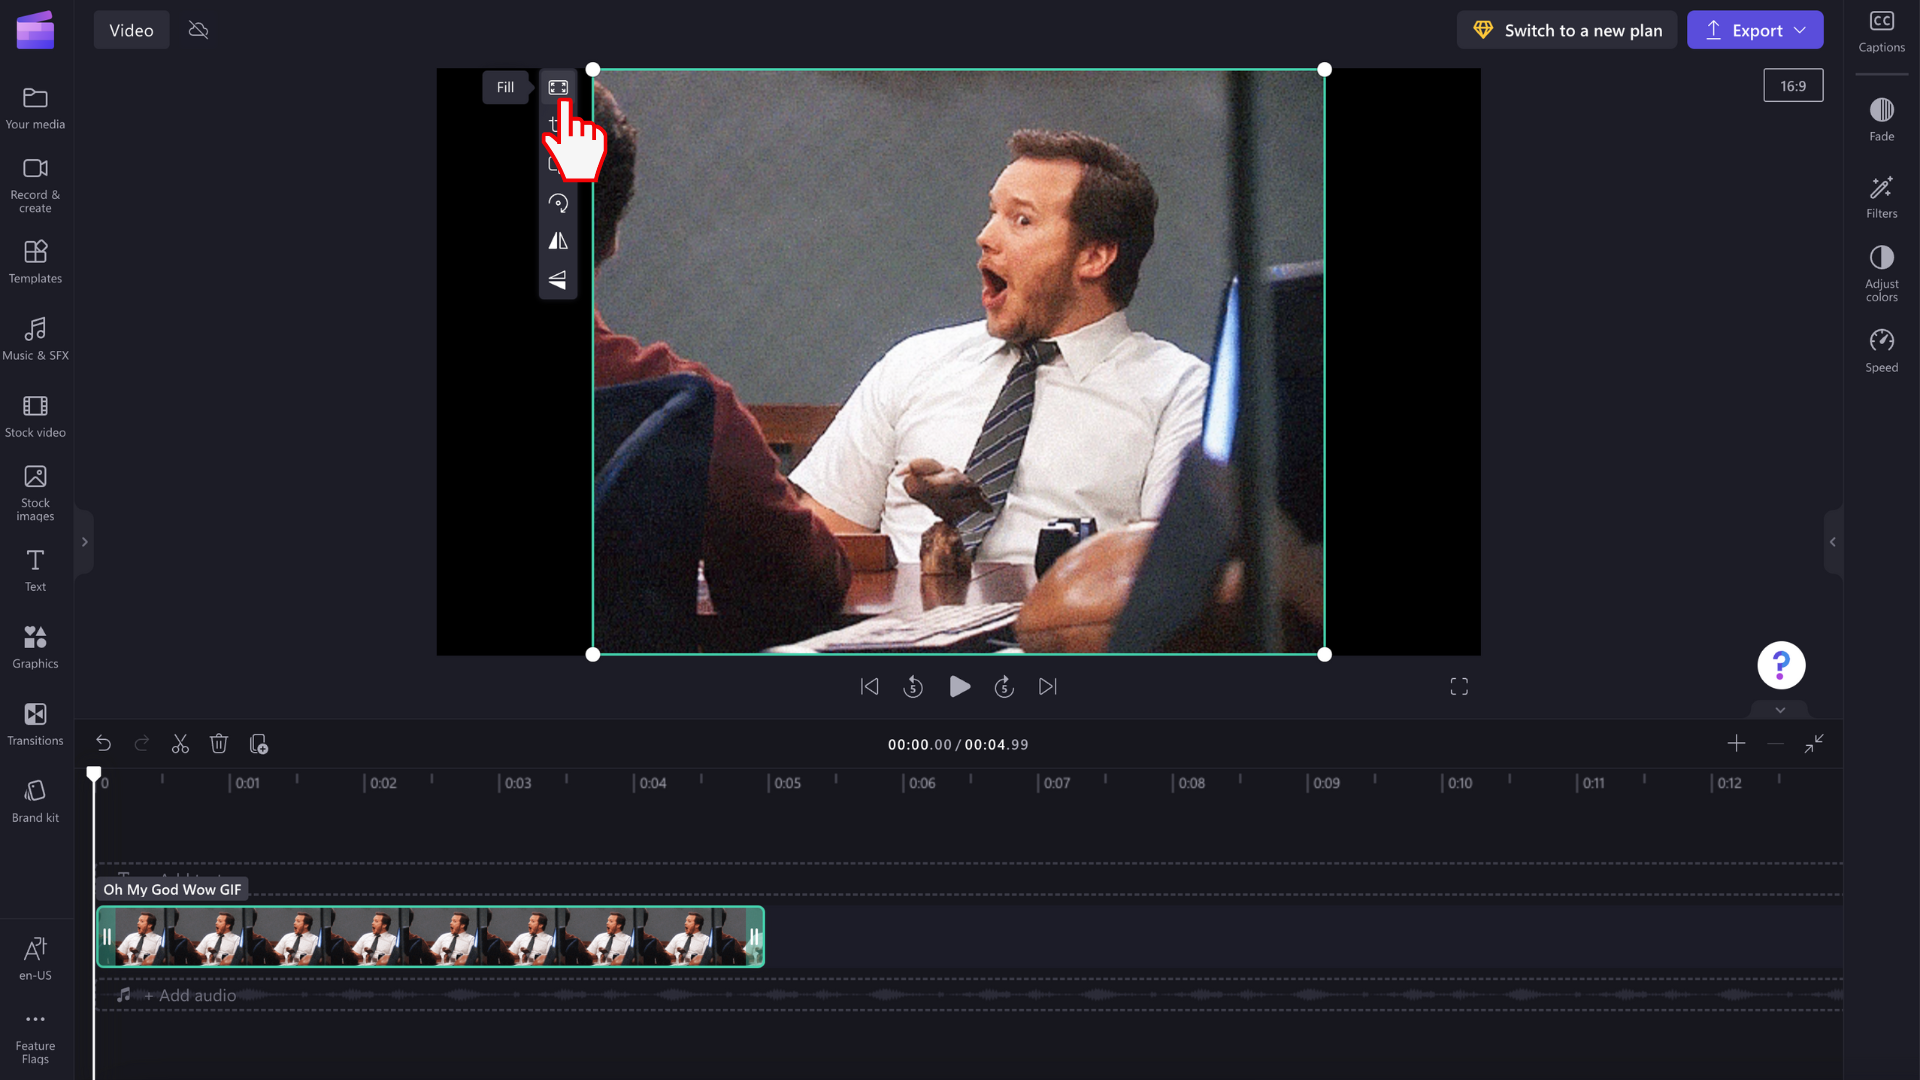
Your GIF will now be cropped to fill the video aspect ratio.
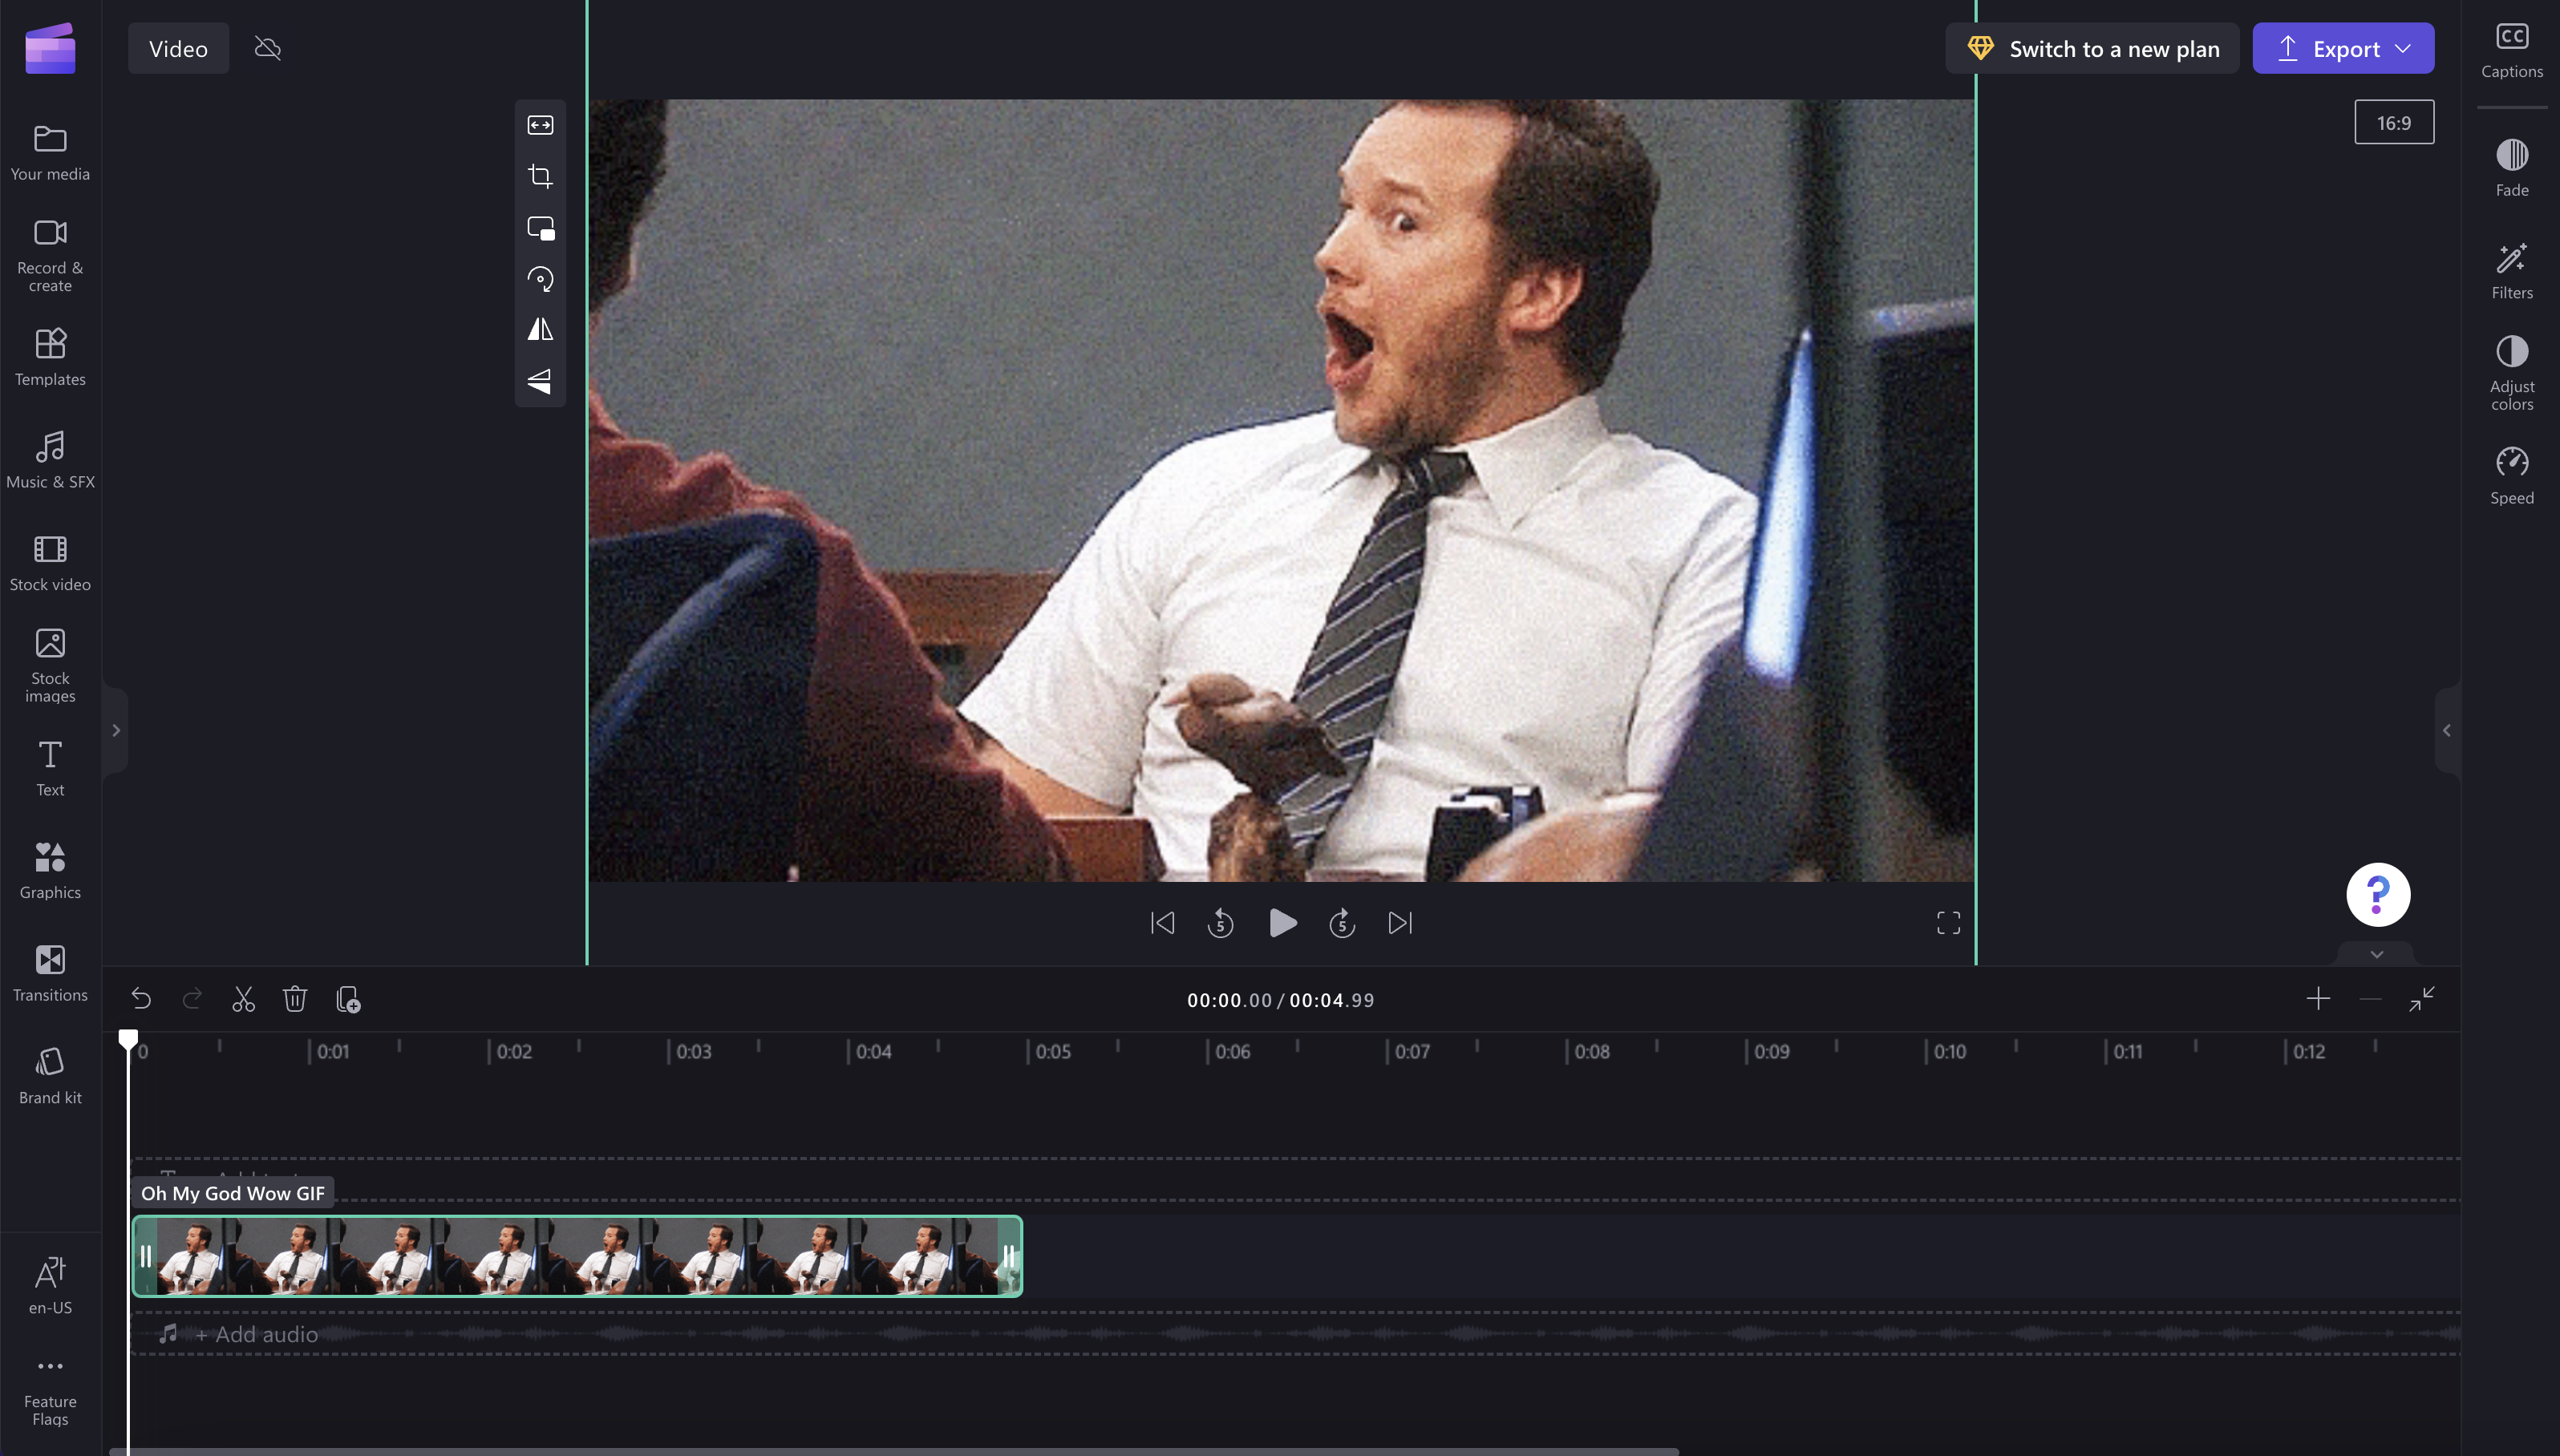
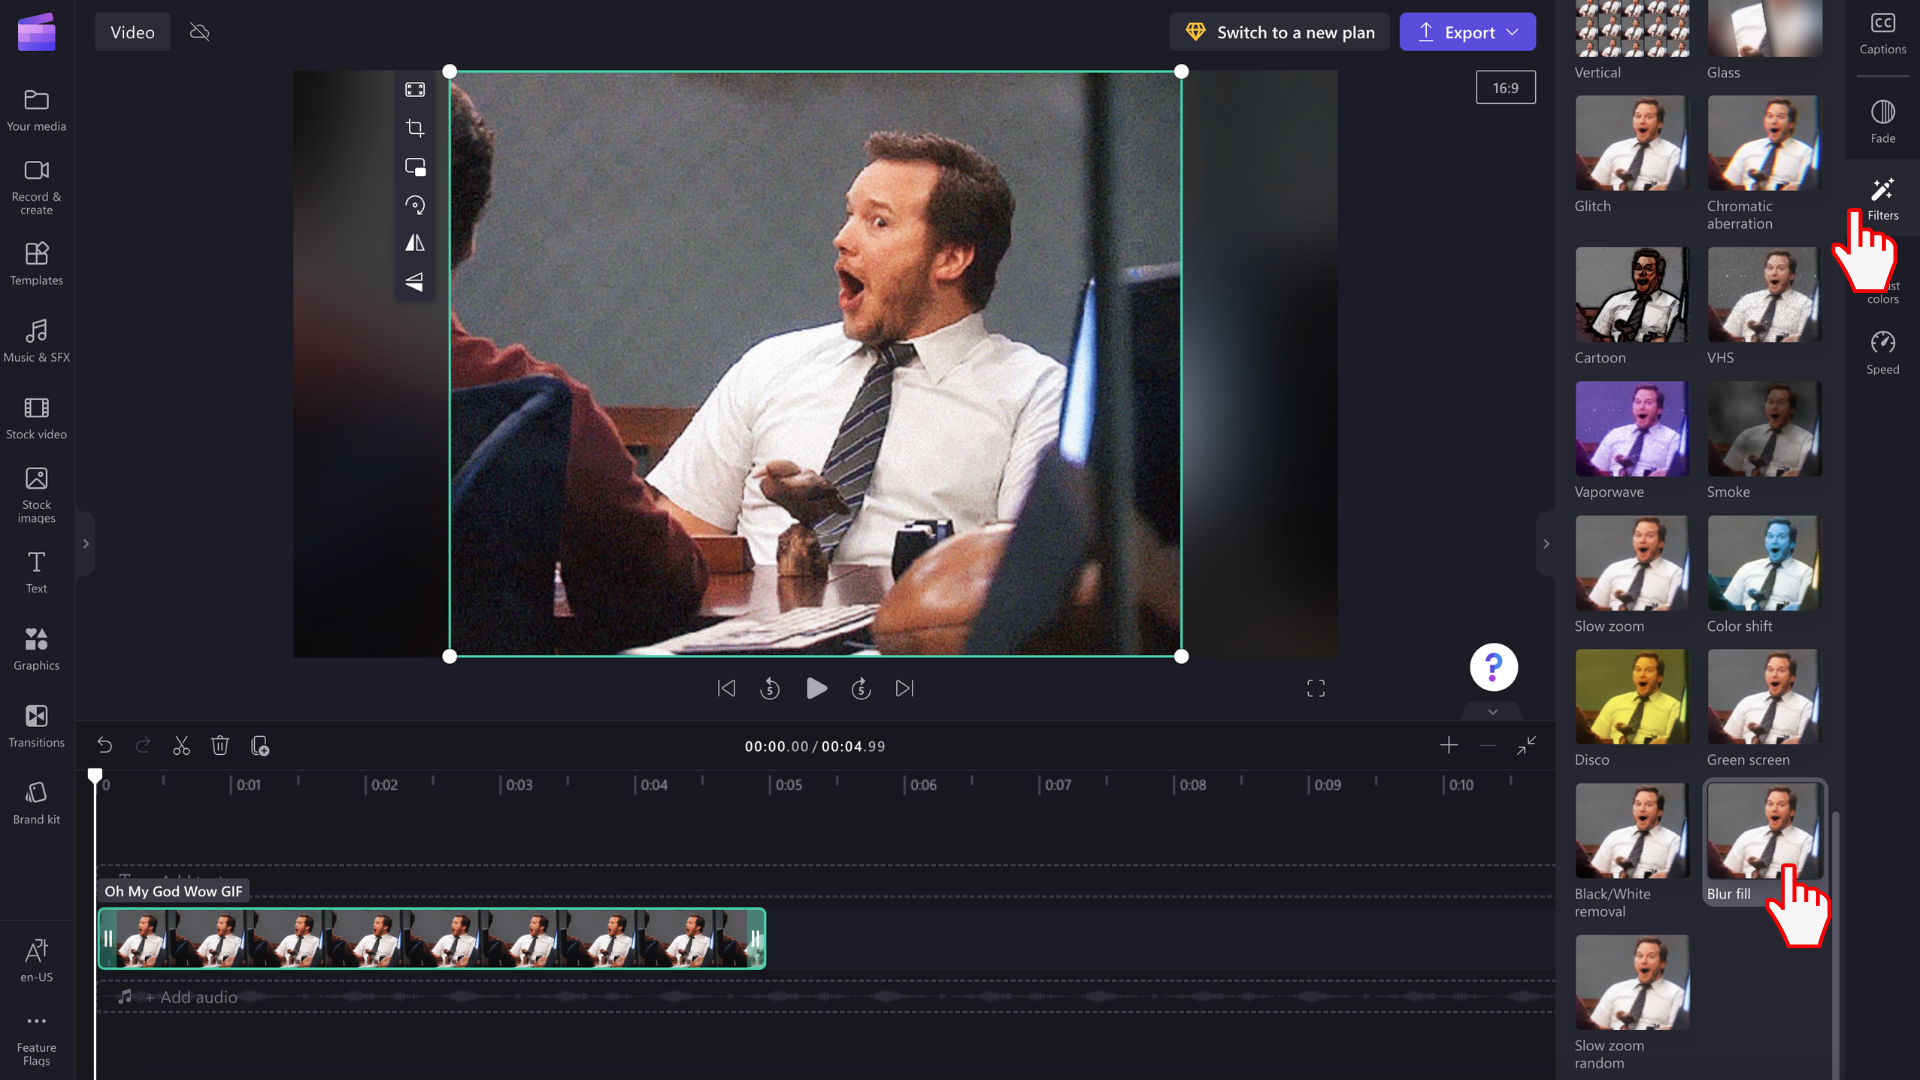
Option 2. Using the blur filter
Click on the filters tab on the property panel. Next, click on the blur filter. The black borders will now have a blurred effect.
Note that you can also trim and split image clips as you would for video clips to adjust how long they play.
Saving your GIF video
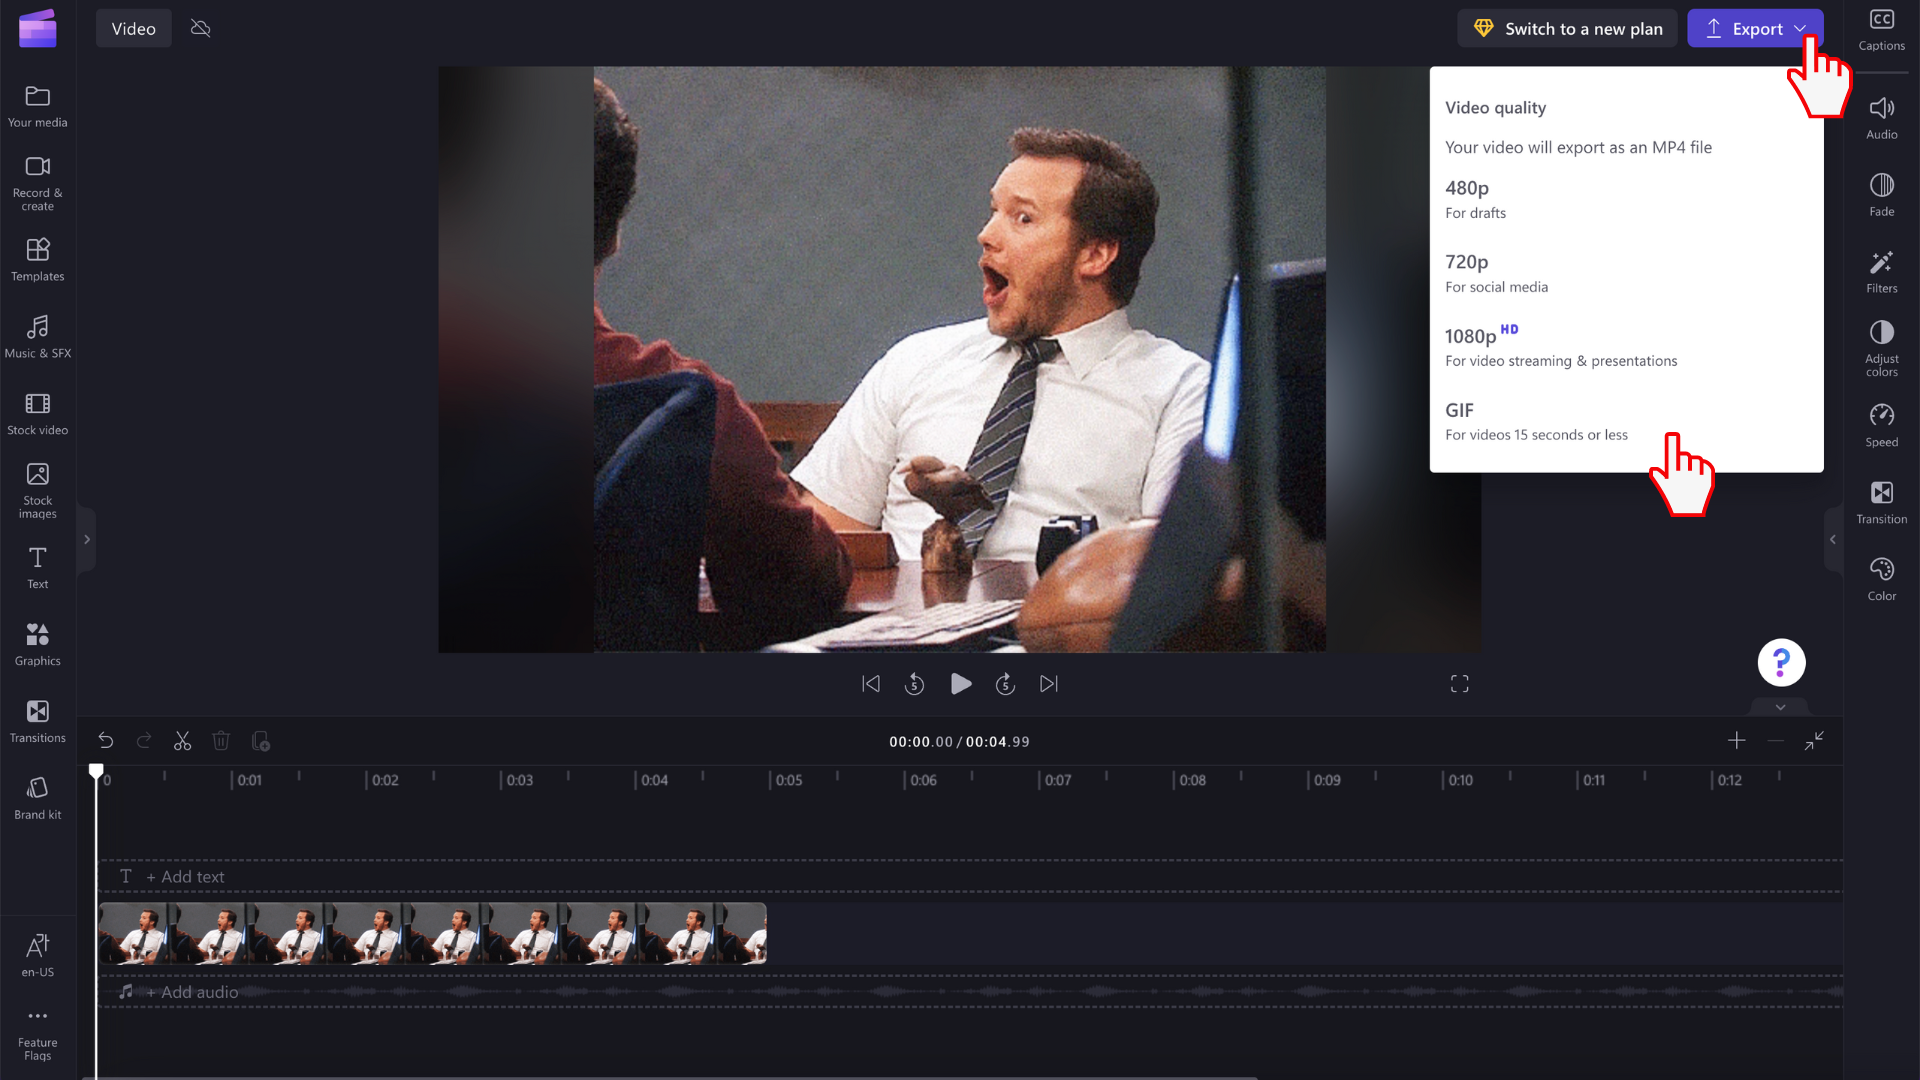
Click on the export button when you're ready to save your video. Select a video resolution to continue. You can select to save your GIF as a GIF, 480p, 720p, or 1080p.
