For commonly used email communication with customers, you can save time and reinforce your brand by creating professional-looking email templates.
What will I learn?
-
How to add your unique logo, colors, and fonts to create professional email templates for your business.
-
How to share your template with coworkers.
What do I need?
-
10 minutes
-
Outlook for Windows desktop
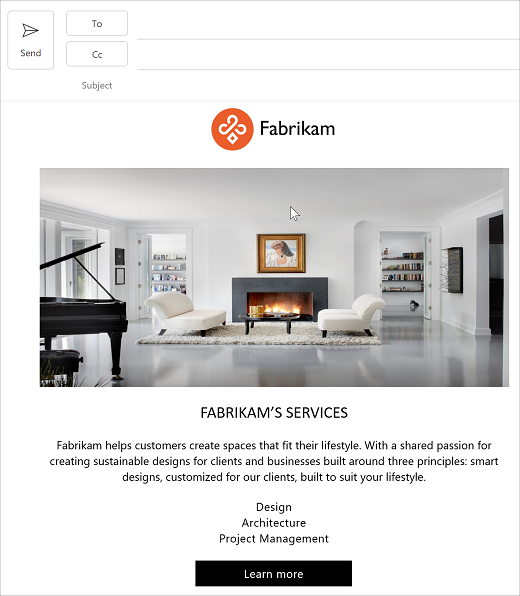
Reaching customers with branded email communication is an important part of your business. If you’re watching expenses and don’t have the time or money for email campaign software, you can create Outlook templates for commonly used emails. In this example, we’ll build an email flyer for introducing a business and its services. When we’re done, the finished flyer will look like the following example
Note: To mass email a template as part of a marketing campaign, we recommend using a 3rd-party email marketing service. If you mass email a newsletter from your own domain and enough people report it as spam, your domain could end up on spam or block lists which could make future routine email more difficult.
Create a table
You can use the design capabilities of Outlook to build your email template – right within Outlook. When designing a template in Outlook, one of the most important design capabilities is Tables. With tables, you can organize the content in the email message and build the template so it looks good on desktop or mobile devices.
-
In Outlook select New Email.
-
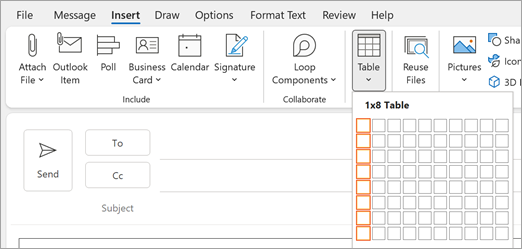
Place your cursor in the message body where you want to insert the table and then select Insert > Table > Insert Table. Select the number of columns and rows you want. For the example, you’ll want 11 rows, but you can only select 8 from the Table option, so select eight rows.
-
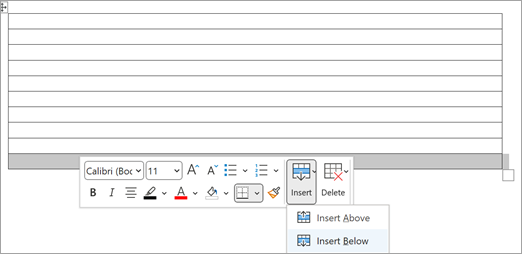
For this example, we’ll need eleven rows with one column as shown in the following illustration. Place your cursor in the bottom row, right-click, and then add 3 rows until you have 11 rows.
Center the table
It’s a good idea to center the table in the email message. This will help your content to render nicely on a mobile device or email clients of different sizes.
-
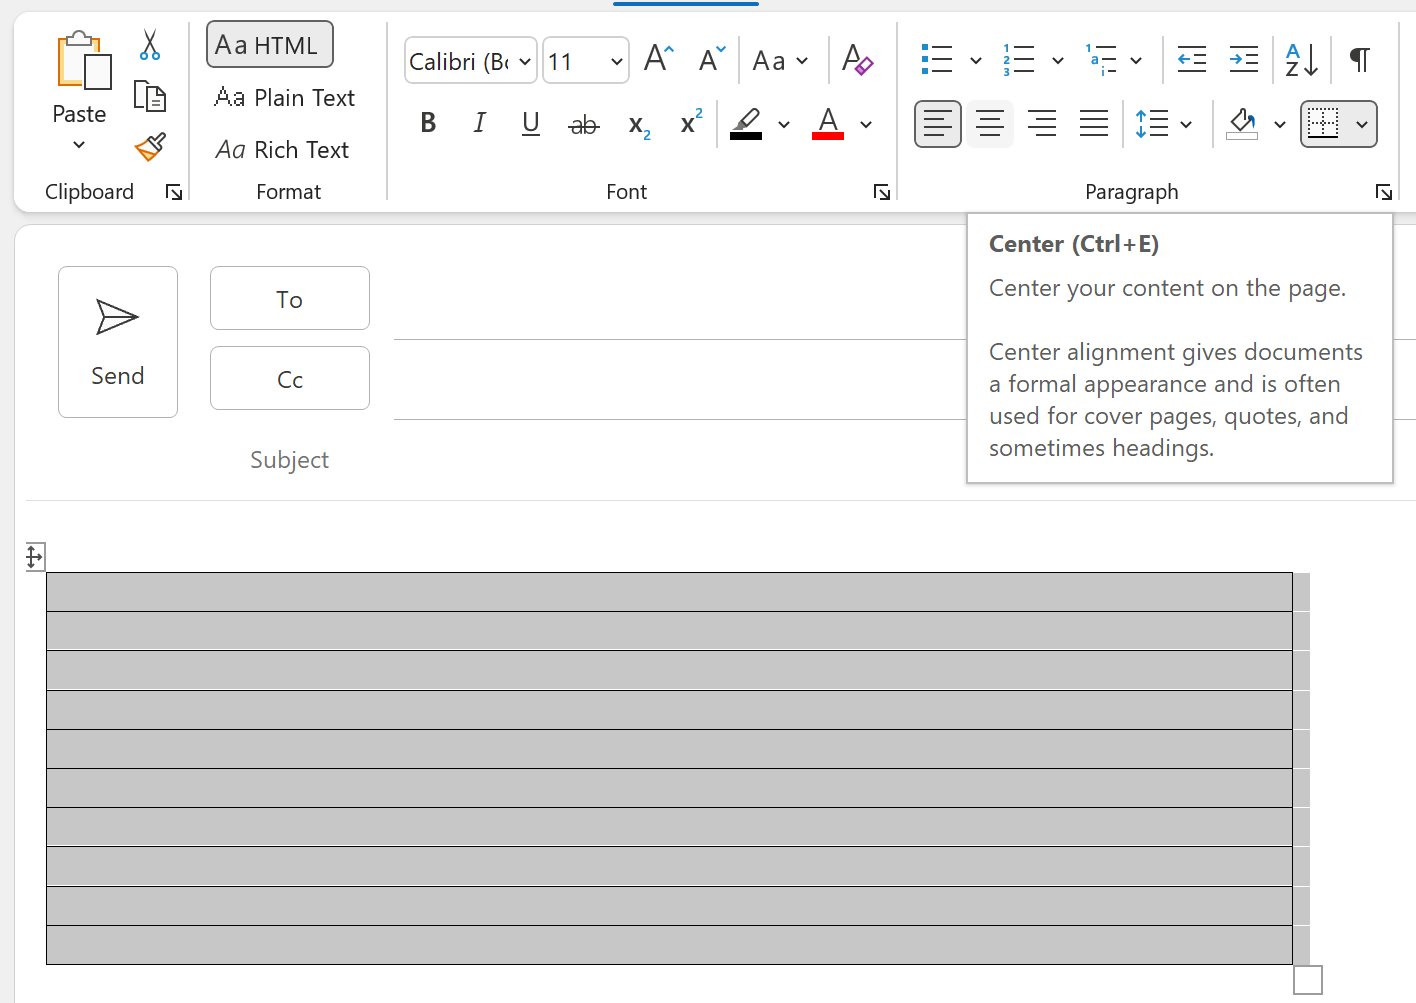
Select the table, select Format Text, and then select the Center button.
Add a logo
-
Insert the cursor in the top row and then select Insert and then select Insert Pictures.
-
Select a logo image you want to add to the top row. In this example, we are inserting the Fabrikam logo from a OneDrive location.
Add an image
When adding images, you’ll want to ensure that the image looks good, but is not so big that it takes seconds to load.
-
Insert the cursor in the top row, select Insert and then select Insert Pictures.
-
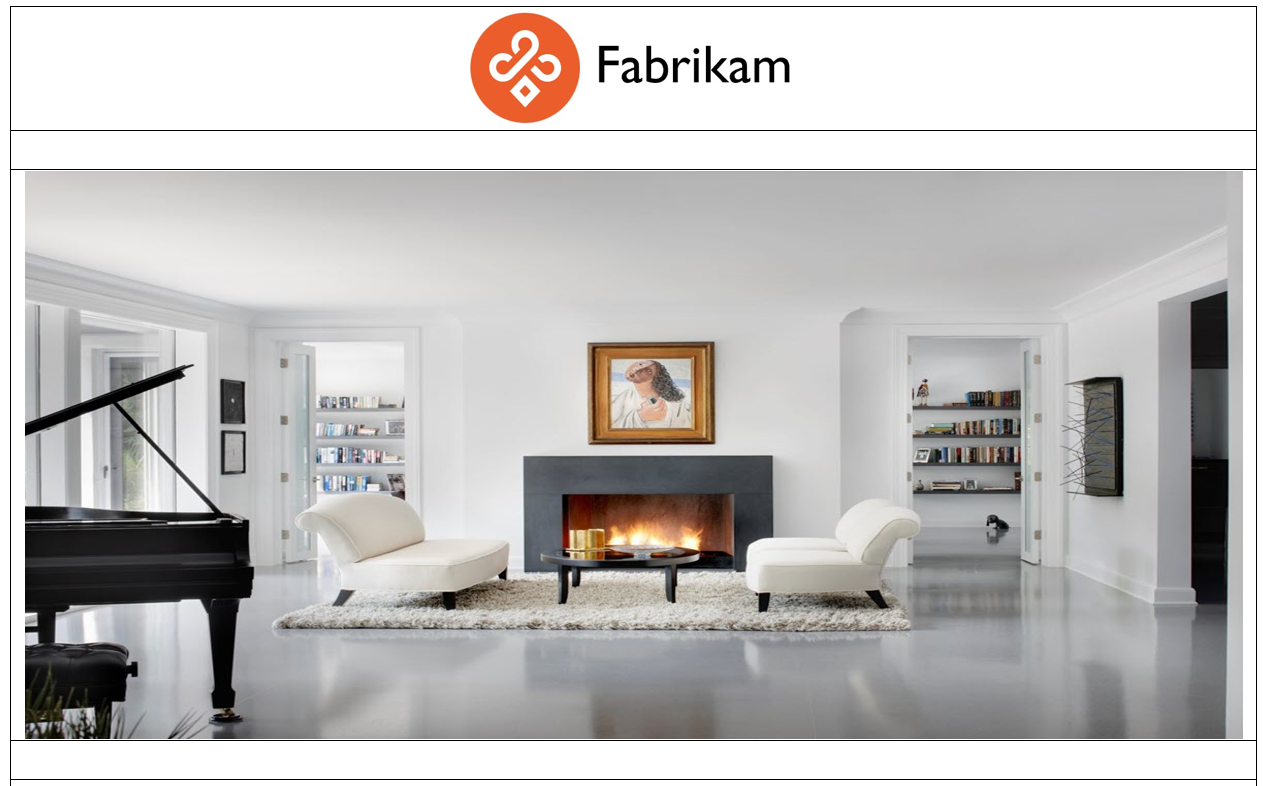
Select an image you want to add to the third row. In this example, we’ll insert a .png image wth the following dimensions: 1180 width x 780 height.
Add the header text
-
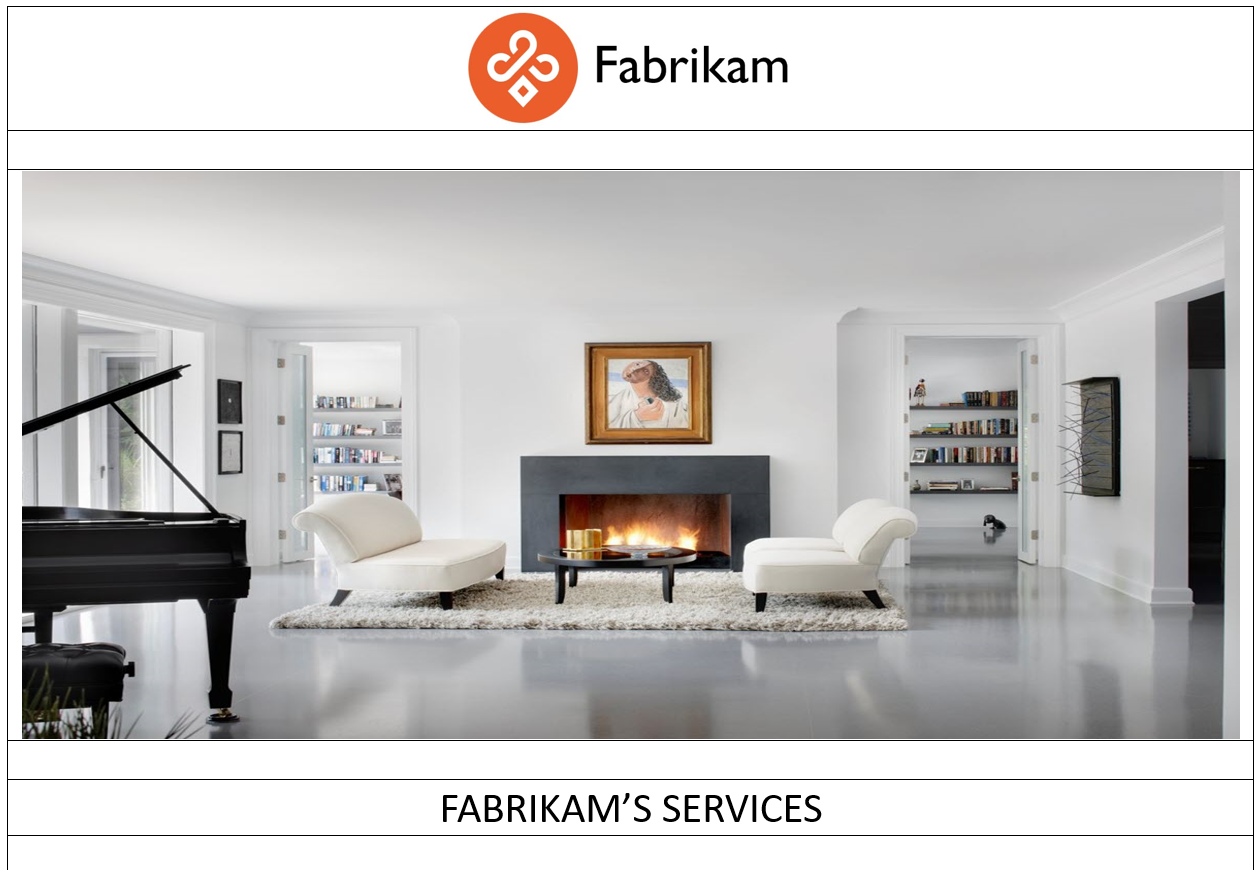
Now let’s skip a line and add the headline and the description text and center it. In this example, we’ll add FABRIKAM DESIGN SERVICES as the text. Select the text, right-click, center the text with the Center button, and then select Segeo UI font and font size 14 as shown in the following example.
Add the description text
-
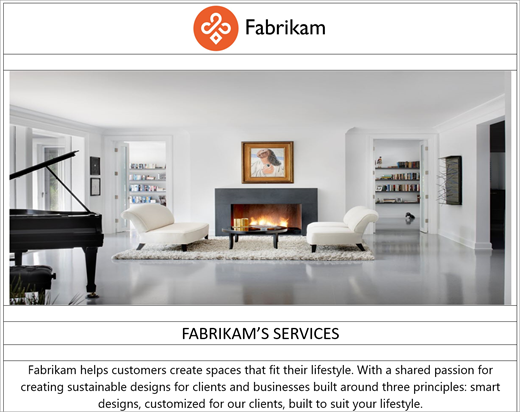
Skip a row and then add description text for your business. We’ll use Segoe UI as the font and 11 as the font size. Center the text. Follow the instructions in the previous step to center the text and select the font and font size. Your template should now look something like the example.
Add the list of services
-
Place the cursor in the row and then add the text, center it, and then hit ENTER.
-
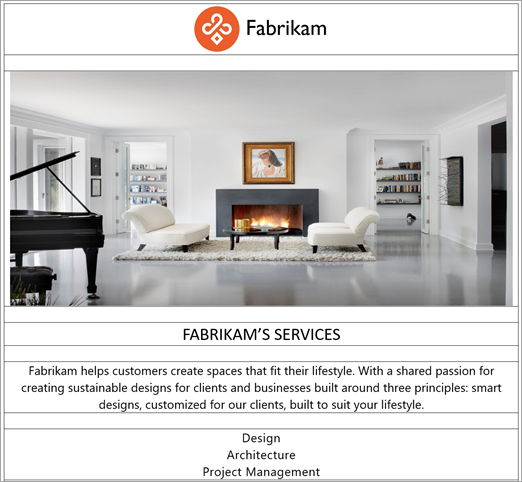
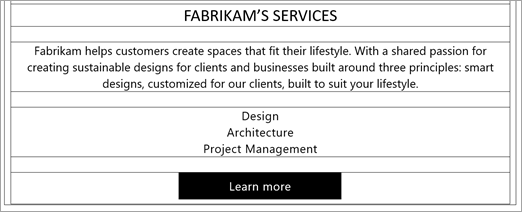
Repeat to add several lines of text to the list. When you are finished the template might look like the following.
Add a Call to Action button
It’s important to have a Call to Action. In this example, we’ll create a Call to Action button that links back to the Fabrikam Web site. We’ll build the Call to Action button with table cells so the button looks good on both mobile and desktop devices. First, well add a table with three columns to the bottom row of the table.
-
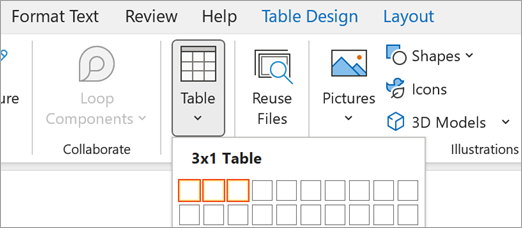
Place the cursor in the bottom row of the table, select Insert > Table, and then select one row with two columns as shown in the following example:
-
In the middle cell of the table, type Learn more.
-
Select the text, right-click, and then click the Center button.
-
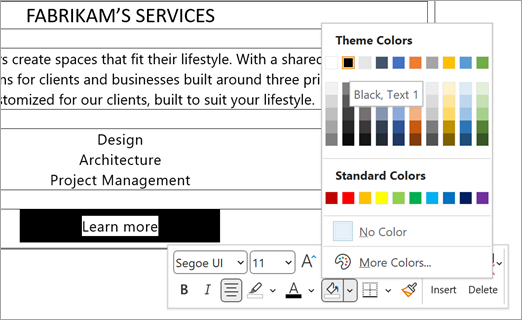
Right-click inside the middle cell, select Shading, and then select Black.
-
Select the Learn more text, right-click, select the Text highlight button, and then select Black
-
Select the Learn more text, right-click, select the Font color button, and then select White.
Add a link to the Call to Action button
-
Select the Learn more text, right click, select Link, and then add the link to the destination where you want the user to go.
-
Select OK.
-
If the link text turns blue and underlined, you can right-click and then use the Quick bar to set the text back to white and remove the underline. As shown in the following example, the Call to Action button now looks like the following example.
Turn the table borders off
-
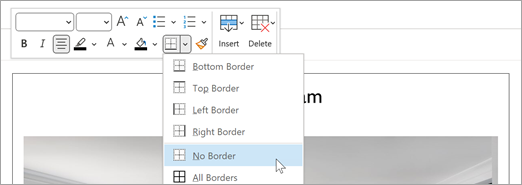
In the upper-left corner of the table, click the table handle, click the Borders button, and then select No Border.
You can save the template as an .oft template file, but it’s easier to save, retrieve, and share with others as a Quick Part.
-
Select all the elements of the table you just built.
-
Select Insert > Quick Parts > Save Selection to Quick Parts Gallery.
-
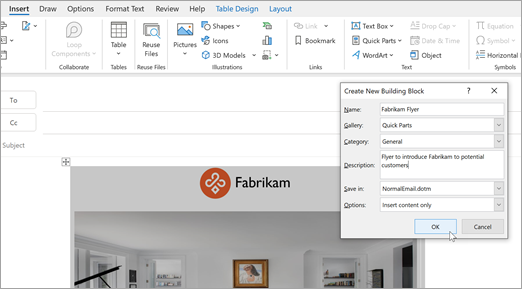
Provide a Name and Description for the Quick Part and then select OK.
Whenever you need to use the template, you can simply insert it into an email message, address the email to a potential customer or contact group of customers, and then click Send.
-
In Outlook select New Email.
-
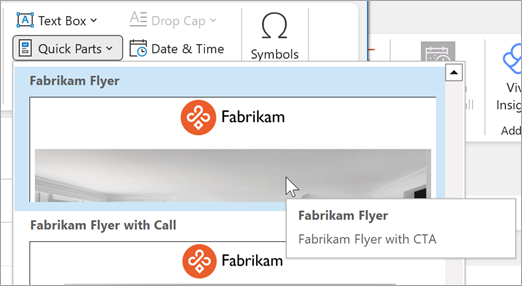
Place the cursor where you want to place the template, and then select Insert > Quick Parts, and then select the Quick Part you want to insert.
When everyone at your business uses the same branded template, it makes communicating your brand much easier and more consistent. In previous steps we recommended saving the template in the Quick Parts Gallery for easy storage and retrieval. When you want to share the template with coworkers, we recommend sending the template in email and instructing the recipients to copy the template contents to their Quick Parts Gallery.
-
In Outlook, select New Email.
-
Follow the instructions in Step 3 to add the template to an email message from the Quick Parts Gallery.
-
Copy the information from Step 2 into the email message to instruct coworkers to save the template into their Quick Parts Gallery.

