Important: This article is for educators who already have the the Microsoft 365 LTI app set up in their LMS. For deployment instructions, go here: aka.ms/LMSAdminDocs
Use OneNote Class Notebook with your LMS to create a shared notebook and link it to your course. Existing and new students enrolled in your LMS course can access the notebook automatically without you having to add their names.
Create your Class Notebook
-
Navigate to the Microsoft Education app in your Learning Management System
-
Select Class Notebook
-
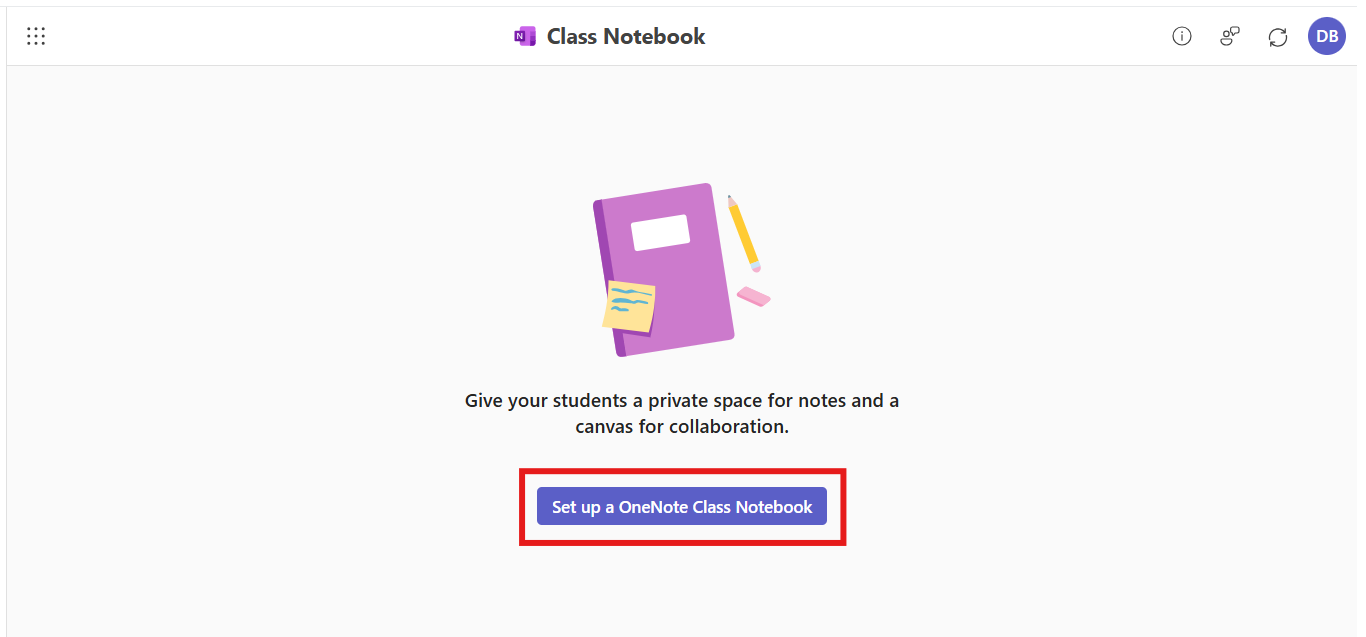
Select Set up a OneNote Class Notebook
-
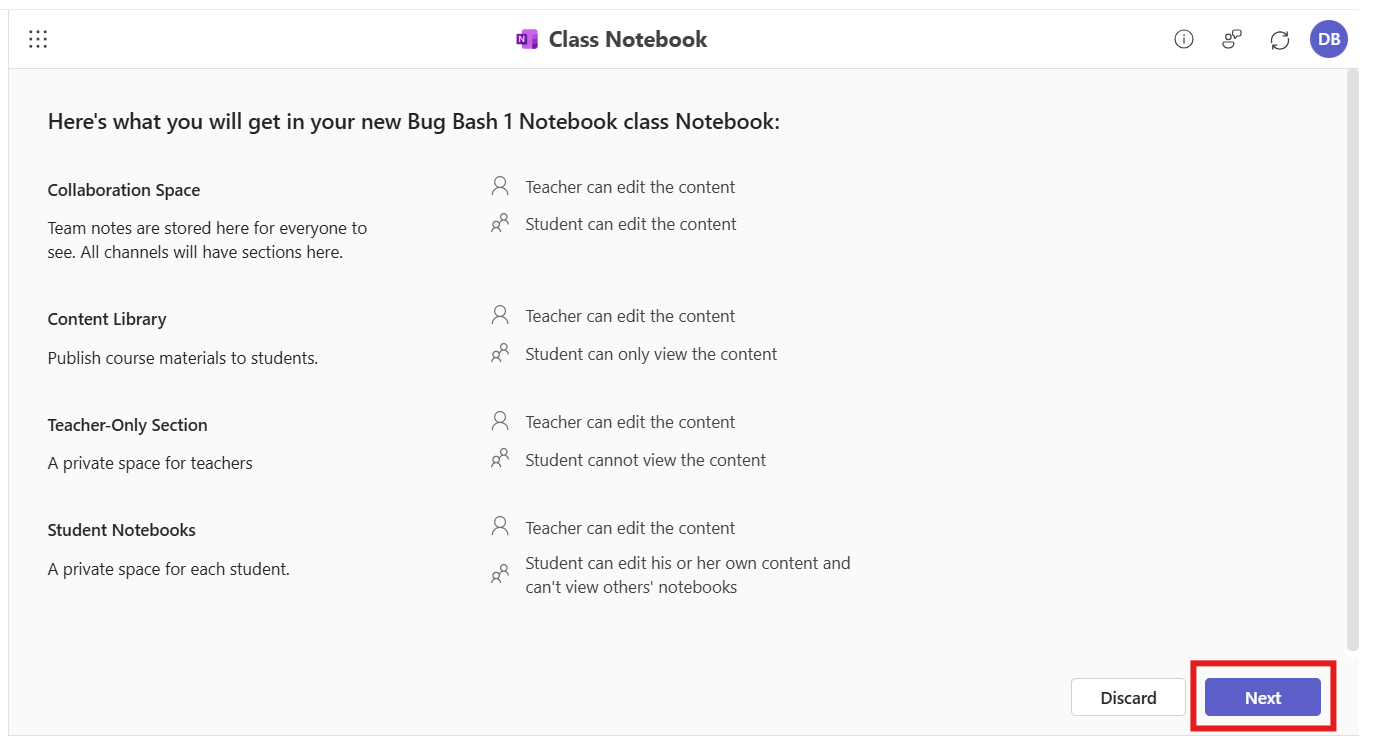
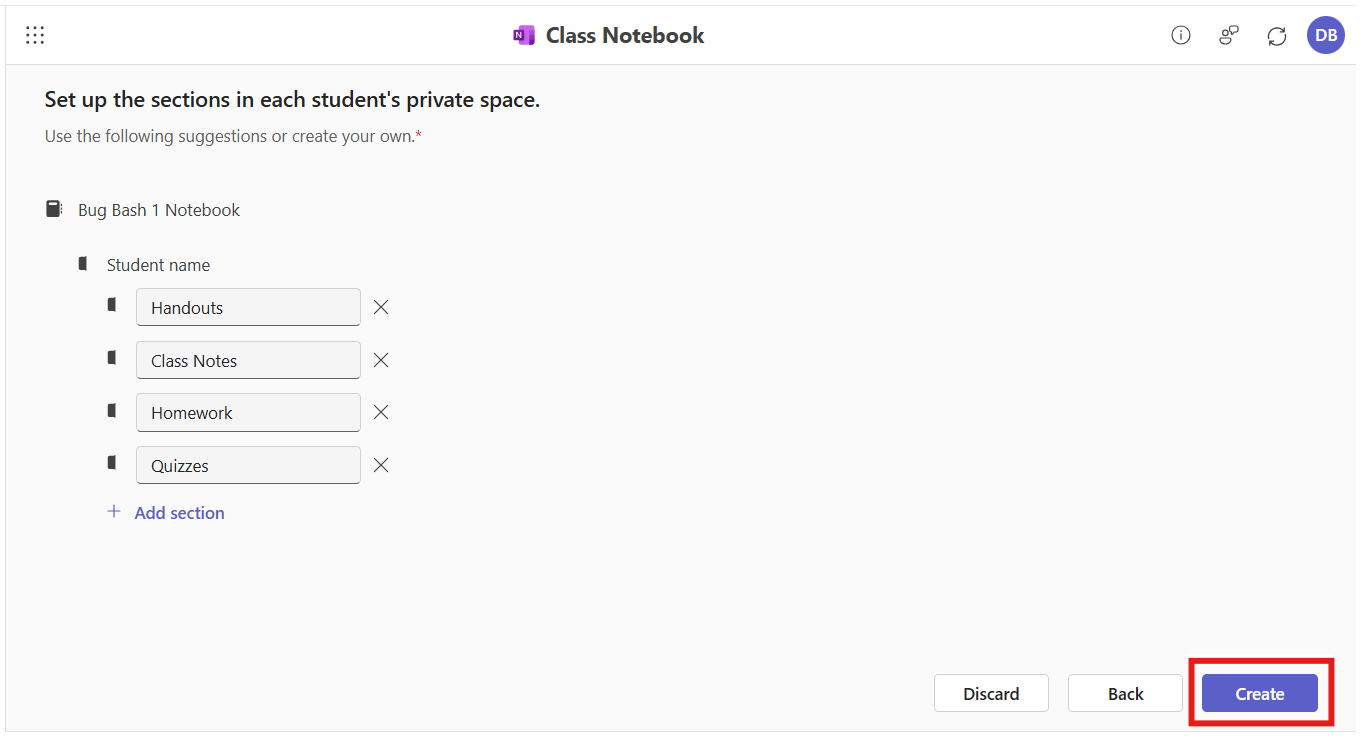
Select Next, then review and edit the content sections for your new notebook
-
When you're happy with the way things are set up, select Create
-
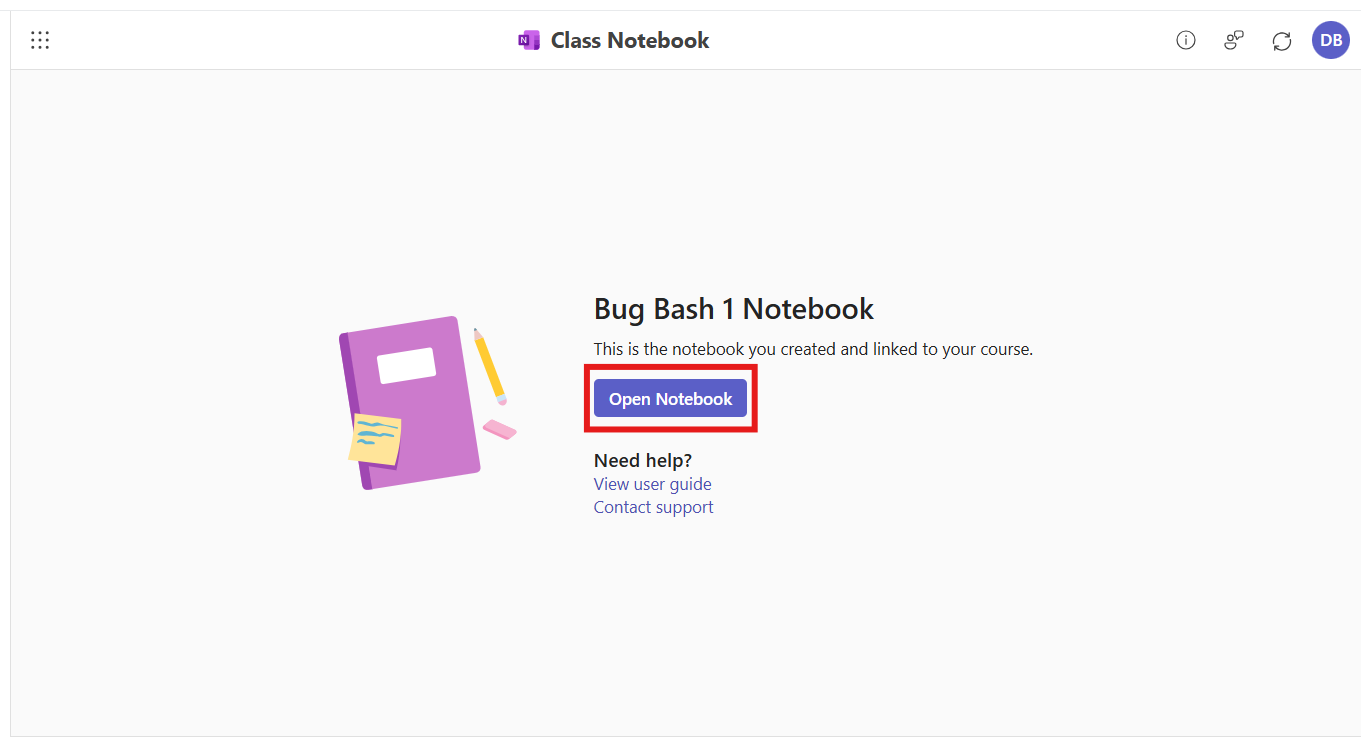
To check out your new notebook, simply select Open Notebook, which will open your Notebook in OneNote Online. And that's it!
Manage students and co-teachers
You don't need to do anything to add students or co-teachers to your notebook -- OneNote Class Notebook will automatically add learners (as students) and educators (as co-teachers) as they access it in the Microsoft 365 LTI app for that specific course.
If you're noticing issues with the automatic roster sync, please let us know at aks.ms/EDUSupport.


