
Get a cellular data connection on your Surface Duo, Surface Duo 2, Surface Pro X, Surface Pro (5th Gen) with LTE Advanced, Surface Pro 7+ with LTE Advanced, Surface Pro 8 with LTE Advanced, Surface Pro 9 with 5G, or Surface Go with LTE Advanced. You'll need a nano SIM from your mobile carrier before you get started.
Before you start
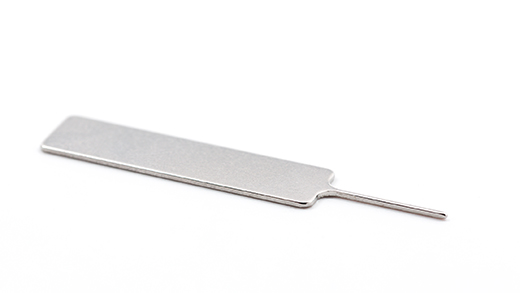
Your Surface comes with a SIM ejector tool. To find it, look for an instruction card in the box your Surface was packaged in. You’ll need this tool to place a SIM card in your Surface.
-
Do one of the following on your Surface Duo, depending on if the Surface Duo Bumper is on or off:
-
If the bumper is off (recommended), locate the SIM card tray near the bottom-right corner.
-
If the bumper is attached, near the bottom-right corner, take the SIM ejector tool and use it to lift the small silicone tab up.
-
-
Insert the SIM ejector tool into the small hole and gently press in to eject the SIM card tray.
-
Remove the SIM card tray from the slot. Keep it face up.
Note: If the bumper is attached, the SIM card tray may not come all the way out. If this occurs, slightly insert the SIM ejector tool back into the hole for the SIM card tray, and then gently angle the tool and pull the tray all the way out. You might be able to grab the longer end of the SIM tray with your fingernails to remove it. -
Place the nano SIM card face up in the SIM card tray. Make sure the small notch in the corner of the SIM card matches the one in the SIM card tray so that it fits properly. The words or logo on the SIM card should be facing up.
-
Slide the SIM card tray back into the SIM card slot until it clicks. The small hole in the SIM card tray should be closest to the bottom-right corner. Make sure the SIM card tray slides in smoothly—don't force it.
After you insert your SIM card, you’ll be ready to set up your mobile data connection on your Surface Duo.
To learn how to attach the bumper to your Surface Duo, see Attach the Surface Duo Bumper.
-
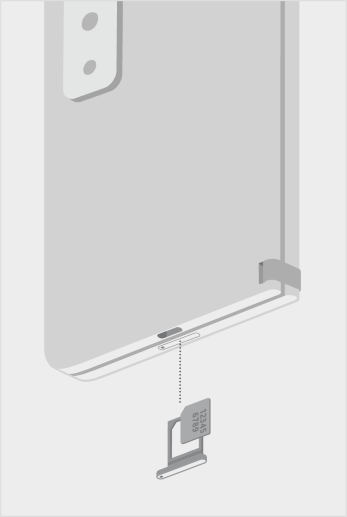
With your Surface Duo 2 closed and the triple lens rear-facing camera facing up, insert the SIM ejector tool into the small hole on the bottom of the left screen, and then gently press in to eject the SIM card tray.
-
Remove the SIM card tray from the slot. Keep it face up.
-
Place the nano SIM card face up in the SIM card tray. Make sure the small notch in the corner of the SIM card matches the one in the SIM card tray so that it fits properly. The words or logo on the SIM card should be facing up.
-
Slide the SIM card tray back into the SIM card slot. The small hole in the SIM card tray should be closest to the bottom-left corner—not towards the middle of your Surface Duo 2. Make sure the SIM card tray slides in smoothly. Don't force it.
After you insert your SIM card, you'll be ready to set up your mobile data connection on your Surface Duo.
To learn how to attach the bumper to your Surface Duo, see Attach the Surface Duo Bumper.
-
Place your Surface Pro X screen on a table and lift the kickstand to reveal the SIM door.
-
Insert the included SIM ejector tool into the small hole on the SIM door to detach it.
-
Push your SIM card into the SIM card slot until it clicks.
-
Slide the SIM door into place, then press down until it clicks.

-
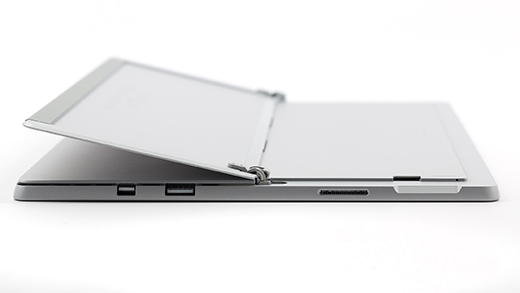
With your Surface Pro (5th Gen) with LTE Advanced facing down, gently pull out the kickstand. The kickstand has the Microsoft logo on the back.
-
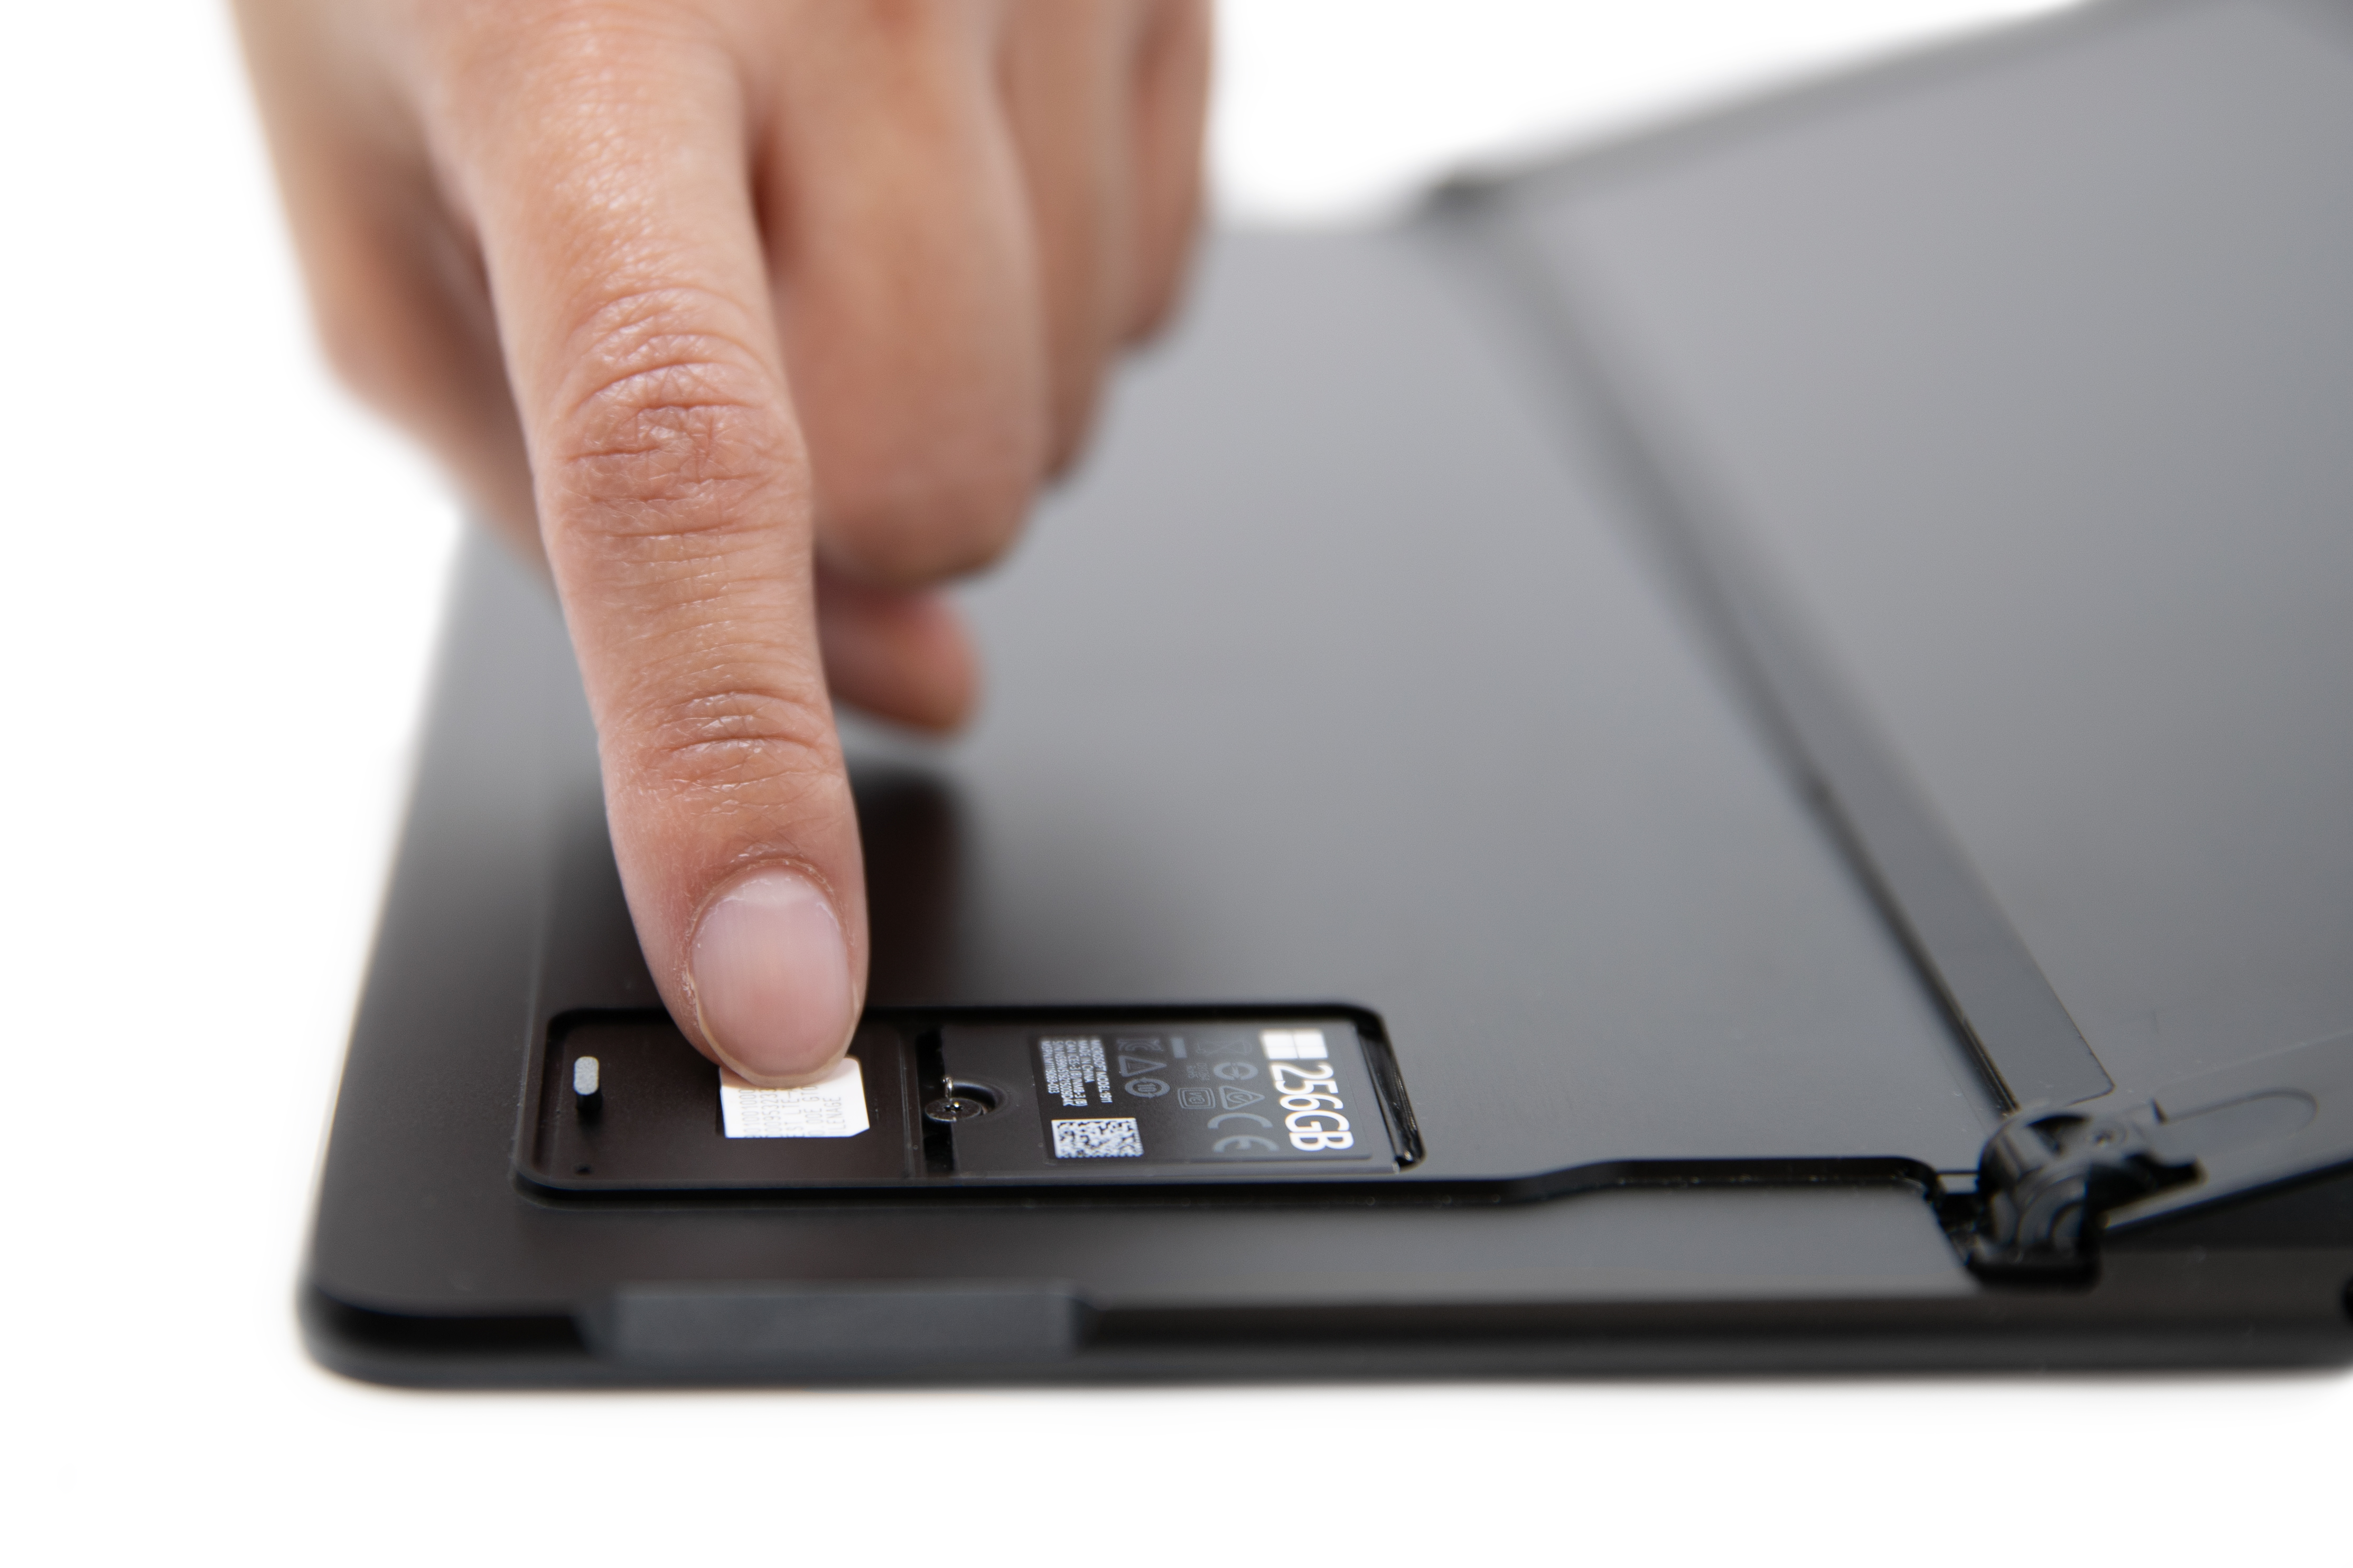
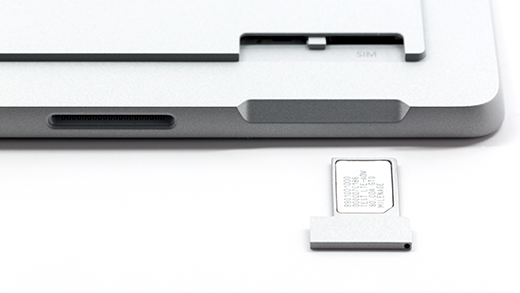
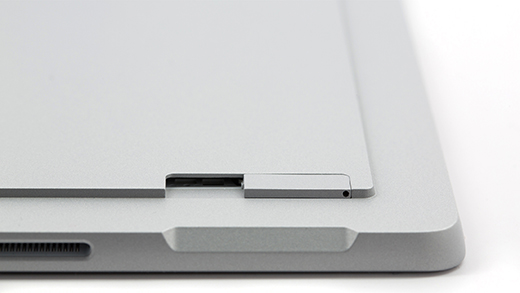
Locate your SIM card tray near the bottom-right corner and under the kickstand of your Surface Pro (5th Gen) with LTE Advanced.
-
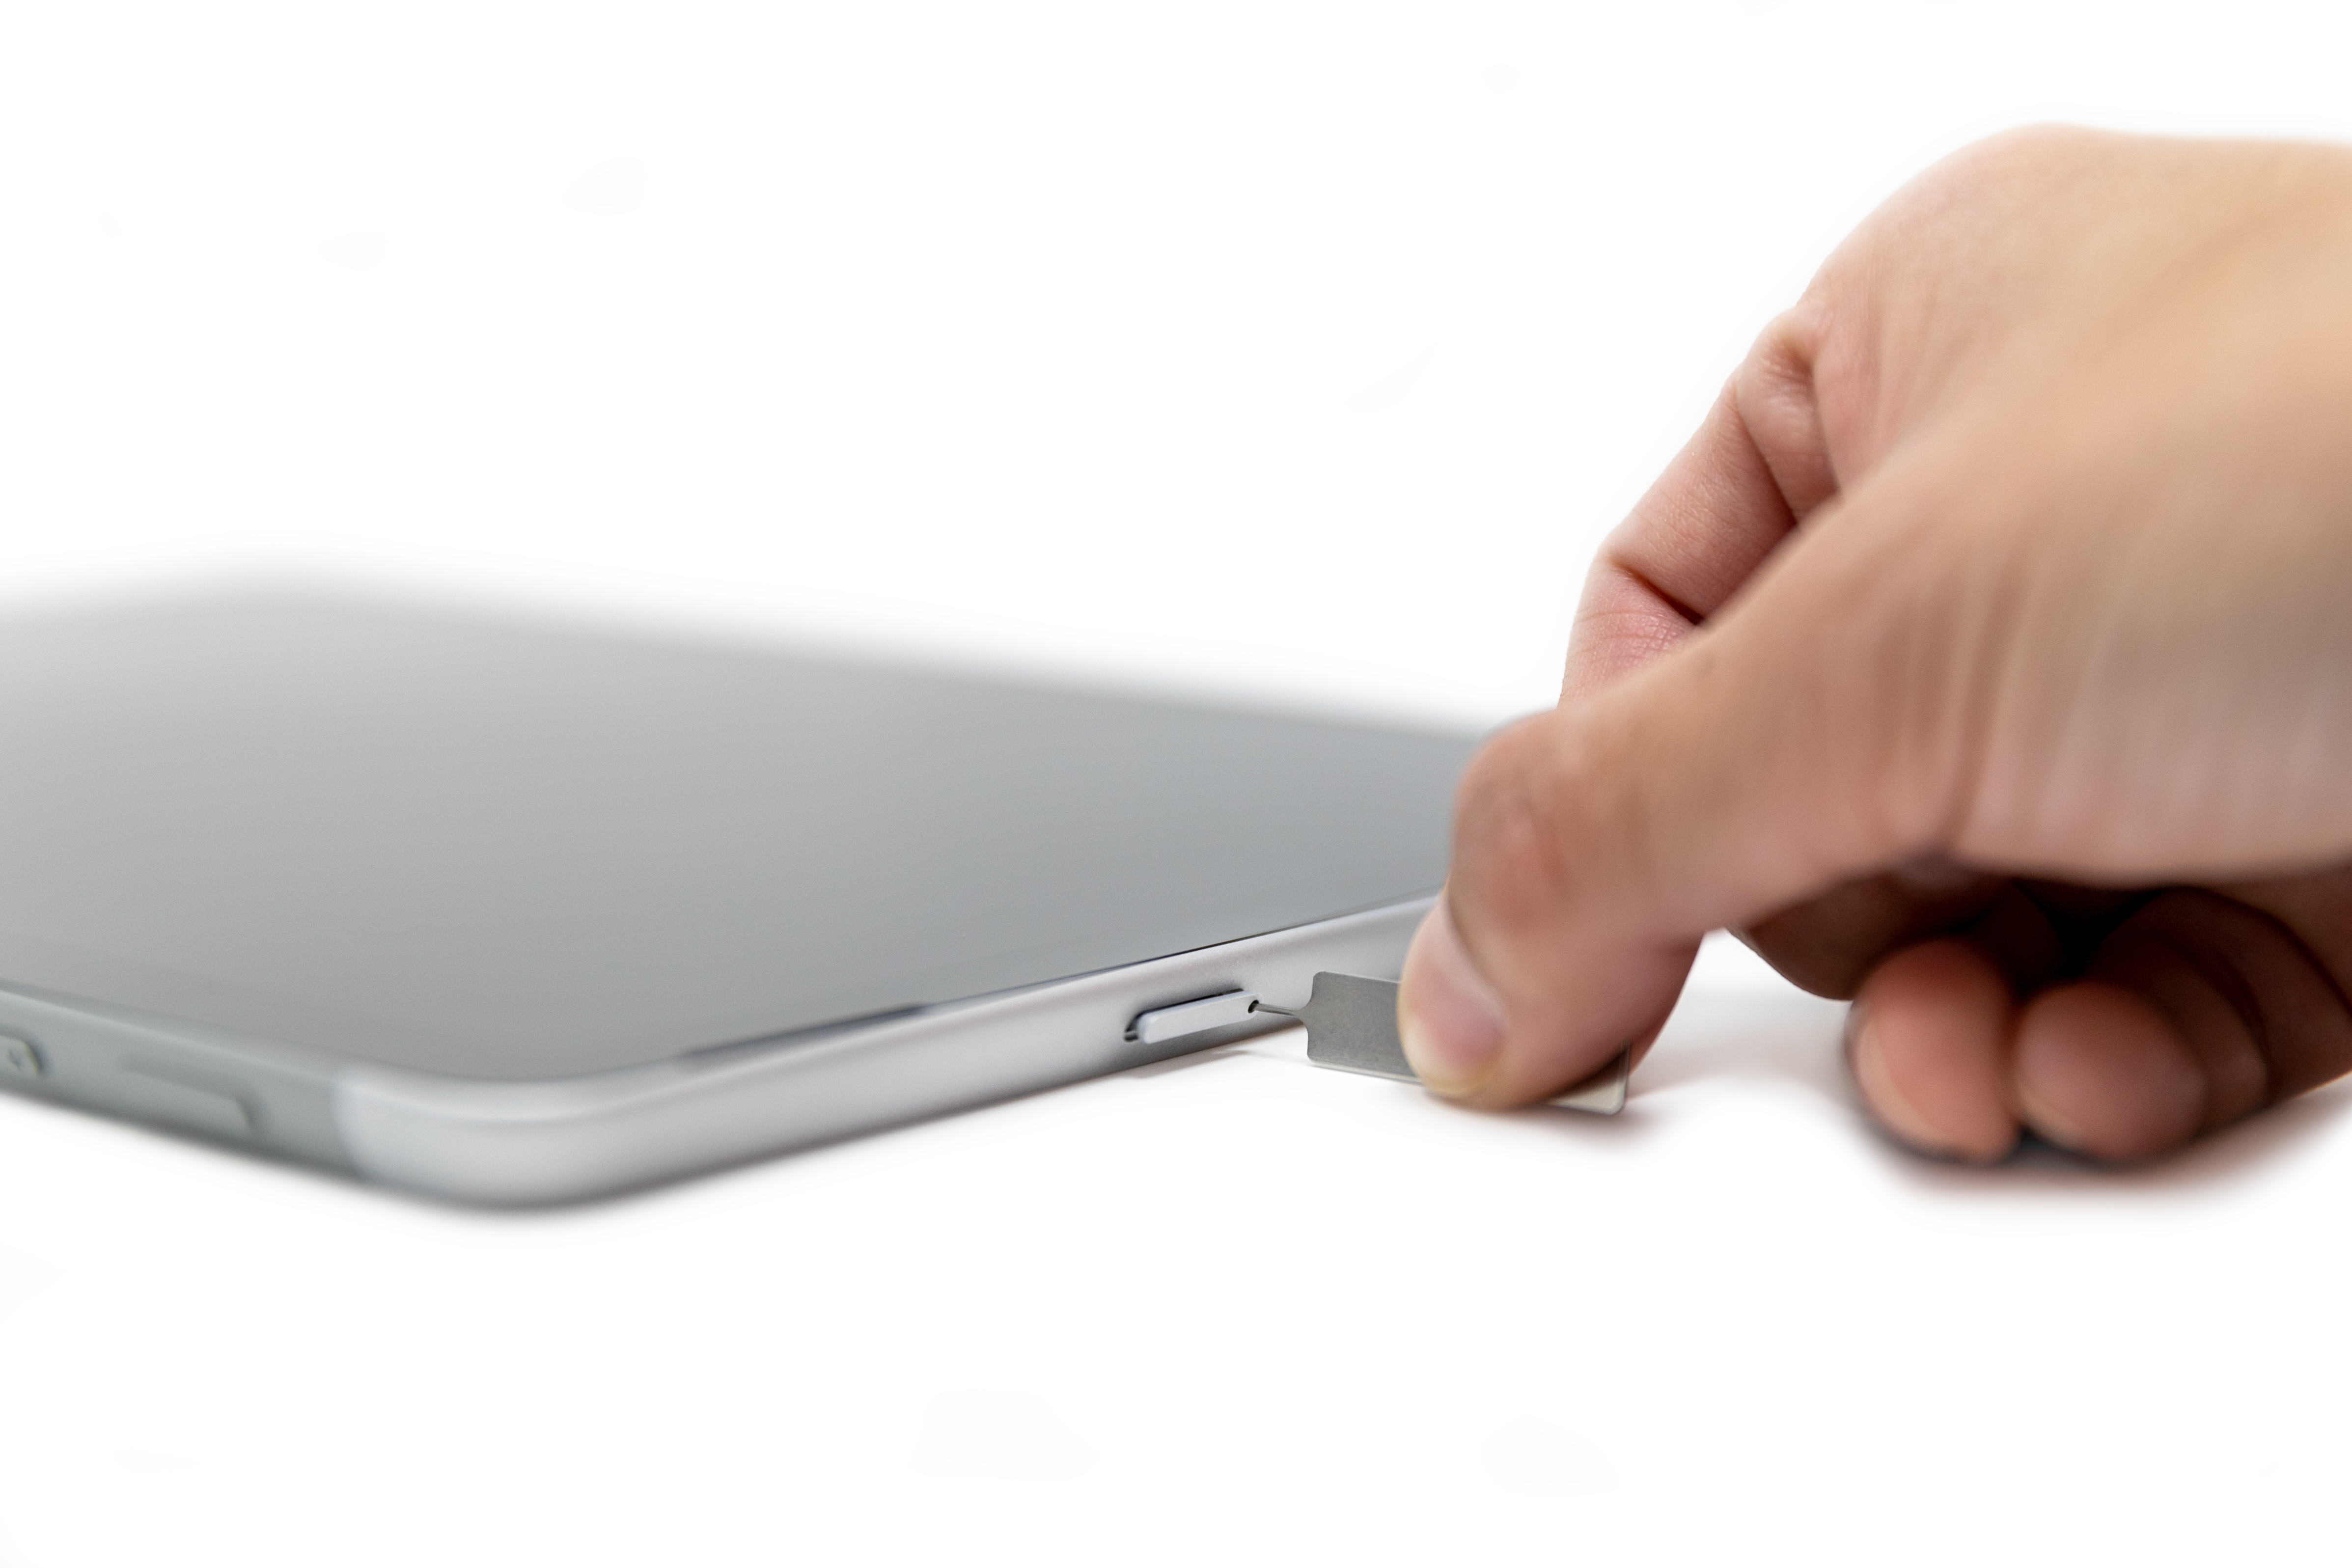
Insert the SIM ejector tool into the small hole and gently press in to eject the SIM card tray. When you’re done, slide the SIM ejector tool back into the instruction card so you can find it again later.
-
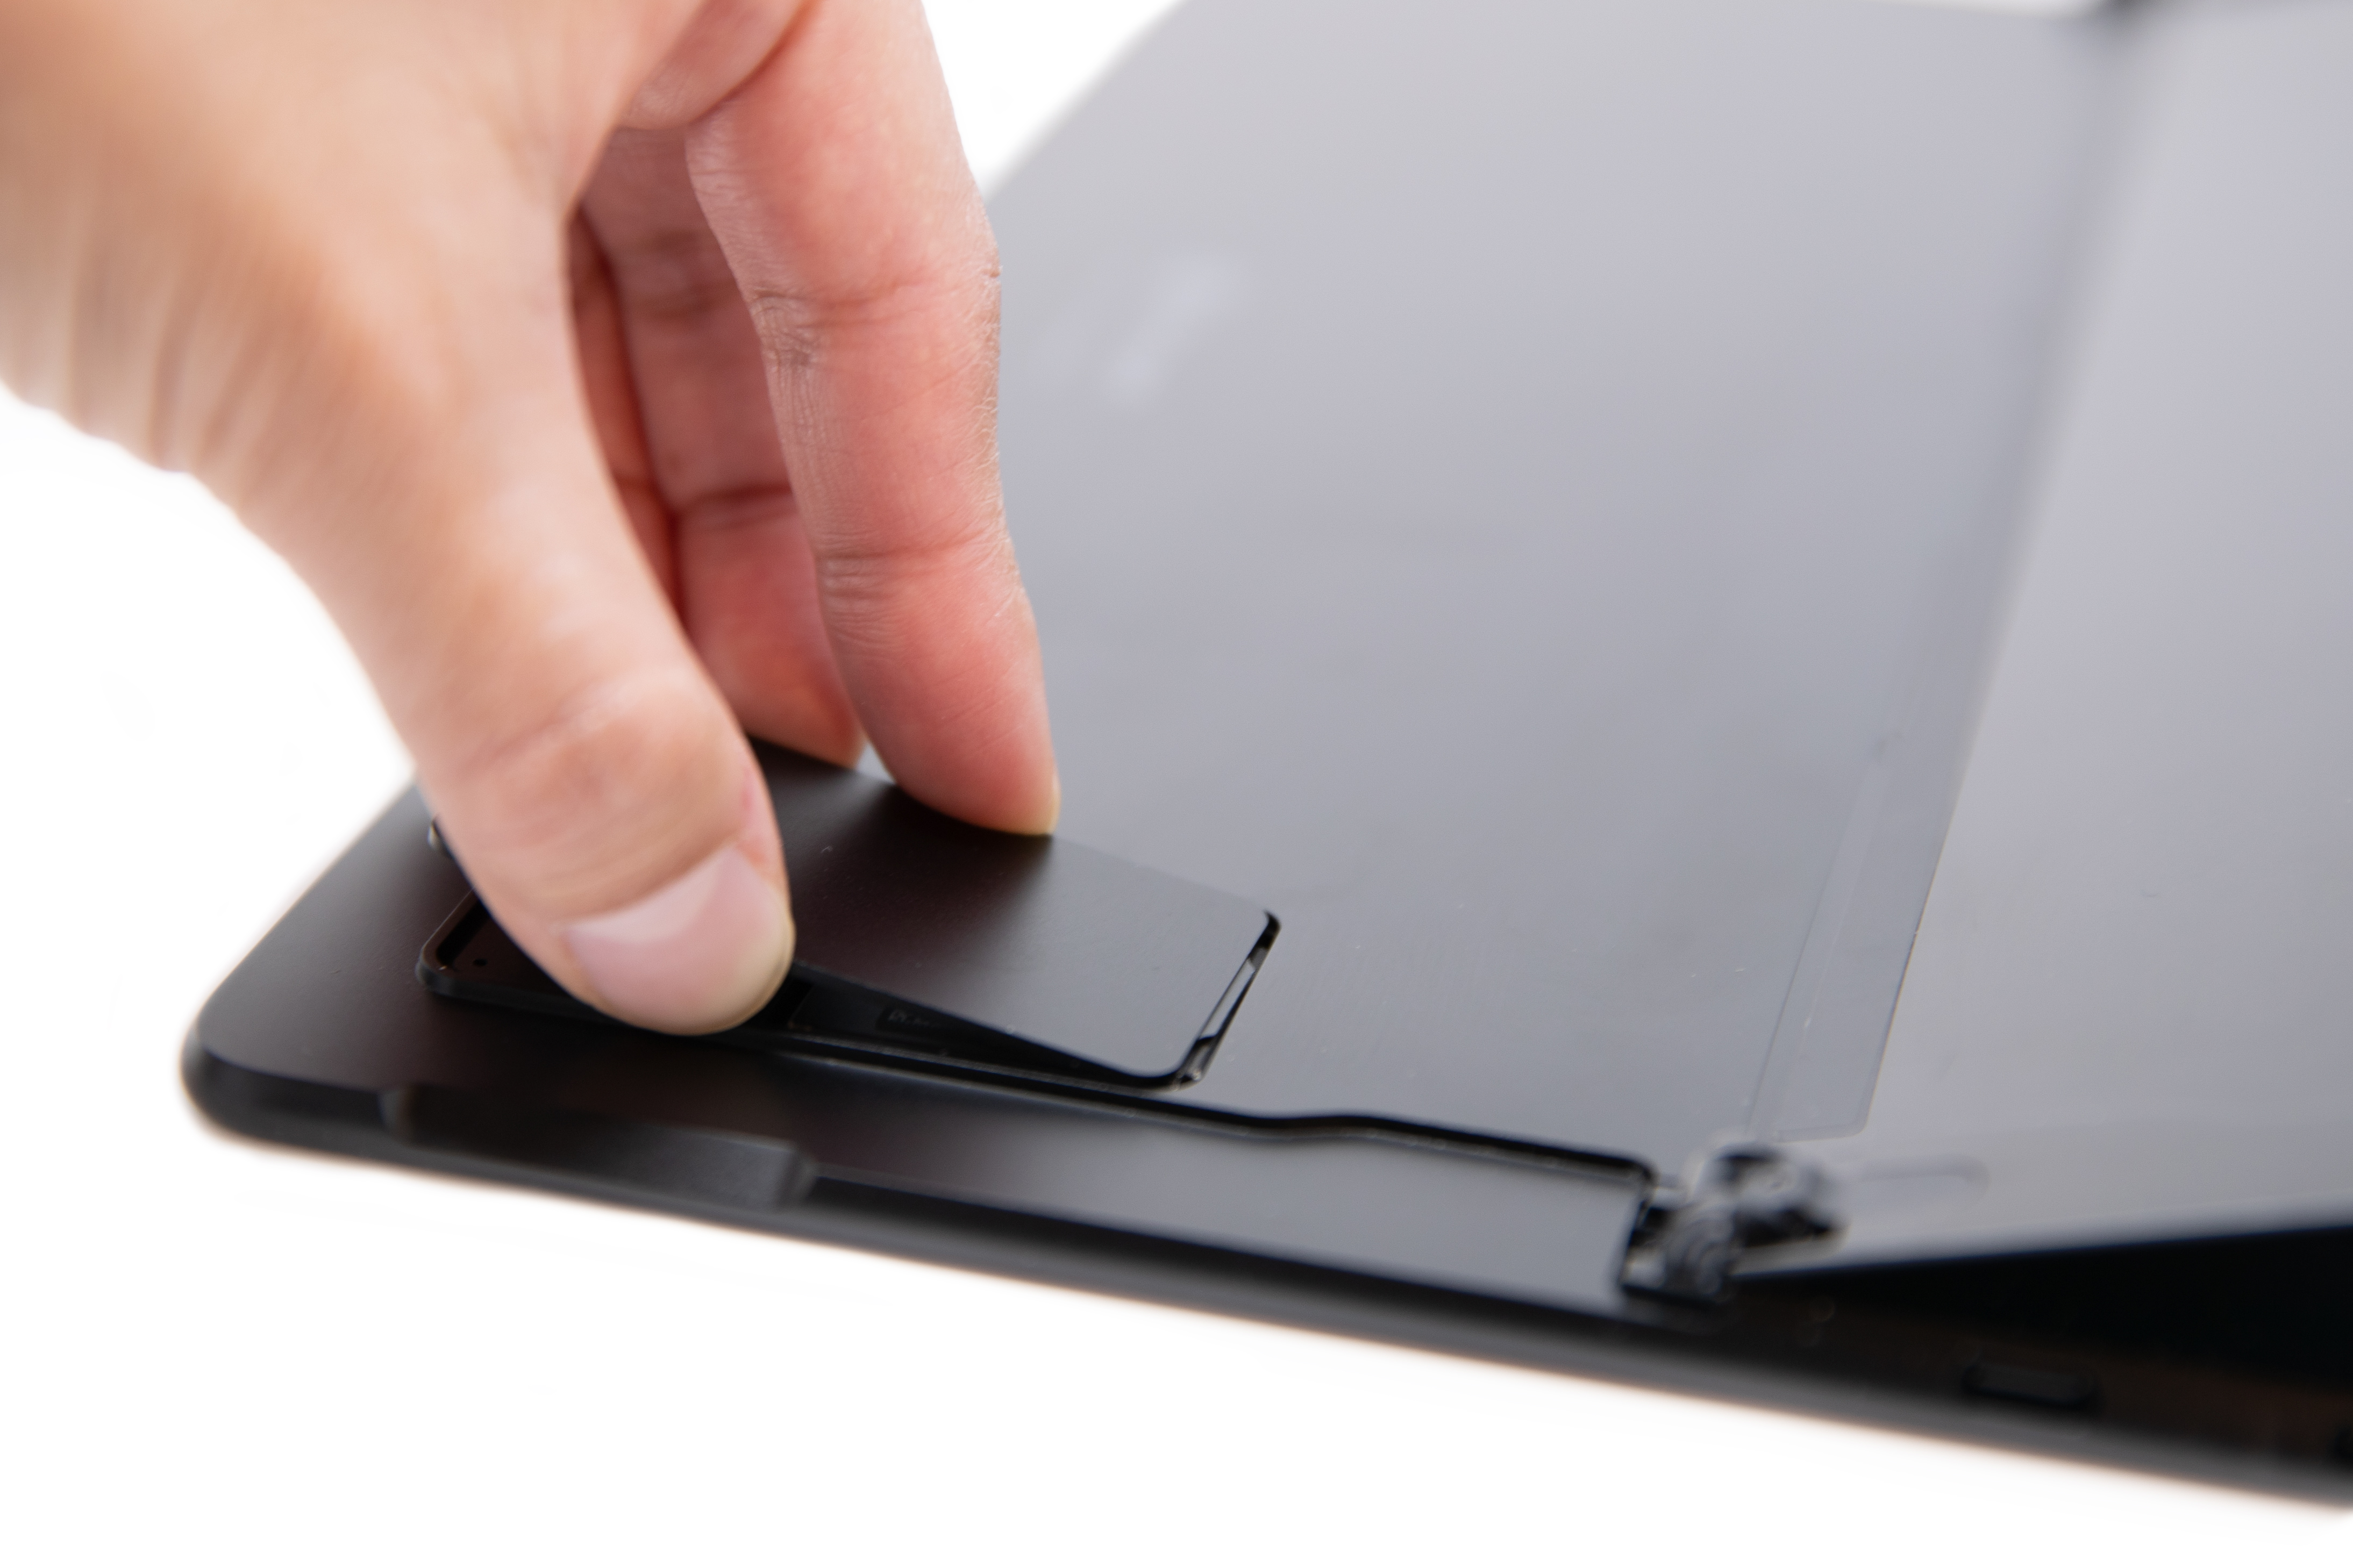
Remove the SIM card tray from the slot. When you remove it, keep it face-up.
-
Place the SIM card face up in the SIM card tray. Make sure the small notch in the corner of the SIM card matches the one in the SIM card tray so that it fits properly. The words or logo on the SIM card should be facing up.
-
Slide the SIM card tray back into the SIM card slot until it clicks. The small hole in the SIM card tray should be closest to the bottom-right corner. Make sure the SIM card tray slides in smoothly—don't force it.
Surface Pro 7+ models have a SIM card or a microSD card slot in the same position on the device. The Surface Pro 7+ with LTE Advanced has a SIM tray, indicated by a small hole that ejects it. For other models, the microSD card slot doesn't have a cover and won't support a SIM card.
-
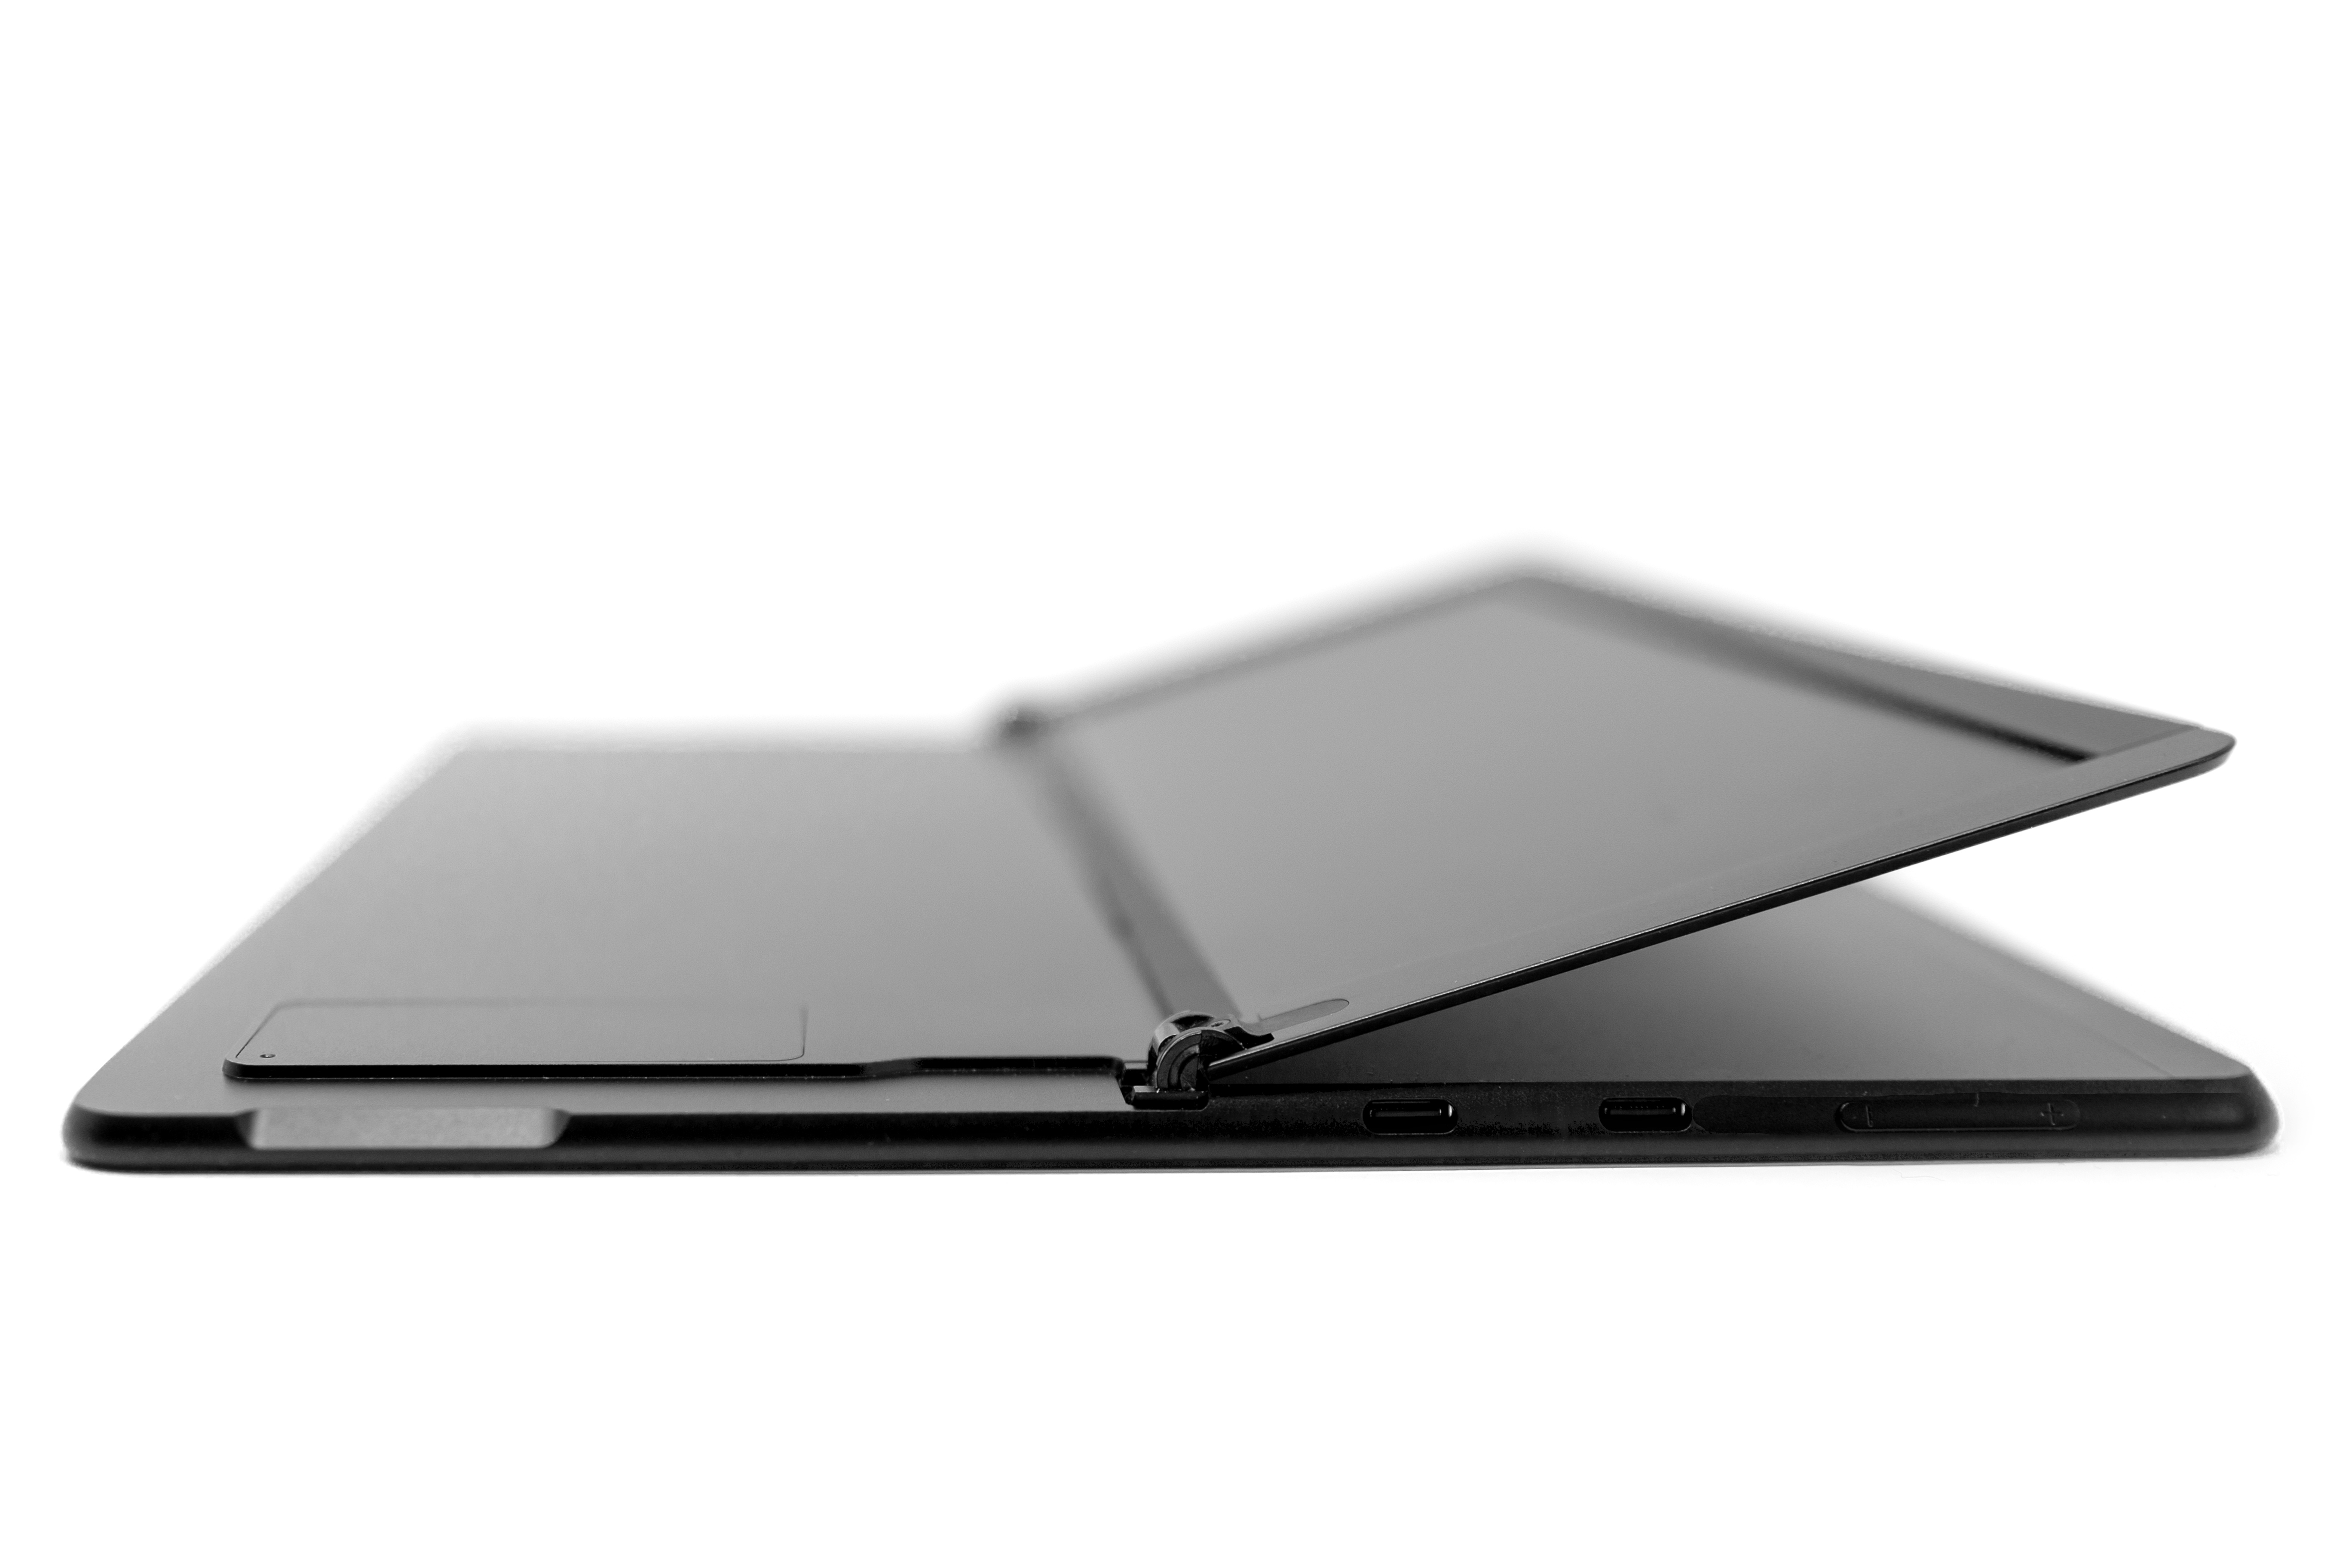
Place the screen of your Surface Pro 7+ on a table and lift the kickstand.
-
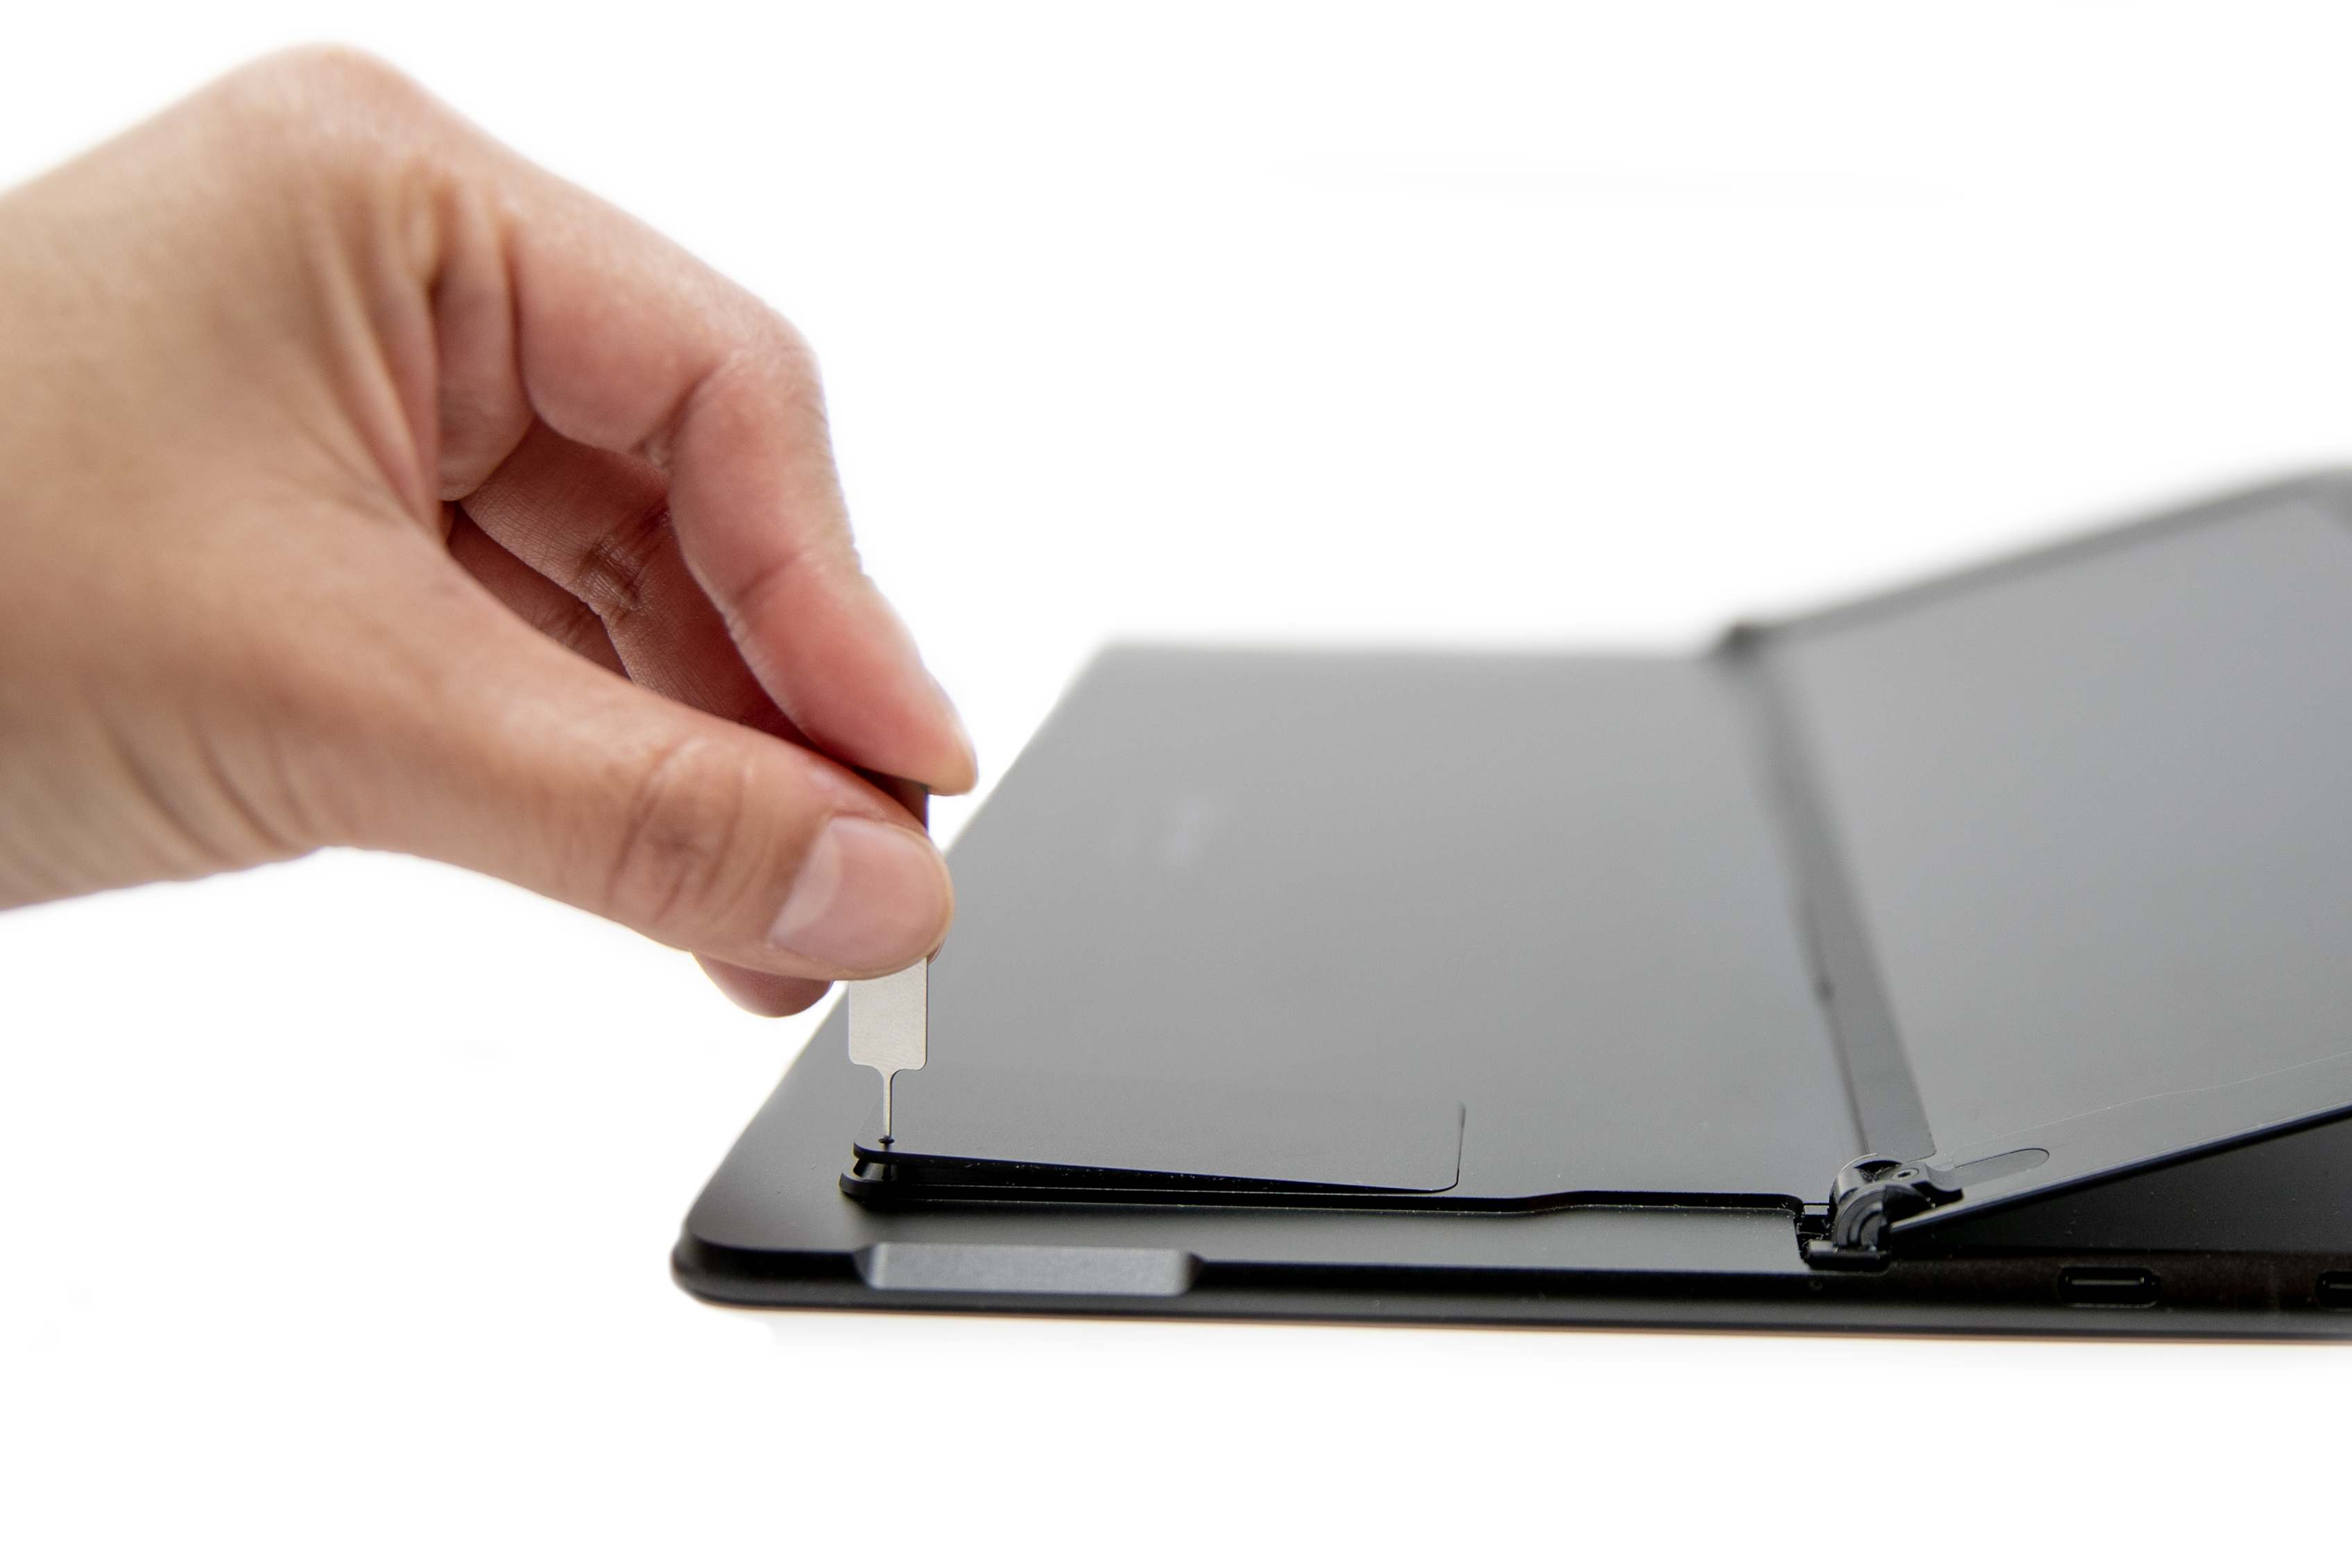
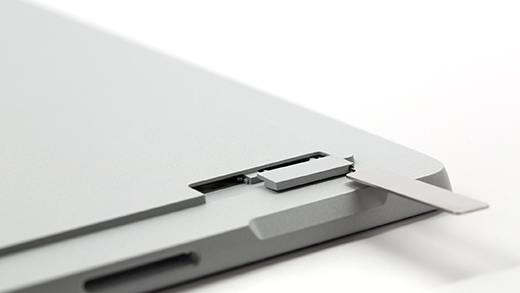
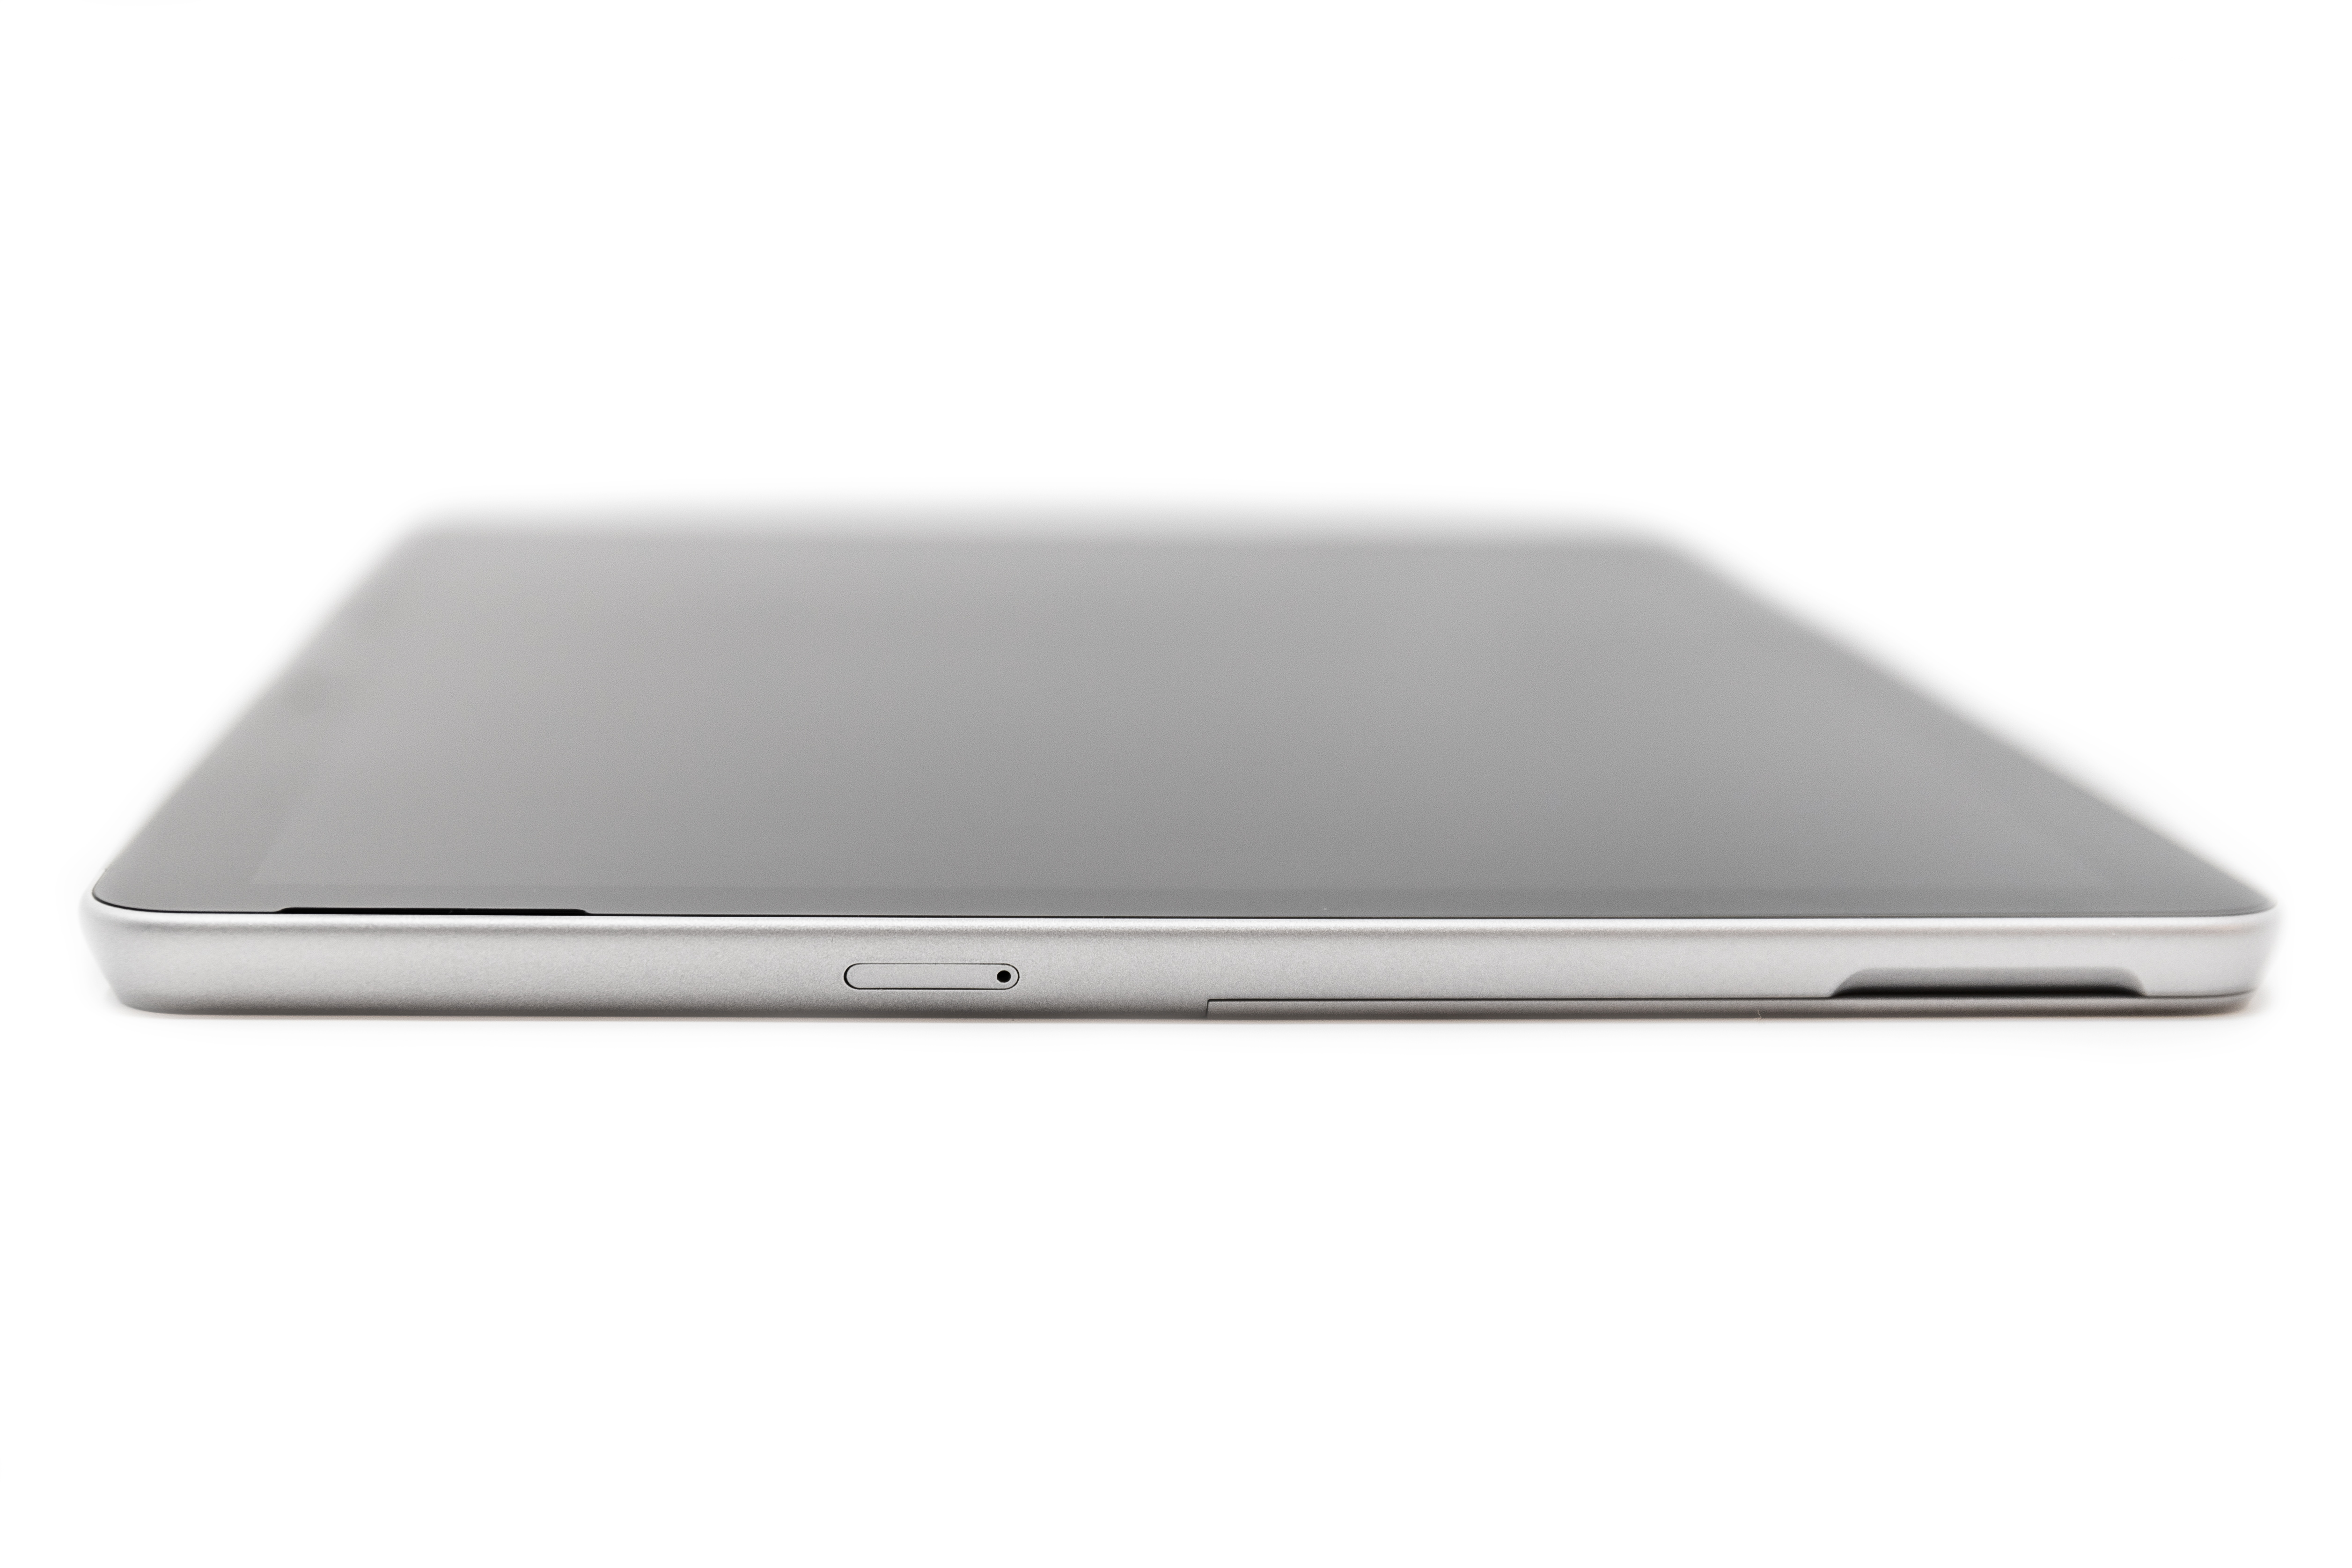
On the left side of your Surface, in the area closest to the hinge, find the SIM card tray.
-
Insert the included SIM ejector tool into the small hole on the SIM door to detach it.
-
Remove the SIM card tray from the slot. When you remove it, keep it face up.
-
Place the SIM card face up in the SIM card tray. Make sure the small notch in the corner of the SIM card matches the one in the SIM card tray so that it fits properly. The words or logo on the SIM card should be facing up.
-
Slide the SIM card tray back into the SIM card slot until it clicks. The small hole in the SIM card tray should be closest to the bottom-right corner. Make sure the SIM card tray slides in smoothly—don't force it.
-
Place your Surface Pro 8 screen on a table and lift the kickstand to reveal the SIM door.
-
Insert the included SIM ejector tool into the small hole on the SIM door to detach it.
-
Push your SIM card into the SIM card slot until it clicks.
-
Slide the SIM door into place, then press down until it clicks.
-
Place your Surface Pro 9 with 5G screen on a table and lift the kickstand to reveal the SIM door.
-
Insert the included SIM ejector tool into the small hole on the SIM door to detach it.
-
Push your SIM card into the SIM card slot until it clicks.
-
Slide the SIM door into place, then press down until it clicks.
These steps apply to Surface Go and Surface Go 2 models with LTE Advanced.
-
With your Surface Go with LTE Advanced screen facing you, turn the left edge towards you until you see the SIM card tray.
-
Insert the SIM ejector tool into the small hole and gently press in until the SIM card tray is ejected. When you're done, keep your SIM ejector tool somewhere safe so you can find it again later.
-
Remove the SIM card tray from the slot. When you remove it, keep it face up.
-
Place the SIM card in the SIM card tray. Make sure that the notches on the SIM card and the tray line up. The words or logo on the SIM card should be facing up.

-
Slide the SIM card tray back into the SIM card slot until it clicks. Don't force it in – the SIM card tray should slide in smoothly.


