
AutoSave is available when a file is saved to Microsoft OneDrive or SharePoint in Microsoft 365, but you need to save or open the file from within Excel, PowerPoint or Word to switch it on. You also need an active Microsoft 365 subscription.
Switch AutoSave on
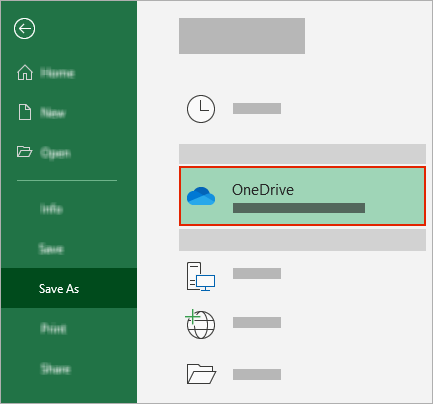
To turn AutoSave on, save your file to your OneDrive or SharePoint folder from within your Microsoft 365 app.
-
Go to File then Save As.
-
Select your

-
Choose your sub-folder from the list that appears.
-
Enter a file name and select Save.
Tips:
-
If you don't see your OneDrive
-
Selecting an existing file will enable AutoSave for that file.
-
Enable AutoSave when you open a file
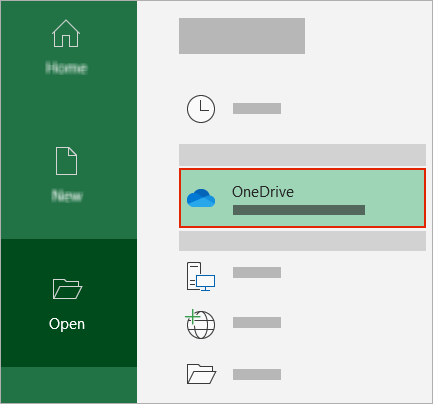
To ensure AutoSave is on as soon as you start editing, open your file by navigating to your OneDrive or SharePoint folder from within your Microsoft 365 app.
-
Go to File then Open.
-
Select your
-
Choose your sub-folder location from the list that appears.
-
Select a file to open it.
Tips:
-
If you don't see your OneDrive
-
Once opened, you don't need to keep saving your file - every change is saved automatically.
-
What to do if you see a "Just upload the file" prompt
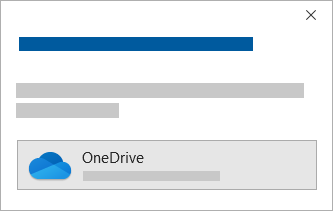
If you select the AutoSave toggle and see a prompt which says, "Just upload the file", follow these steps:
-
To keep working on the original file, select the X to close the window. Then follow the steps above To switch AutoSave on.
-
To create a copy of your file, don't close the Save window. Select OneDrive from the list of locations and enter a name for the copy.
Caution: If you open the original file you will not see any later edits.
Tip: Select the file name at the top of the app to see its location and version history.
If you can't turn on AutoSave
If you open an Office file from File Explorer or Finder, you will need to open the file as described above to enable AutoSave.
Close and re-open the file from the Microsoft 365 app, not File Explorer or Finder.
If you open an Office file from your recent files list via the Taskbar or the Office app, you will need to open the file as described above to enable AutoSave.
To check, hover your mouse over the recent list: Files that begin C:\Users\ in their path will not open with AutoSave, but files with https:// will.
Close and re-open the file from within the Microsoft 365 app, not the recent file list.
If you open an Office file from File Explorer, Finder or your recent files list via the Taskbar, you may need to Save or Open the file as described above to enable AutoSave.
Close and re-open the file from within the Microsoft 365 app, not the recent file list.
AutoSave settings may be disabled for some files, especially large files, or files stored on SharePoint.
-
Go to File > Options > Save.
-
Check that the AutoSave box is ticked.
AutoSave settings may be disabled for some files, especially large files, or files stored on SharePoint.
-
Go to File > Options > Save
-
Check that the AutoSave box is ticked.
There are other reasons AutoSave could be disabled as well. Here is a list of common reasons for it to be disabled:
-
AutoSave is only available if you have an active Microsoft 365 subscription. Don't have a subscription? Get the most from Office with Office 365.
-
Your file is in an older format like .xls, .ppt, or .doc.
-
OneDrive synchronization is paused.
-
Your file is embedded inside another Microsoft 365 file.
-
Your presentation is in slide show mode.
Can I AutoSave to my computer?
AutoSave only applies to Microsoft 365 files stored in OneDrive, but the Microsoft 365 AutoRecover feature is on by default and saves your work every 10 minutes.
To view or change the AutoRecover settings, open an Microsoft 365 app, and select File > Options > Save.
How to turn off AutoSave
To turn off AutoSave, toggle the AutoSave switch on the top left of the app header.

Got feedback?
Please send us your feedback to help us prioritize new features in future updates. See How do I give feedback on Microsoft Office for more information.
Need more help?
|
|
Contact Support
For technical support, go to Contact Microsoft Support, enter your problem and select Get Help. If you still need help, select Contact Support to be routed to the best support option. |
|
|
|
Admins
|


