
If your organization has set up Lync so it shows people’s pictures with their other contact information, your picture is automatically displayed. But what if you don’t like that picture? Well, depending on how your environment was set up, you may be able to replace it or turn it off altogether.
Important: Not all organizations allow users to change their picture settings. If any of the buttons described below are grayed out or unavailable, your administrator may have turned off this option. Read on for more information.
Change your picture
As mentioned earlier, if the Edit or Remove Picture button is dimmed, your organization has decided not to let users change their pictures. If you can change your picture, here’s how to do it.
Use a picture from your computer or an external drive
-
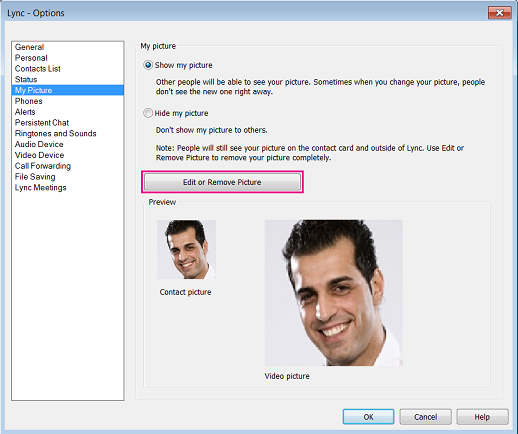
On the Lync main window, click your picture. This opens the Lync – Options, My picture dialog box.
-
Click Edit or Remove Picture.
(If your organization has chosen not allow users to change their picture settings, the Edit or Remove Picture button on the My Picture options window will appear dimmed, as shown here:
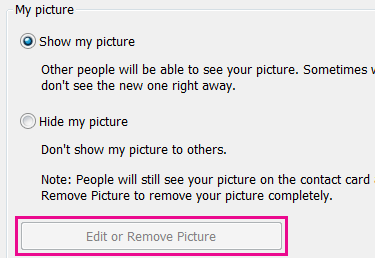
Contact your technical support team if you have questions about this setting or policy.)
-
If the Change Picture feature is enabled in your environment, at this point either a Microsoft Exchange window or a Microsoft SharePoint window opens. (You’ll be able to tell which program you’re in by the buttons, as described in this procedure.)
-
If you’ve been taken to an Exchange window, do the following:
-
Click Edit > Edit photo > Browse.
-
Browse to where your replacement picture is stored (this can be on your computer or on an external or network drive). Your replacement picture can be any size or type, including HD (high-definition). The file size and image dimensions are adjusted to make it suitable for your contact picture.
-
Double-click the picture or file name.
-
On the Change Photo window, click Save. If a dialog box appears asking if you want to close the window, click Yes.

-
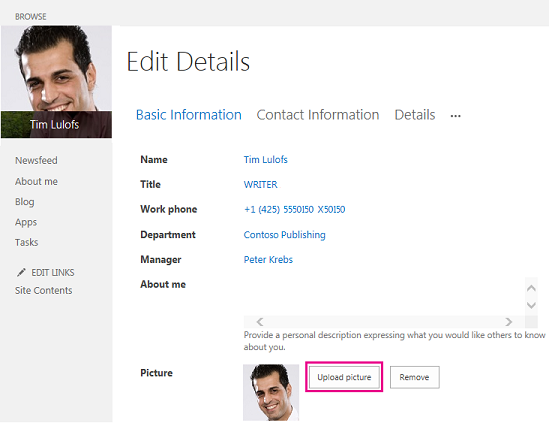
If you’ve been taken to a SharePoint window, do the following:
-
Click Upload picture.
-
Click Browse on the Choose-a-picture dialog box, and then browse to the replacement picture you want to upload.

-
Double-click the picture or file name, and then click Upload.
-
Click OK on the Profile Changes dialog box.
-
On the SharePoint profile window, click Save all and close.
Note: After you’ve changed your picture, it might take a while before the new picture appears.
Use a picture from a public website
If your organization has enabled this option, you can use a photo from any public website, such as Yammer, OneDrive, Facebook, etc., as your Lync photo. If this option is available, the My Picture options window will include a button labeled Show a picture from a website:
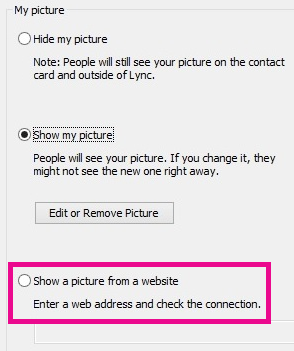
To use this option, select Show a picture from a website, enter the URL for the photo you want to use, and then click Connect to Picture.
Note that in order for your contacts to see the photo, they too will need to have access to the site where the photo has been placed.
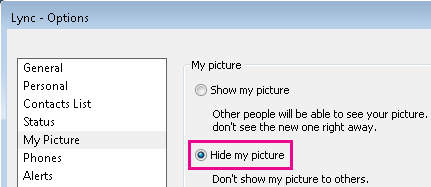
Hide your picture
Depending on how Lync is set up in your organization, you may be able to hide your picture from other Lync users. Your contacts will see a blank outline of a person’s head instead of your picture.
To hide your picture from other Lync users, click the Options button 
-
To not have your picture display in Microsoft Office programs, including Lync:
-
Click Options > My Picture > Edit or Remove Picture.
-
Follow the prompts to log on to Outlook Web Access.
-
On the Change Photo window, click the X next to Use the buttons to change or remove your photo, and then click save.
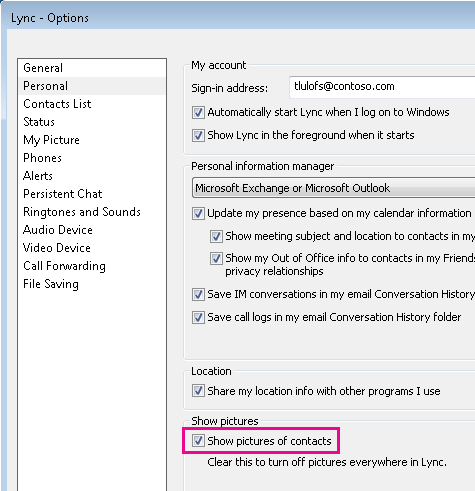
Hide everyone’s picture in Lync
If you’d rather not see anyone’s pictures in Lync:
-
Click the Options > Personal tab.
-
Uncheck Show pictures of contacts at the bottom of the dialog box.
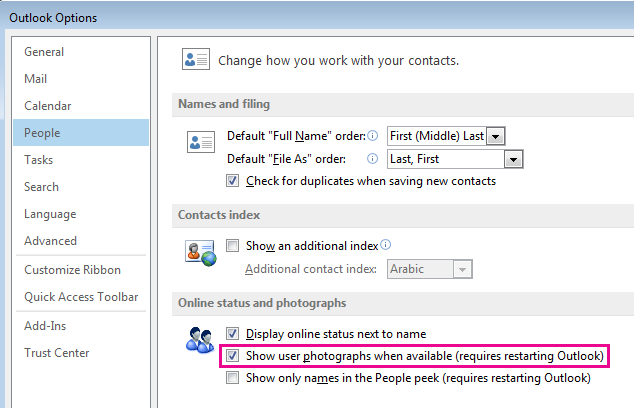
Turn off pictures in Outlook
If you’d rather not see anyone’s pictures in Outlook:
-
In Outlook 2013, click File >Options > People.
-
On the Outlook People window, uncheck Show user photographs when available (requires restarting Outlook).
-
Restart Outlook


