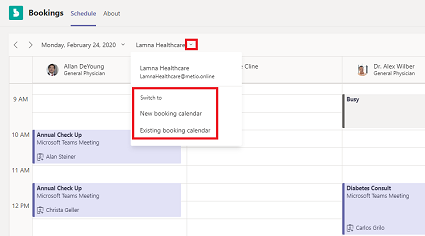
Schedulers can manage bookings for multiple department and staff calendars—as well as communications with internal and external attendees—from a single experience.
Let’s get started!
-
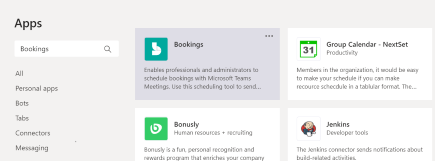
Go to Apps

-
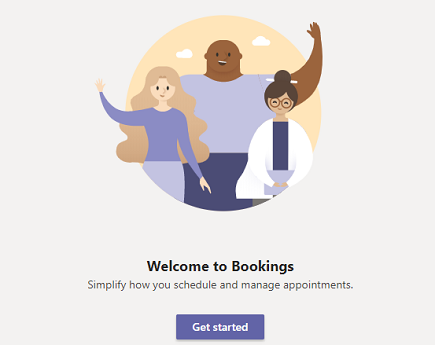
Log in, then select Get started.
-
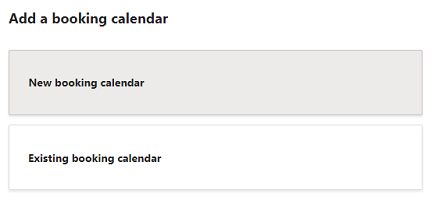
Choose either New booking calendar or Existing booking calendar.
-
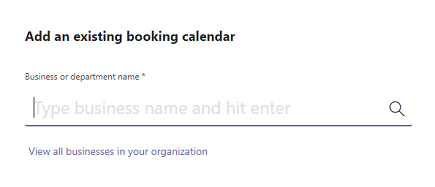
If you choose Existing booking calendar, search for your organization or department name, and choose the exact match.
-
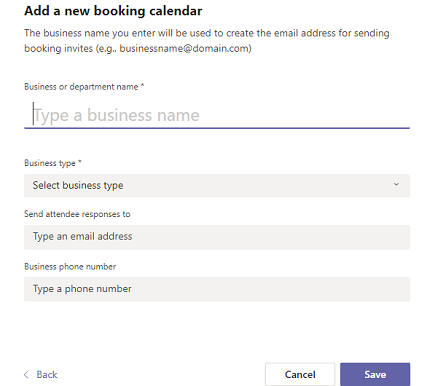
If you choose New booking calendar, fill out the form. Keep in mind, the info you enter will appear in appointment emails that go to attendees.
Important:
-
Think carefully about what you type for your Business or department name during the set-up process. In addition to being displayed in emails, whatever you originally type will be used to create the email address for sending booking invites (for example, businessname@domain.com).
-
While you can edit your business name later in Settings, that will only update the display name in your booking calendar and in emails to attendees; the email address will not be updated.
-
-
-
Follow the prompts for the initial setup. Once done, you’ll land on the Schedule tab.
To switch between booking calendars or set up a new one, expand the dropdown