
Manage a community in Viva Engage
Community administrators manage the appearance and membership of their respective communities in Viva Engage. To manage community files and other resources, see Manage Viva Engage community resources.
Tip: Updates to community membership, permissions or other settings that are made in Viva Engage or Microsoft 365 can take up to 24 hours to be replicated across your network. Member counts can be inaccurate for up to 30 days due to user lifecycle.
Upload a cover photo
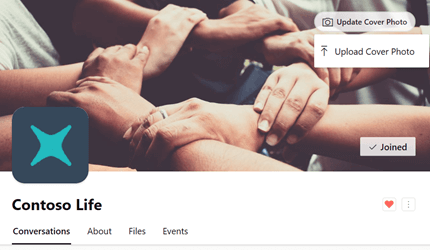
Cover photos can both brand and illustrate the purpose of your community. Community admins can upload a photo for their community on the web or in the mobile app.
-
In the community header, select Upload Cover Photo.
-
From the file list, select an image to upload.
The file must be 20 MB or less and either a PNG, JPEG, or a non-animated GIF. The web cover photo dimensions are 680 x 275 pixels.
-
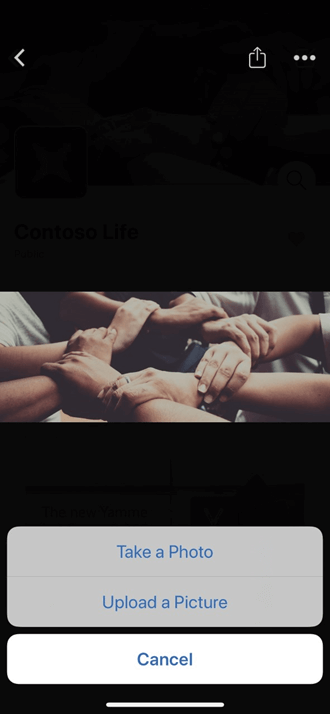
In the community header, select the cover photo.
-
In the top-right corner, select the options icon (...).
-
From the file list, select Take a Photo or Upload a Picture.
If you're adding large groups to a community, you may want to use a CSV file. For details, see Add community members with a CSV file.
-
On the home page of the community, select the + icon in the Members tile.
-
Search for the people you want to add by typing their name in the search box.
To remove a member, select the options icon (...) next to the person’s name, and select Remove from community.
Notes:
-
Native mode: You can add up to 19 members while creating a community (20 total including the community creator).
-
Non-native mode: You can add up to 50 members while creating a community.
-
The limit on number of members in a community only applies during the creation of the community. For details, see Limits in Viva Engage.
As community admin, you can assign more community admins. Communities can have up to 100 admins.
Viva Engage verified admin can also assign community admins. A Viva Engage network admin can assign community admins for a public community. To assign a community admin for a private community, they must first belong to that community.
-
In the Members tile, select the number next to the word Members to open up the member panel.
-
Search for a person by name or email.
-
Select the options icon (...) next to the person’s name, and then select Make admin.
Admins have a star next to their icon that shows up under Members. You can also see the community admins from the About Page members pane.
If you're the community admin for a private community, you'll get a notification in Viva Engage each time someone requests membership in your community.
-
To receive an email notification for each request, go to your email notification preferences and select Someone requests to join a private community I administer. For steps, see Enable or disable email and phone notifications.
Learn more


Need more help?
Want more options?
Explore subscription benefits, browse training courses, learn how to secure your device, and more.


Communities help you ask and answer questions, give feedback, and hear from experts with rich knowledge.


