
You can cut a video, audio, image, or other media asset into smaller sections by using the Scissors icon in the top left of the editing timeline in a Clipchamp project or by clicking the S key on your keyboard. See below for a detailed guide.
Note: The screenshots in this article are from Clipchamp's personal version. The same principles apply to Clipchamp for work accounts.
How to split a video, image, or audio clip
First, start editing a new video and add your video, image, or audio file to the media library.
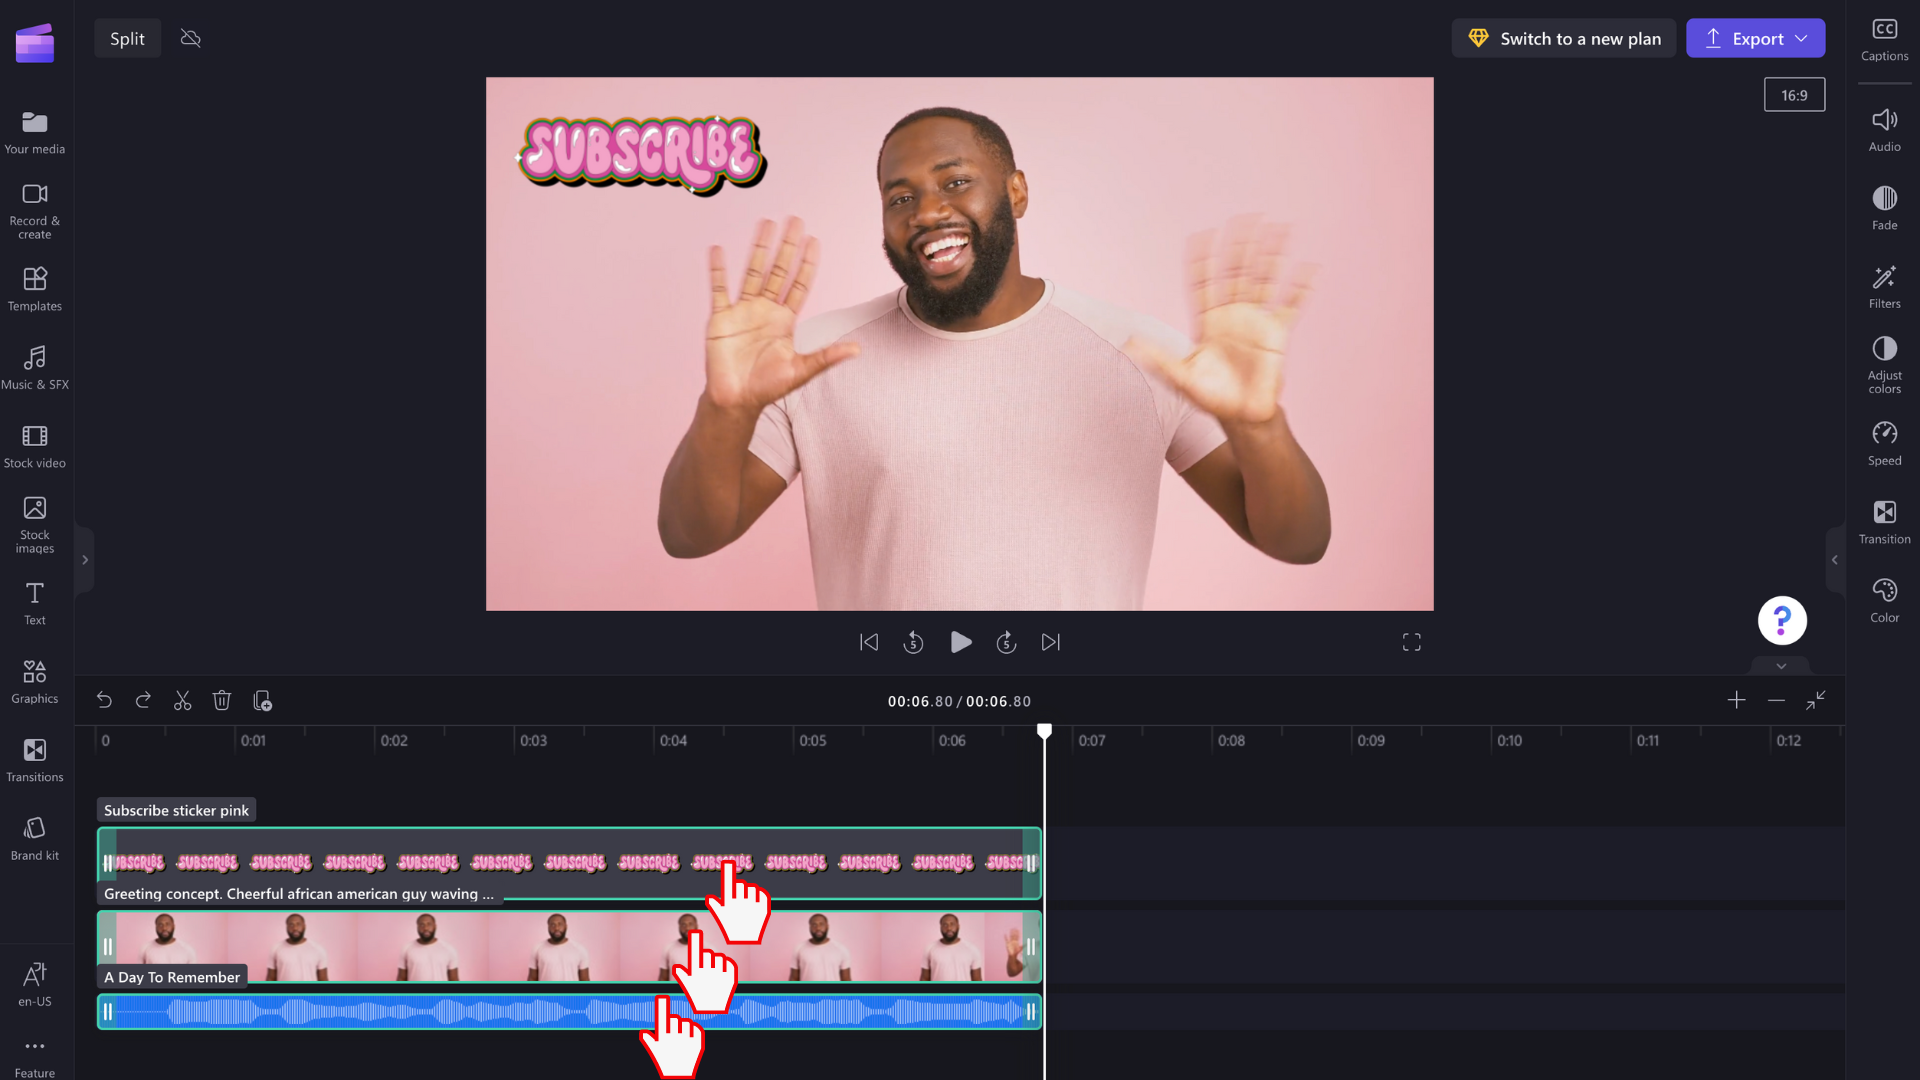
Step 1. Select the clip you want to split
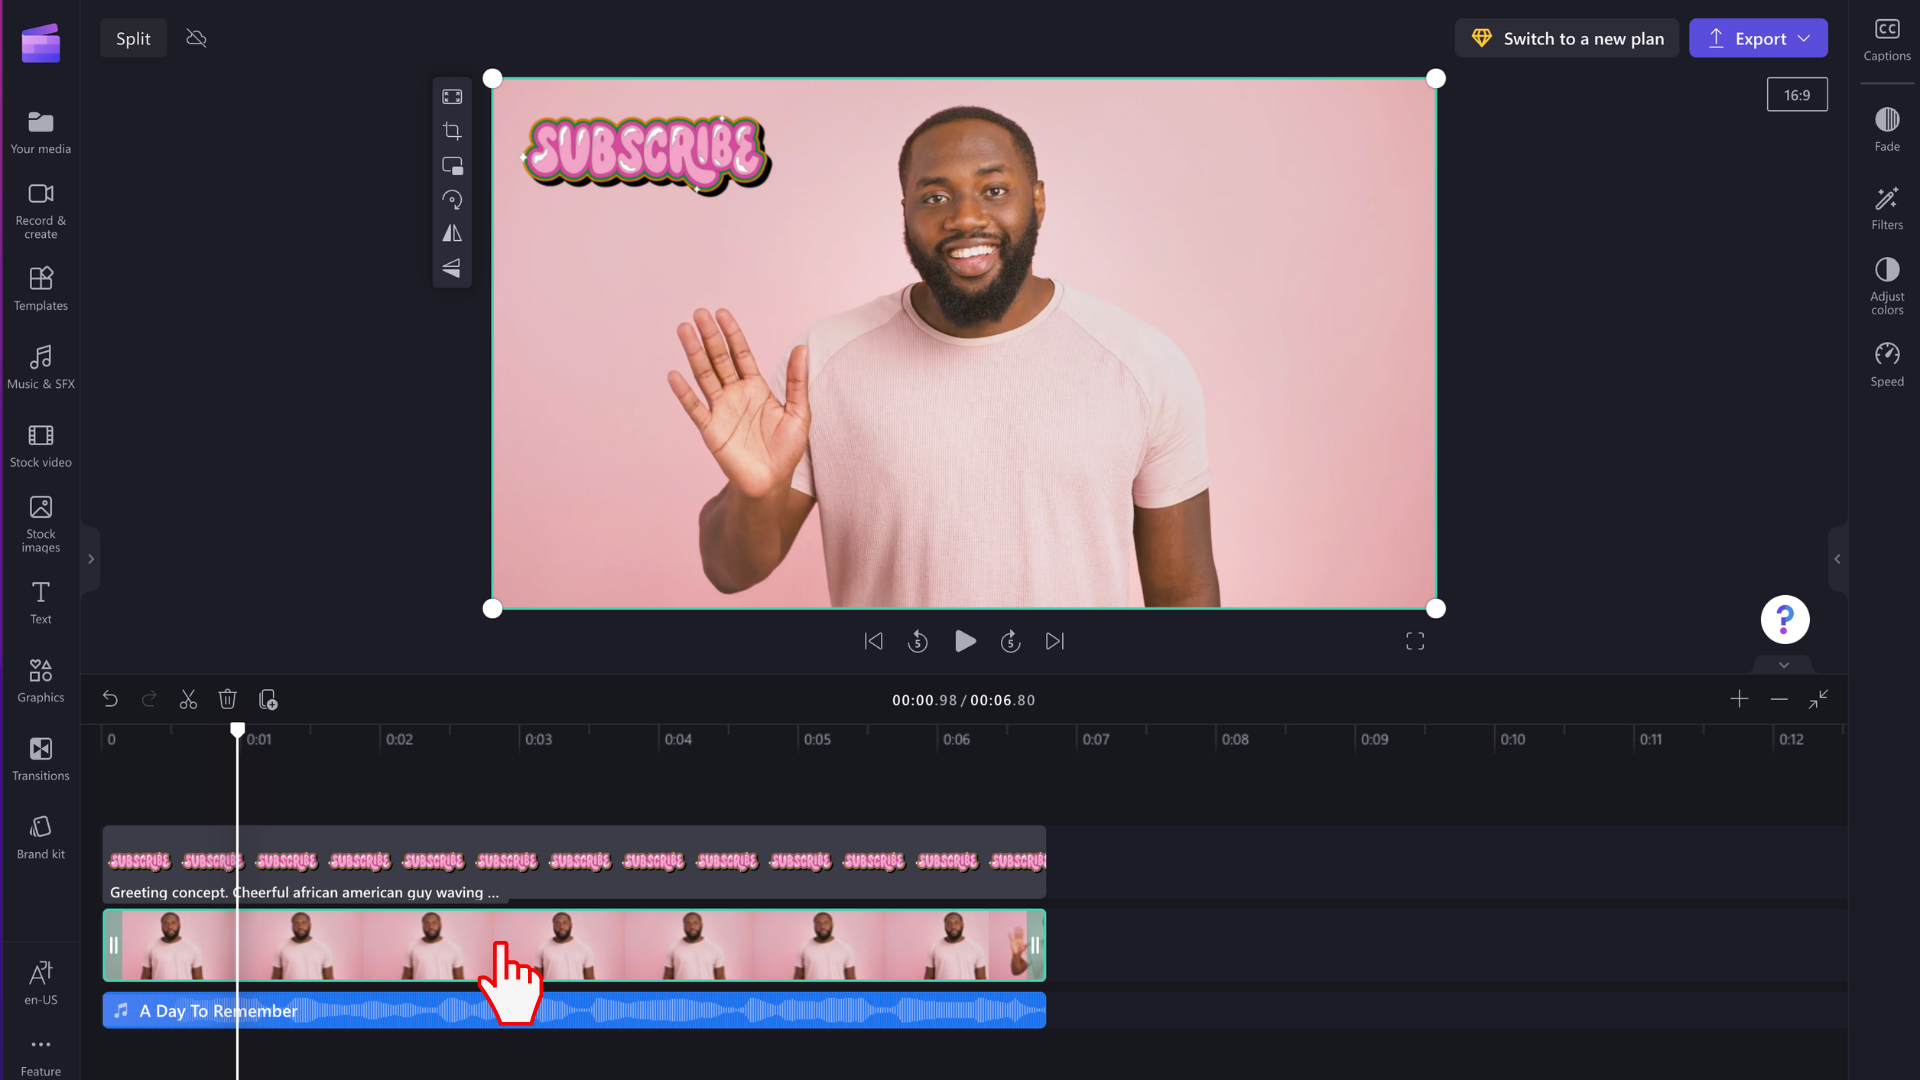
Select the clip on the timeline to select it. It will be outlined in green when selected.
Step 2. Position the seeker where you want to split your clip
Drag the seeker (the white vertical line with a circle on top) to where you want to cut your clip. You can also click on the spacebar on your keyboard to move the seeker.
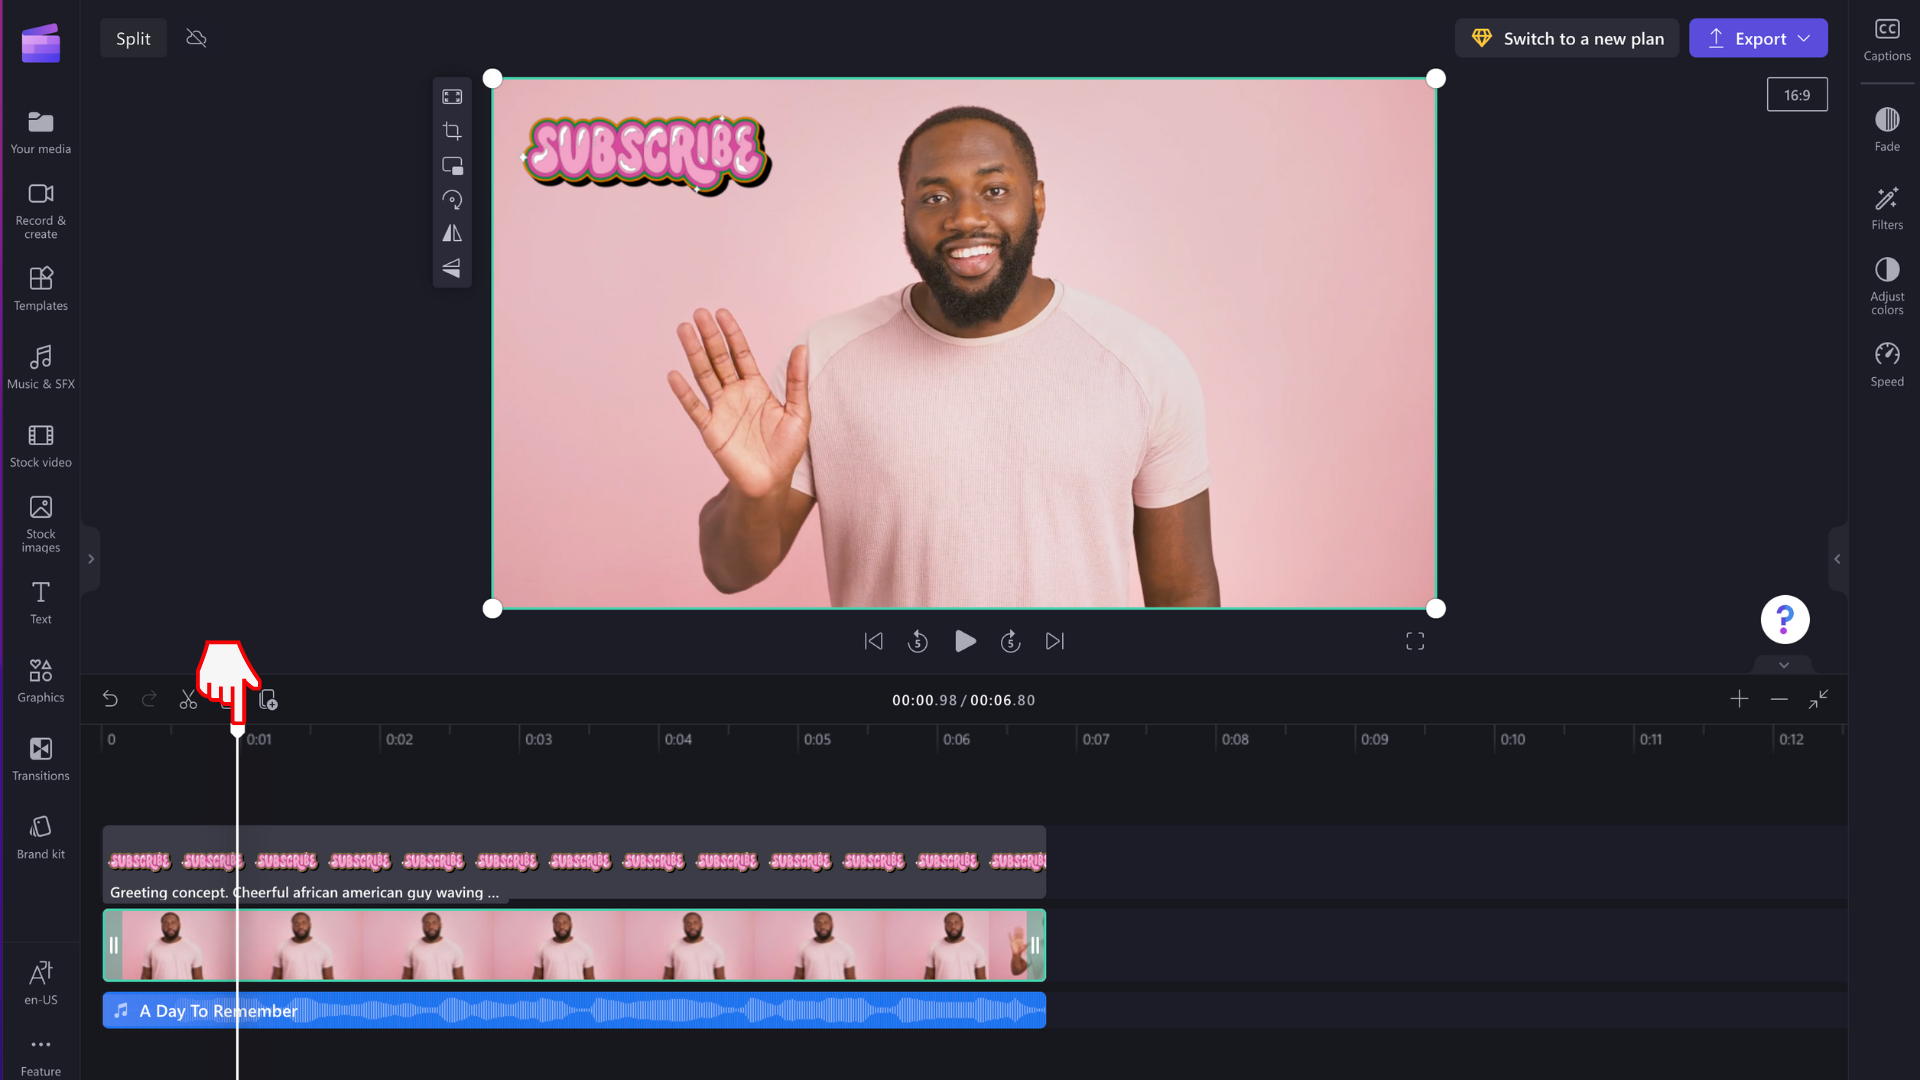
NOTE: you can use the timecode displayed at the top of the timeline as a guide if you want to split your video at a precise time. For example, place your Seeker at the position of 01:30:00 for 1min 30 seconds.
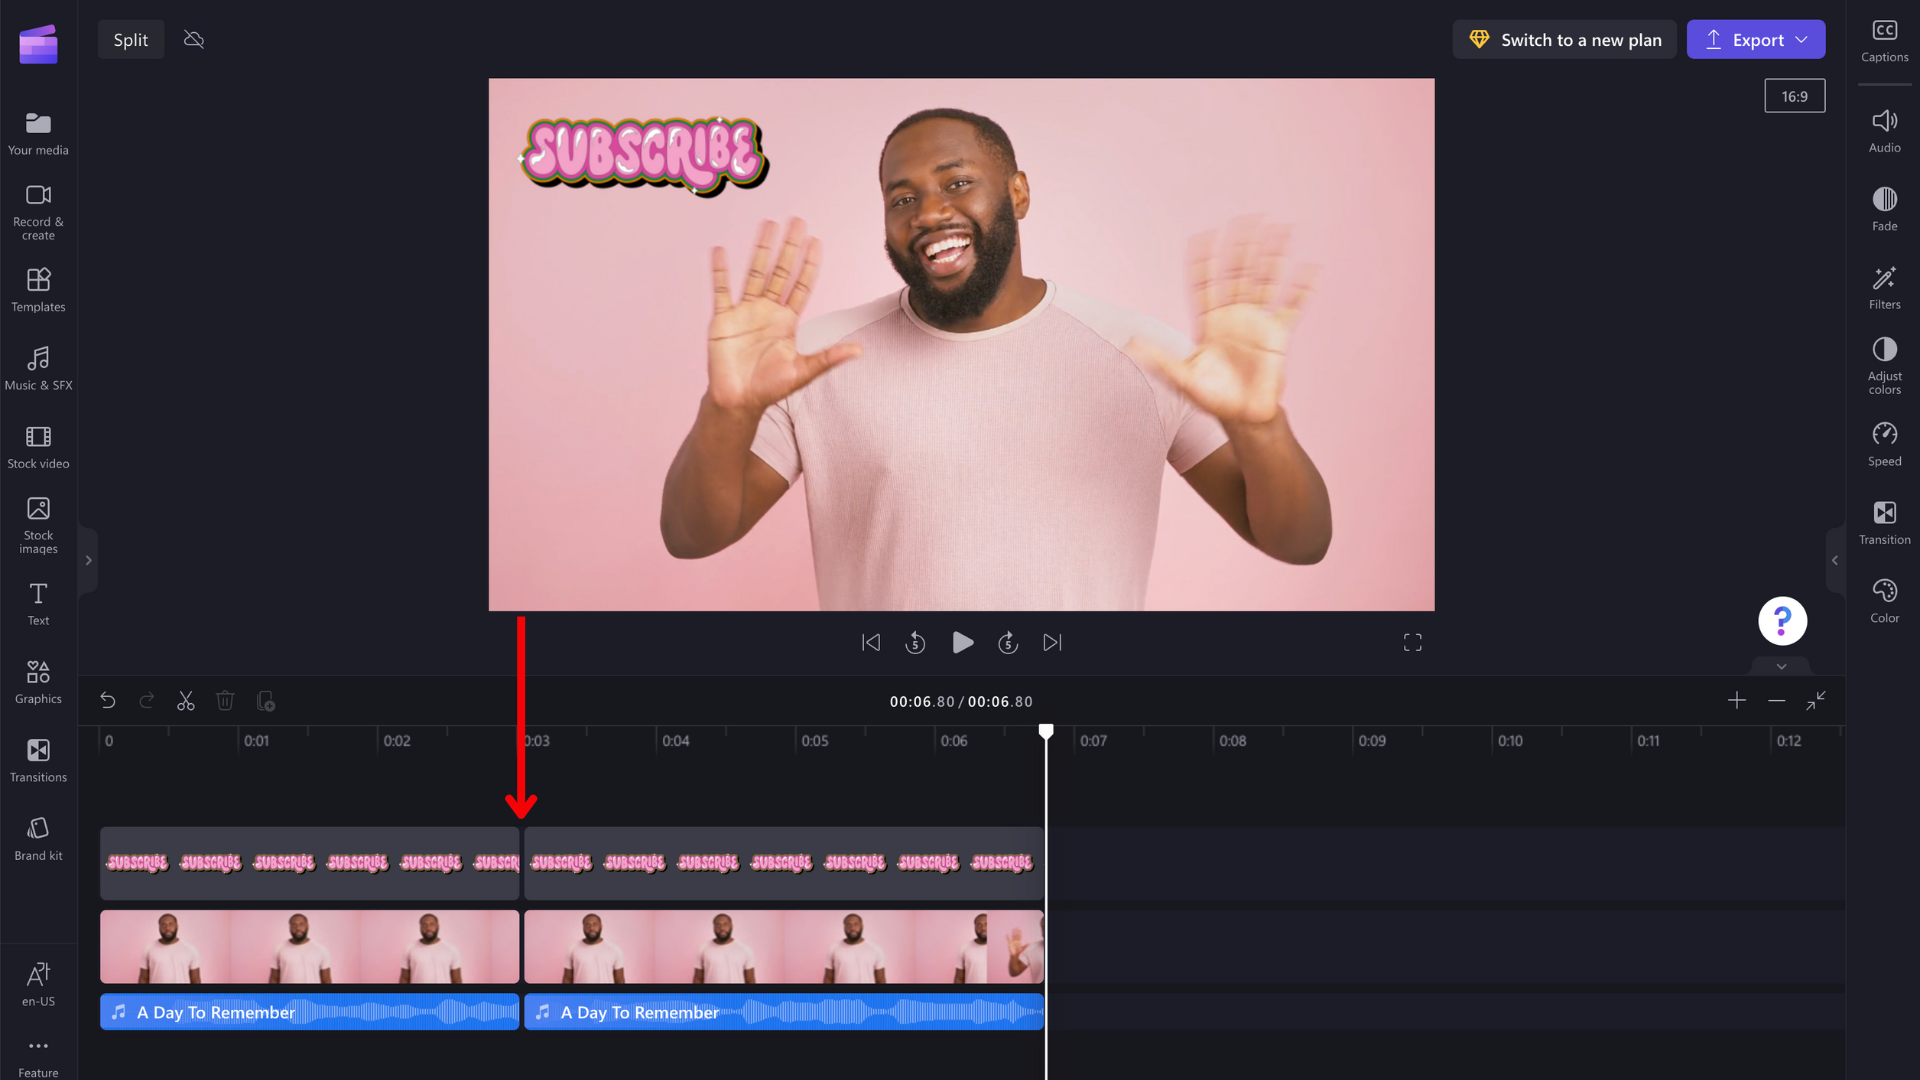
Step 3. Select the scissors icon
Select the scissors icon in the timeline menu to split your clip. Alternatively, click the S key on your keyboard.
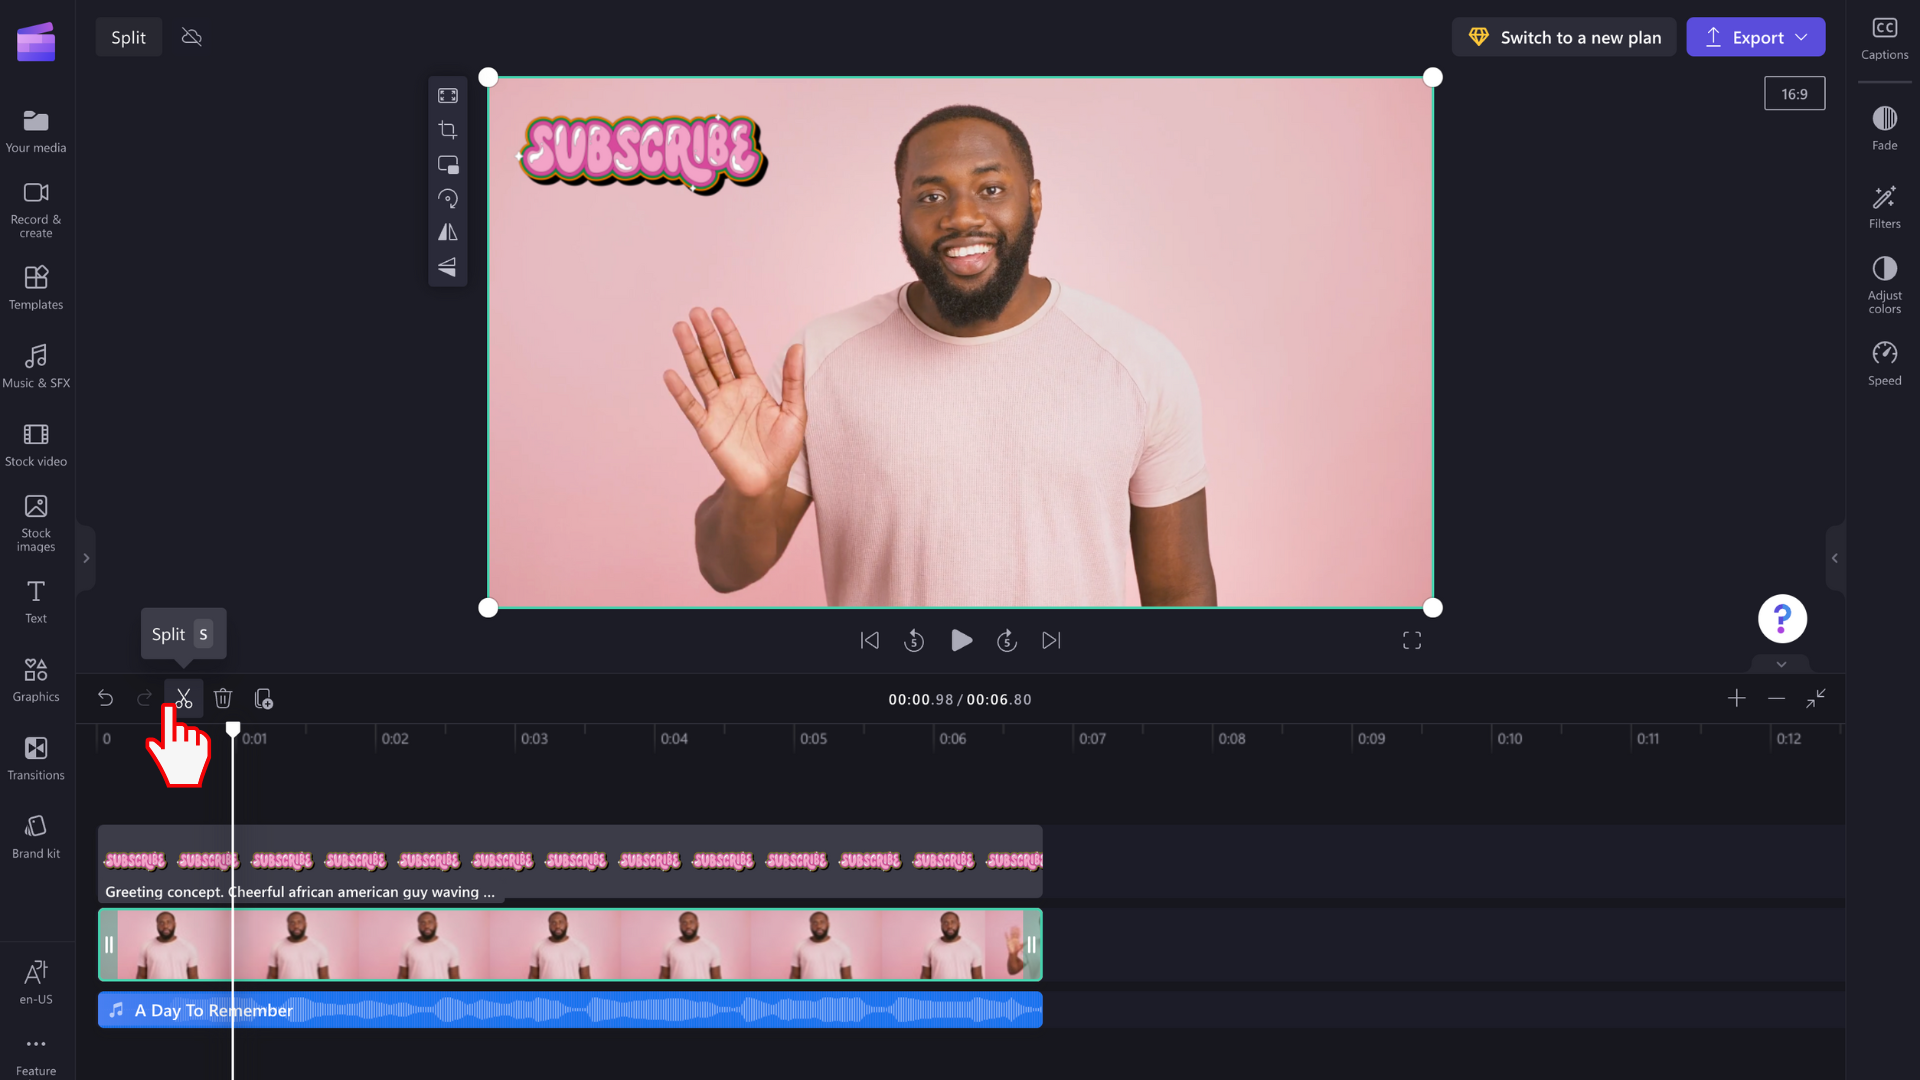
If you've selected a video clip, this will cut the video in two parts.
If you would like to split an audio file at the same time as a video, hold down the shift key on your keyboard, and select both of your media files on the timeline. You can also drag your mouse across both assets, which will select both of them. Next, select the Split button.
Note: If your audio is attached to your video, the audio will automatically split with the video.
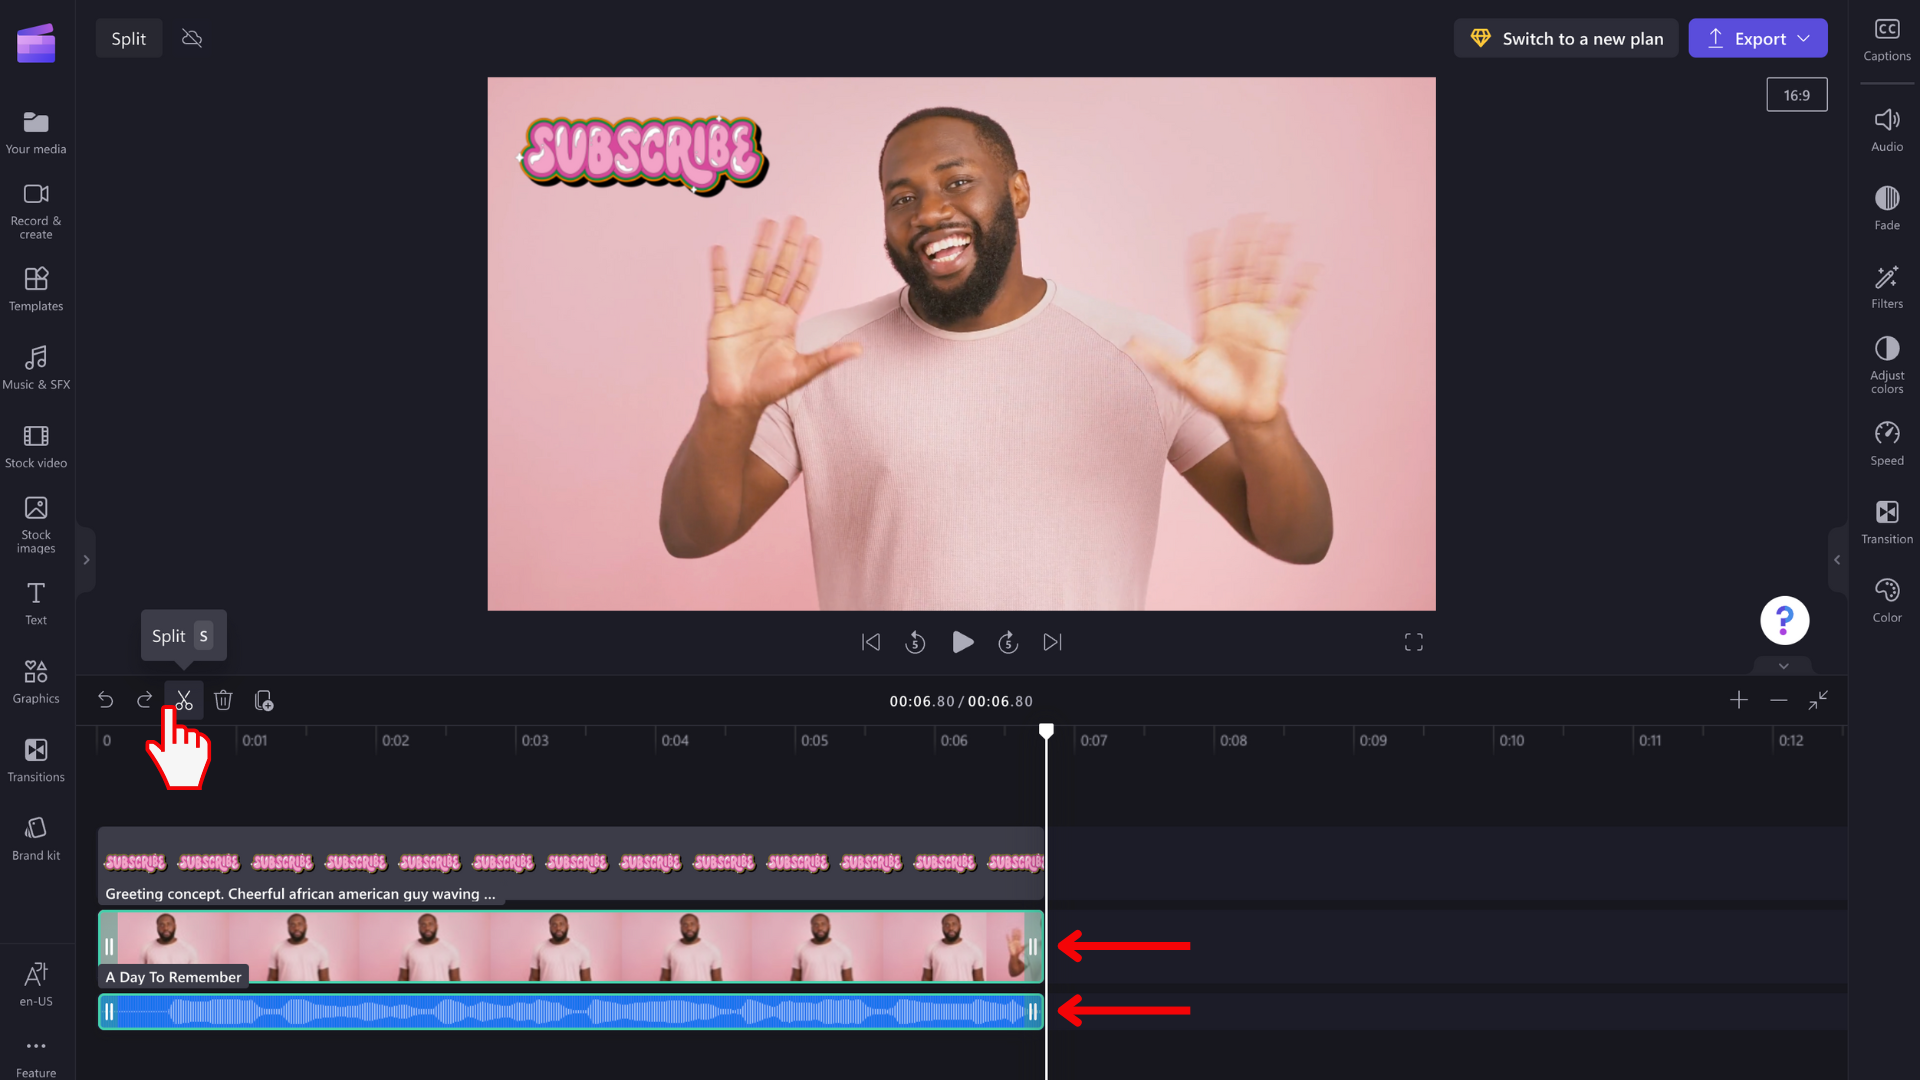
The audio and video will be split.
Cutting multiple clips at the same time
To split multiple clips at once, highlight all of the clips on the timeline that you want to split. To do this, drag your cursor over all of the clips or hold down the shift button on your keyboard and click each clip. You can also select Command-A or Control-A on your keyboard.
Drag the seeker (the white vertical line with a circle on top) to where you want to split your clip.
Select the scissors icon or hit the S key to split all of your clips at once.
Deleting part of a split clip
If you'd like to delete part of a split clip, select it and then select the trash can icon or the Delete key on your keyboard. The selected clip will be deleted.
What's the difference between splitting a clip, trimming a clip and cropping a clip?
Trimming allows you to drag the sides of a media asset inwards to shorten it or outwards to lengthen it. However, you can also 'trim' a clip by splitting it and then deleting the remaining part as shown above. To learn how to trim a clip, see How to trim a video, audio, or image clip.
Cropping allows you to remove unwanted edges or black bars you see in the frame of a video to "zoom in" on it. It is different from splitting, which involves cutting a clip in two.


