
Add link to content in Viva Learning
You can add link to content found in SharePoint, YouTube, Vimeo, news articles, and other sources into Viva Learning. Content can be bookmarked, recommended, and shared.
Notes:
-
You need a Viva Suite or Viva Learning license to add link to content.
-
This content isn't searchable in Viva Learning.
-
The default language for this content is the one set by your organization's admin.
Try it in learning collections!
1. Create a collection: Manage learning collections and assignments
2. Select Add content to add courses to your collection.
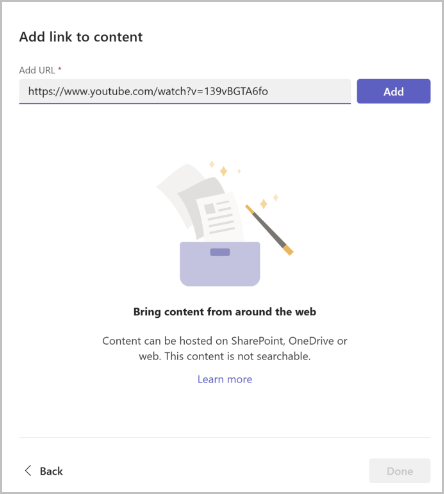
3. Select Add link to content.
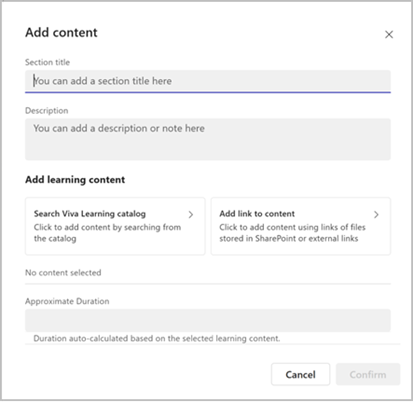
4. Paste the SharePoint URL or weblink. Select Add.
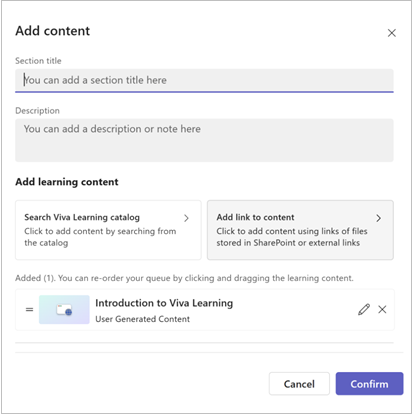
5. Edit the title, thumbnail, and description.
6. Select Done.
7. To edit content, go to the section and select the pencil icon.
8. To delete content, go to the section, edit and select the cross.
Try it in Viva Learning tabs!
-
Navigate to the Teams Channel or Chat that contains your designated Viva Learning Tab.
Tip: To learn how to add a Learning Tab to your Teams Channel or Chat visit this link Social Learning
-
Select Add new.

-
Select Bring your own content.
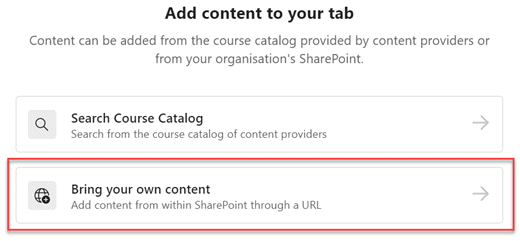
-
Paste the SharePoint file URL and select Add.
Tips:
-
Learn to create a sharable link in SharePoint here: Create Sharable Link in SharePoint.
-
Users must have access to the SharePoint document to view it in Viva Learning.
-
-
Select Add. You can customize the description or use the auto-populated description.

-
Select Save. The content will appear in your learning library.
-
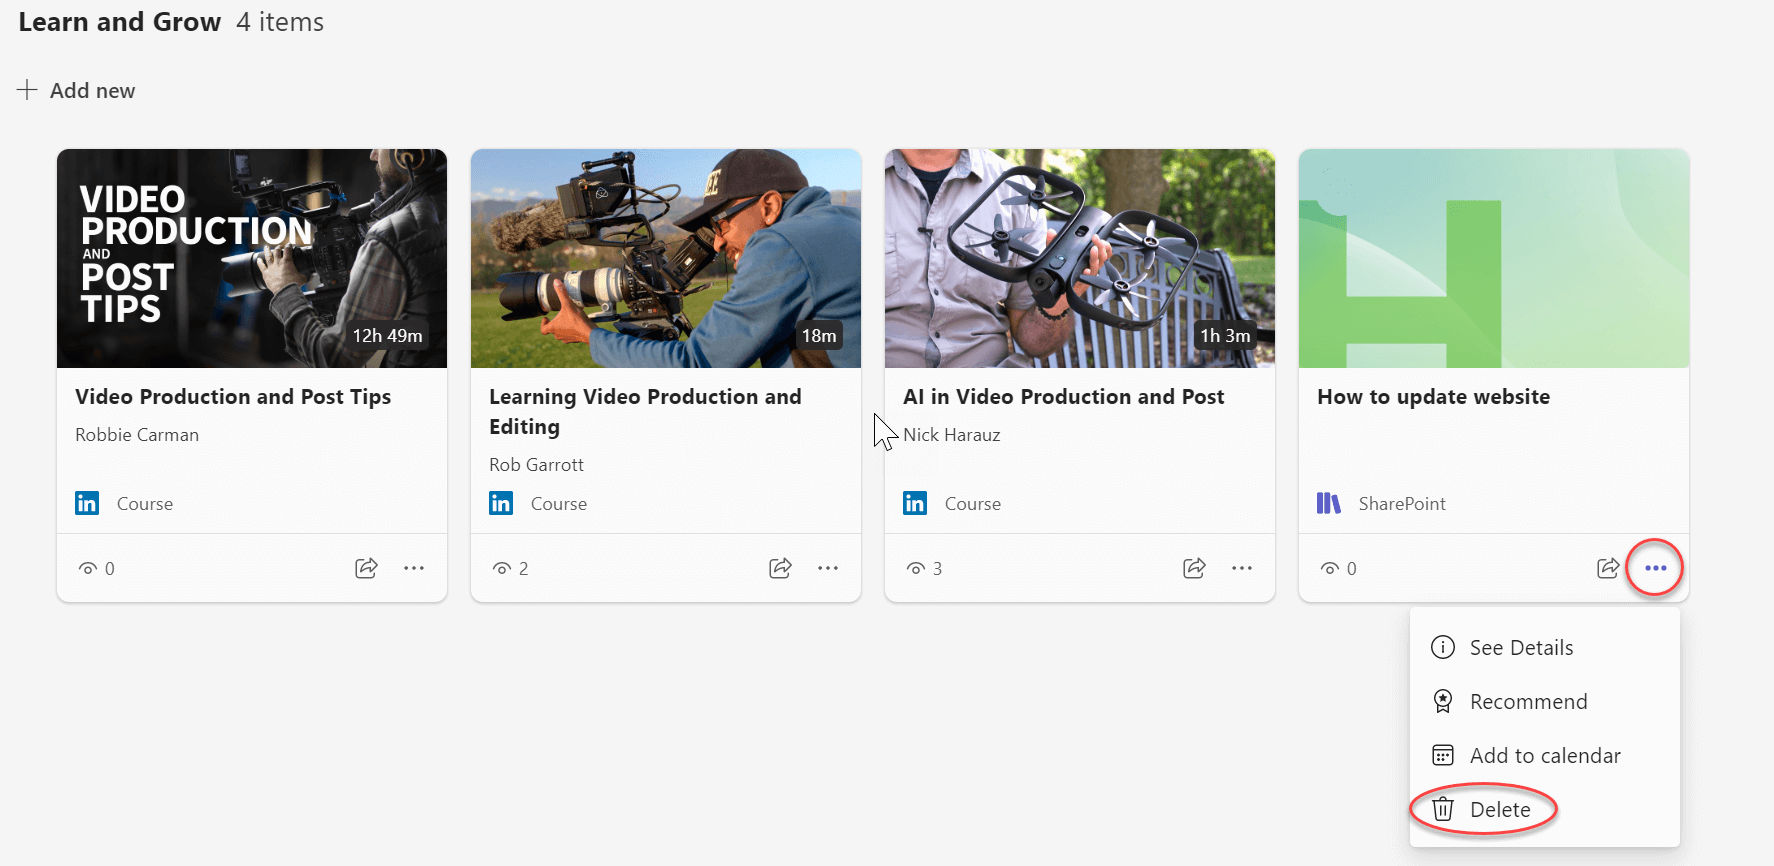
To delete content, select the content card.
-
Hover over the ellipse.
-
Select the trash icon and confirm delete.
Want more?


Need more help?
Want more options?
Explore subscription benefits, browse training courses, learn how to secure your device, and more.


Communities help you ask and answer questions, give feedback, and hear from experts with rich knowledge.


