Try it!
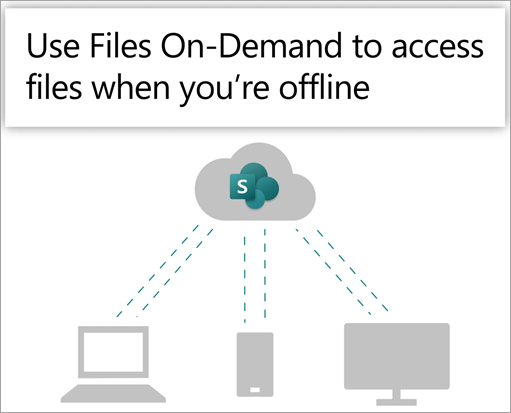
Sync the files in your Microsoft 365 or Microsoft SharePoint site libraries so they’re always available on your computer, even when you’re offline.
Turn on Files On-Demand in OneDrive
-
In the Windows notification area, select the OneDrive cloud icon.
Note: If you’re on Windows 10, your computer already has the OneDrive desktop app on it, but you'll need to turn on Files On-Demand in OneDrive settings.
-
Select
-
Select Settings, and open Advanced settings.
-
Under Files On-Demand, select either Free up disk space or Download all files.
To learn more about OneDrive Files On-Demand and cloud storage to save space on your computer, see Save disk space with OneDrive Files On-Demand for Windows.
Set up Sync for your library
Users have two options when syncing files in SharePoint libraries and Teams:
Both options allow essentially the same thing—users can access files on their local computer in File Explorer or Finder. However, adding OneDrive shortcuts allows content to be accessed on all devices, whereas sync is related to a specific device. Additionally, OneDrive shortcuts offer improved performance versus using the sync button.
We recommend using OneDrive shortcuts as the more versatile option when available.
If you need to use the sync button:
-
In your browser, on your SharePoint site, navigate to the library of files you want to sync with.
-
Select Sync in the toolbar.
Note: If your browser asks for permission to use OneDrive, confirm that it's OK.
-
Sign in to OneDrive to start syncing your files and finish OneDrive setup.
Work with your files in your file system
-
Once synced, your SharePoint files appear in File Explorer under the name of your organization (or in Mac Finder, if you're using a Mac).
-
Each location will appear in a separate subfolder.
-
Copy or move files from your computer to SharePoint right from your file system.
-
To check the status of your files, add an account, or manage other sync settings, select the blue OneDrive cloud icon in the Windows notification area.
Sync the files in your Microsoft 365 or Microsoft SharePoint site libraries so they’re always available on your computer, even when you’re offline.
Turn on Files On-Demand in OneDrive
-
If you have a MacOS version that is earlier than MacOS 12.1, you need to turn on Files On-Demand in OneDrive before syncing files on your Mac. If you haven't, download and install OneDrive on your Mac first. After installing OneDrive, on the right-hand side of the menu bar at the top of your desktop, select the OneDrive cloud icon. (You may have more than one cloud icon. Select each in turn and read the title bar of the pop-up window that appears to find the icon that represents your work files—rather than your personal files.)
-
Select
-
Under Files on Demand, ensure that this feature is turned on. If the button there says Turn Off Files On-Demand, then it's already turned on.
Note: From macOS 12.1, Files On Demand is part of macOS and is on by default. You can't turn it off but you can still mark your files as Always Keep on This Device if you need them available when offline.
Set up Sync for your library
You have two options when syncing files in SharePoint libraries and Microsoft Teams. You can
Both options allow essentially the same thing—you can access files on your local computer in File Explorer or Finder. However, adding OneDrive shortcuts allows content to be accessed on all devices, whereas sync is related to a specific device. Additionally, OneDrive shortcuts offer improved performance versus using the sync button.
We recommend using OneDrive shortcuts as the more versatile option when available.
If you need to use the sync button:
-
In your browser, on your SharePoint site, navigate to the library of files you want to sync with.
-
Select Sync in the toolbar.
Note: If your browser asks for permission to use OneDrive, confirm that it's OK.
-
Sign in to OneDrive to start syncing your files and finish OneDrive setup.
Work with your files in your file system
-
Once synced, your SharePoint files appear in Mac Finder under the name of your organization.
-
Each SharePoint library that you've sync'd with appears in a separate subfolder in Mac Finder.
-
Copy or move files from your computer to SharePoint right from your file system.
-
To check the status of your files, add an account, or manage other sync settings, select the OneDrive cloud icon in the Windows notification area.
For more details, see Save disk space with OneDrive Files On-Demand for Mac.
Work with files in Files On-Demand
After Files On-Demand is turned on, you’ll see new status icons next to each of your SharePoint files. You can copy or move files from your computer to SharePoint right from your file system.
 |
Save space on your device by making files online-only. These files are only available when you're connected to the Internet, but don't take up space on your computer. |
 |
When you open an online-only file, it downloads to your device and becomes locally available. You can open a locally available file at any time even without Internet access. |
 |
To make a file always available, even when you're offline:
To change a file back to an online-only file:
|
Want more?
Work with synced files in File Explorer


