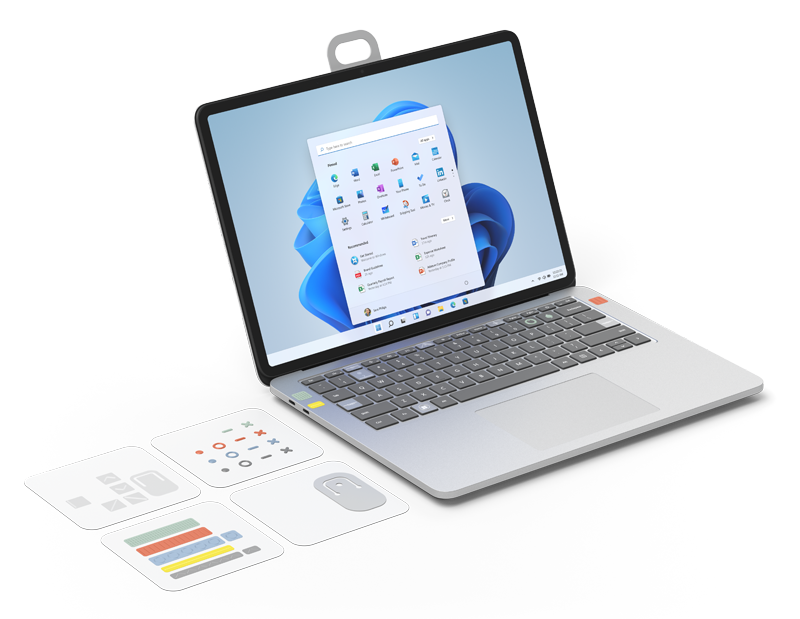
Surface Adaptive Kit guide
The Surface Adaptive Kit is a flexible set of tactile tools that can be used many ways and examples are provided throughout this guide. While this guide has many suggestions for how to use the labels and openers, apply them in the ways that work best for you.
Available to purchase from the Microsoft Store and other retailers.
Table of contents
-
Opening the box: An overview of what's included in the Surface Adaptive Kit
-
Bump labels: Explanation of bump labels, suggested uses, and how to apply
-
Keycap labels and applicator: Explanation of keycap labels and applicator, suggested uses, and how to apply
-
Port labels: Explanation of port labels, suggested uses, and how to apply
-
Opener support: Explanation of opener supports, suggested uses, and how to apply
Opening the box
-
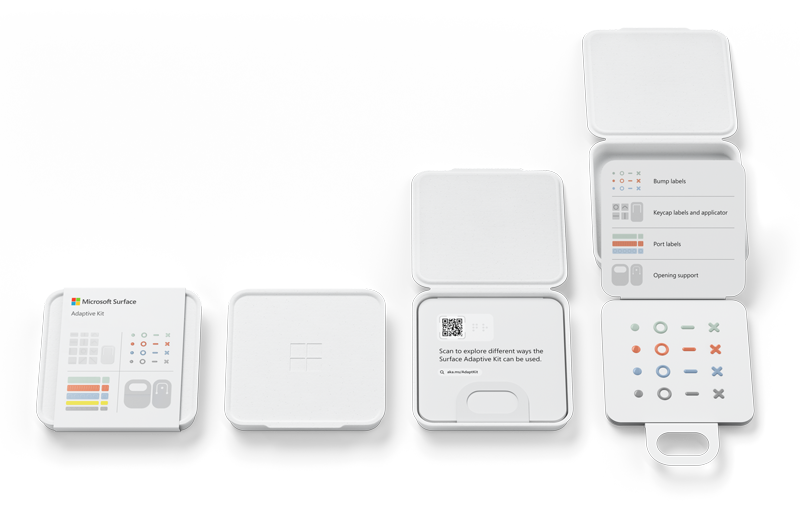
Remove the sleeve from the case by pulling open the tab on the back.
-
Use the notch on the front of the case to open the lid.
-
Inside the case is a folder with a large loop. Use the loop to remove the folder.
-
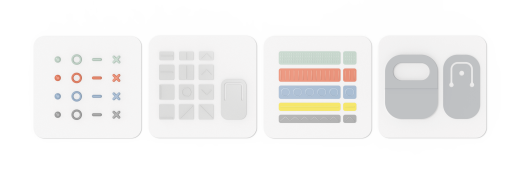
The folder contains four cards that each contain a different component of the adaptive kit.
From top to bottom, the components are:
-
Bump labels
-
Keycap labels and applicator
-
Port labels
-
Opening support
Bump labels
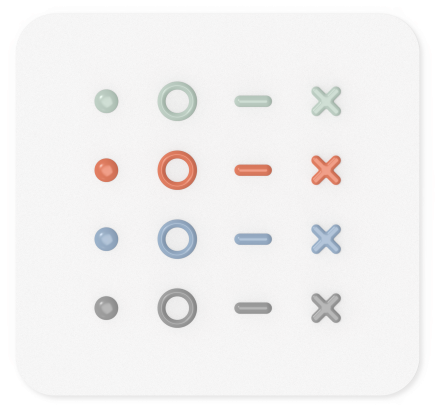
Bump labels come in four shape and colors, for a total of 16 labels. Shape variations are a solid dot, an open circle, a dash line, and an X. Each shape variation is available in green, orange, blue, and gray.
They can be applied anywhere to help identify features such as buttons, keys, ports, etc. Peel the label from the card and place it on or next to the feature you want to identify. Here are some possible uses:
-
Place the dot button near the audio jack.
-
Place the X and dash buttons near the volume controls.
-
Place the circle button on the Function key.
Keycap labels
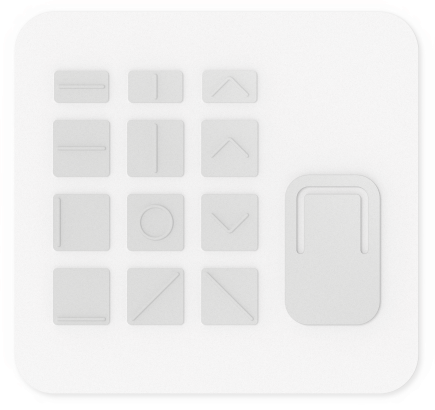
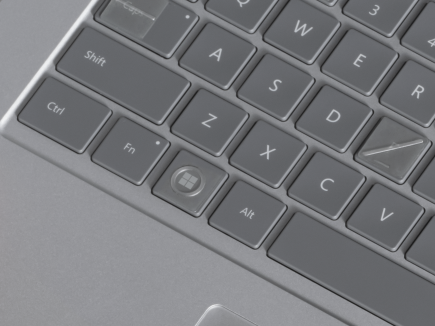
Keycap labels are designed to help you identify keys on your keyboard. The labels are transparent with a raised feature on them. There are 12 total labels:
-
Eight lines in varying orientations and lengths
-
Three arrows
-
One large horseshoe
-
One keycap label applicator
The labels can be applied by hand or with the applicator that's attached to the keycap card in the lower right. Using the applicator can help you align the labels to the keyboard keys more consistently.
How to use the keycap applicator
-
Peel the keycap label that you want to use from the keycap card and set it back down loosely.
-
Peel the applicator from the card. You'll notice the middle section is sticky, this will help you lift and apply the keycap labels.
-
Place the center of the applicator over the label and press to pick it up.
-
Place the applicator with the label over the key you want to label.
-
Press the applicator with the label firmly on the key then lift the applicator to remove it from the label.
-
When the label is on the key, press down on it firmly to make sure it's adhered securely.
Port labels
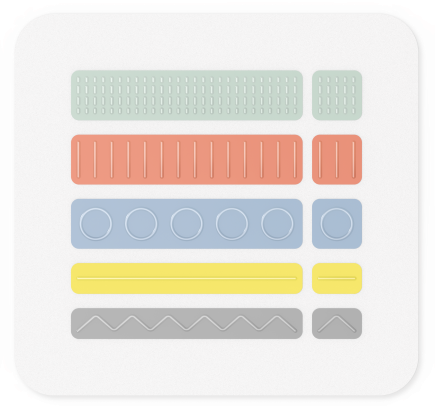
The port labels are designed to help identify and match cables and ports on your device. There are five different port label pairs, for 10 total labels. Each pair is a different color and has a different tactile design so they can be identified visually and by touch. Here’s a description of the pairs:
-
One long green label with dense bumps, one short green label with dense bumps
-
One long red label with repeating short lines, one short red label with three short lines
-
One long blue label with repeating open circles, one short blue label with an open circle
-
One long yellow label with a single line, one short yellow label with a single line
-
One long gray label with a jagged line, one short gray label with a jagged line
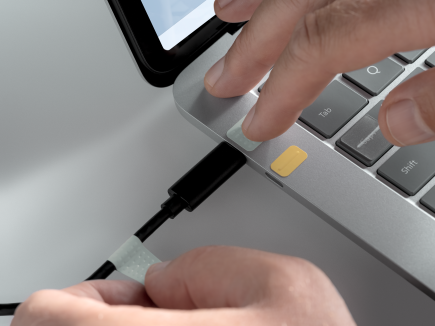
Place the shorter label on your device next to the port you want to identify. Wrap the longer, matching label around the cable that you most often use with that port.
Opener support
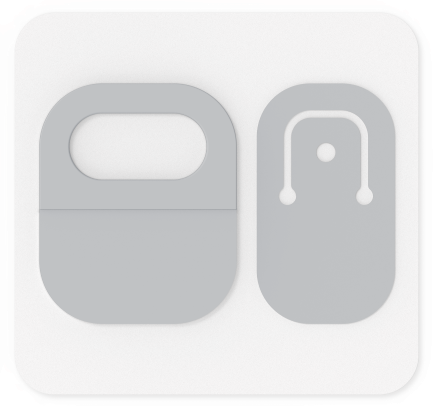
There are two opener supports.
The first support has a larger loop, designed to assist in opening a laptop lid. Place the opener support on the edge of the lid with the loop hanging off.
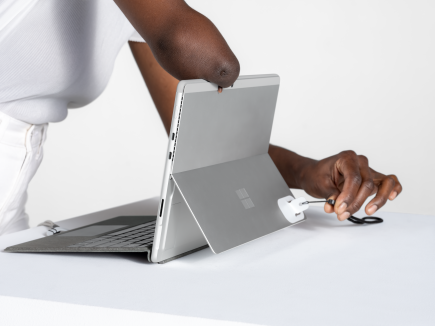
The second support has a flexible section in the middle where you can attach a lanyard or wrist strap. The lanyard isn't included, but different styles can be purchased online. This support is designed to be used on a Surface Pro kickstand.

