Get started in your class team
Sign in to Teams
-
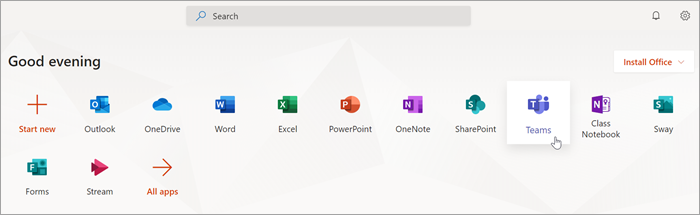
Open Office.com on your web browser and sign in with your school email and password.
-
Select the Teams app.
Note: Teams for Education is a part of Office 365 Education. Students and educators at eligible institutions can sign up for Office 365 Education for free. Learn more about signing up.
Create a class team
You may already have classes set up for you by your IT administrator. If not, create one.
-
Select Teams [icon] from the app bar.
-
Select Join or create team > Create team.
-
Select Class as the team type.
-
Enter a name and optional description for your class. Select Next.
Add students (optional)
-
Enter student names and select Add. If your school has already created class groups, ask your IT Admin for the name of your class group.
-
Select Done when you’re finished. To add co-teachers to this class team, choose the Teachers tab and enter names.
You’re done!
To add students or make changes to this team later, navigate to the team and select More options [icon].
Get organized in your class team
Click on the tile for your class team to see your channels.
Channels
Every class team comes with a General channel.
Channels organize all the files, conversations, and apps for a topic in one place. Channels can be created for group work, topics, units, and more.
Every channel has tabs. The General channel has these tabs:
-
The Posts tab for all the messages in this channel.
-
The Files tab to store all the files shared in this channel.
-
The Class Notebook tab.
-
The Assignments tab for creating assignments.
-
The Grades tab for tracking student progress and grading.
Tip: Add a tab to any channel by selecting Add a tab [icon].
Add channels
-
To add a channel, select More options [icon] next to your class team’s name, then Add a channel.
-
Enter a Name and an optional Description for your channel.
-
Choose whether you’d like your channel to be Standard or Private. Standard channels will be available to everyone. Private channels will only be available to students you choose.
-
Check the box to automatically show this channel in everyone’s channel list.
-
Click Add.
Check notifications
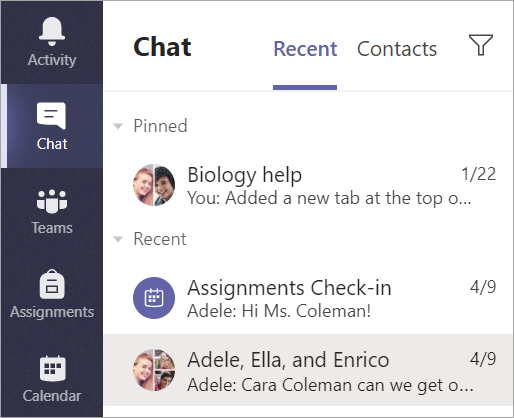
See what’s happening in class by selecting Activity in your app bar.
Schedule a virtual meeting for your class
Use meetings in Teams to schedule virtual presentations and discussions for your whole class.
-
Select Teams [icon], then select Calendar [icon].
-
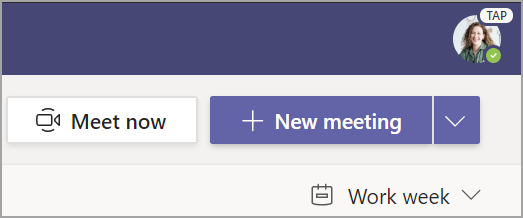
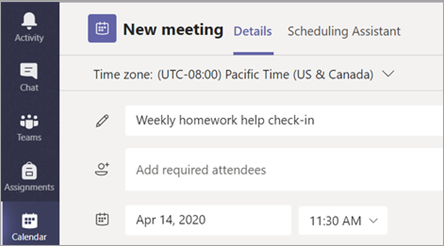
Select + New meeting.
-
Give your new meeting a title. Decide on a date and time. Add any additional details.
Tip: You can set any meeting to repeat on a daily, weekly, monthly, yearly, or even a custom cadence.
-
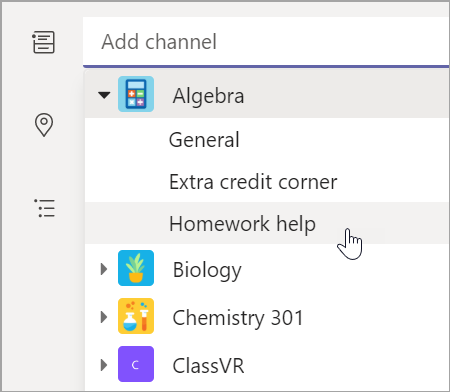
Select Add channel to see a list of your class teams and their channels, then choose a channel to meet in.
Note: When you select a channel in a class team to host a meeting, all students with access to the channel are able to join the meeting. Also, all resources shared and any recordings taken during the meeting are saved in the channel.
-
Take a moment to review your meeting details. When you’re done, select Send. This adds your meeting to your calendar and your students’ calendars.
Note: Learn more about best practices for running class meetings and maintaining safety during meetings with students.
Meet with your students using video or audio calls
Use video or audio chatting in Teams to meet with your students in groups or one-on-one.
-
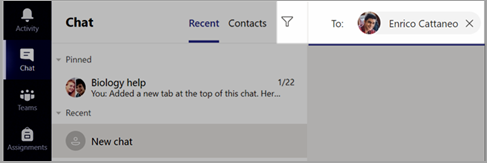
Select New Chat [icon]. In the To box, enter one or more students’ names.
-
Select Video call [icon] to meet using video or Audio call [icon] if you prefer to use audio only.
You can also meet live with students in an existing chat.
-
Select Chat [icon] from the app bar, then choose the chat you’d like to meet from.
-
Select Video call [icon] or Audio call [icon] to start a meeting with a student or group of students.
Tip: To schedule a meeting in advance, select Calendar > + New meeting.
Note: Learn more about best practices for running class meetings and maintaining safety during meetings with students.
Join and manage a meeting
Join a meeting you have scheduled, or someone else has invited you to.
-
Select Calendar [icon] and navigate to the meeting you want to join.
-
Open the meeting and select Join.
-
Double-check your audio and video input, turn on the camera, and unmute your microphone to be heard. Select Join now to enter the meeting.