
Note: The screenshots in this article are from Clipchamp for personal accounts. The methods to rotate clips apply to Clipchamp for work accounts as well.
It's easy to rotate videos, images, and other visual elements such as GIFs, stickers or subtitle tracks in Microsoft Clipchamp.
You can either freely rotate them individually or as a group, or you can rotate them in 90 degree steps. To illustrate how rotating works, we're using a video as the sample media asset on screenshots in this article.
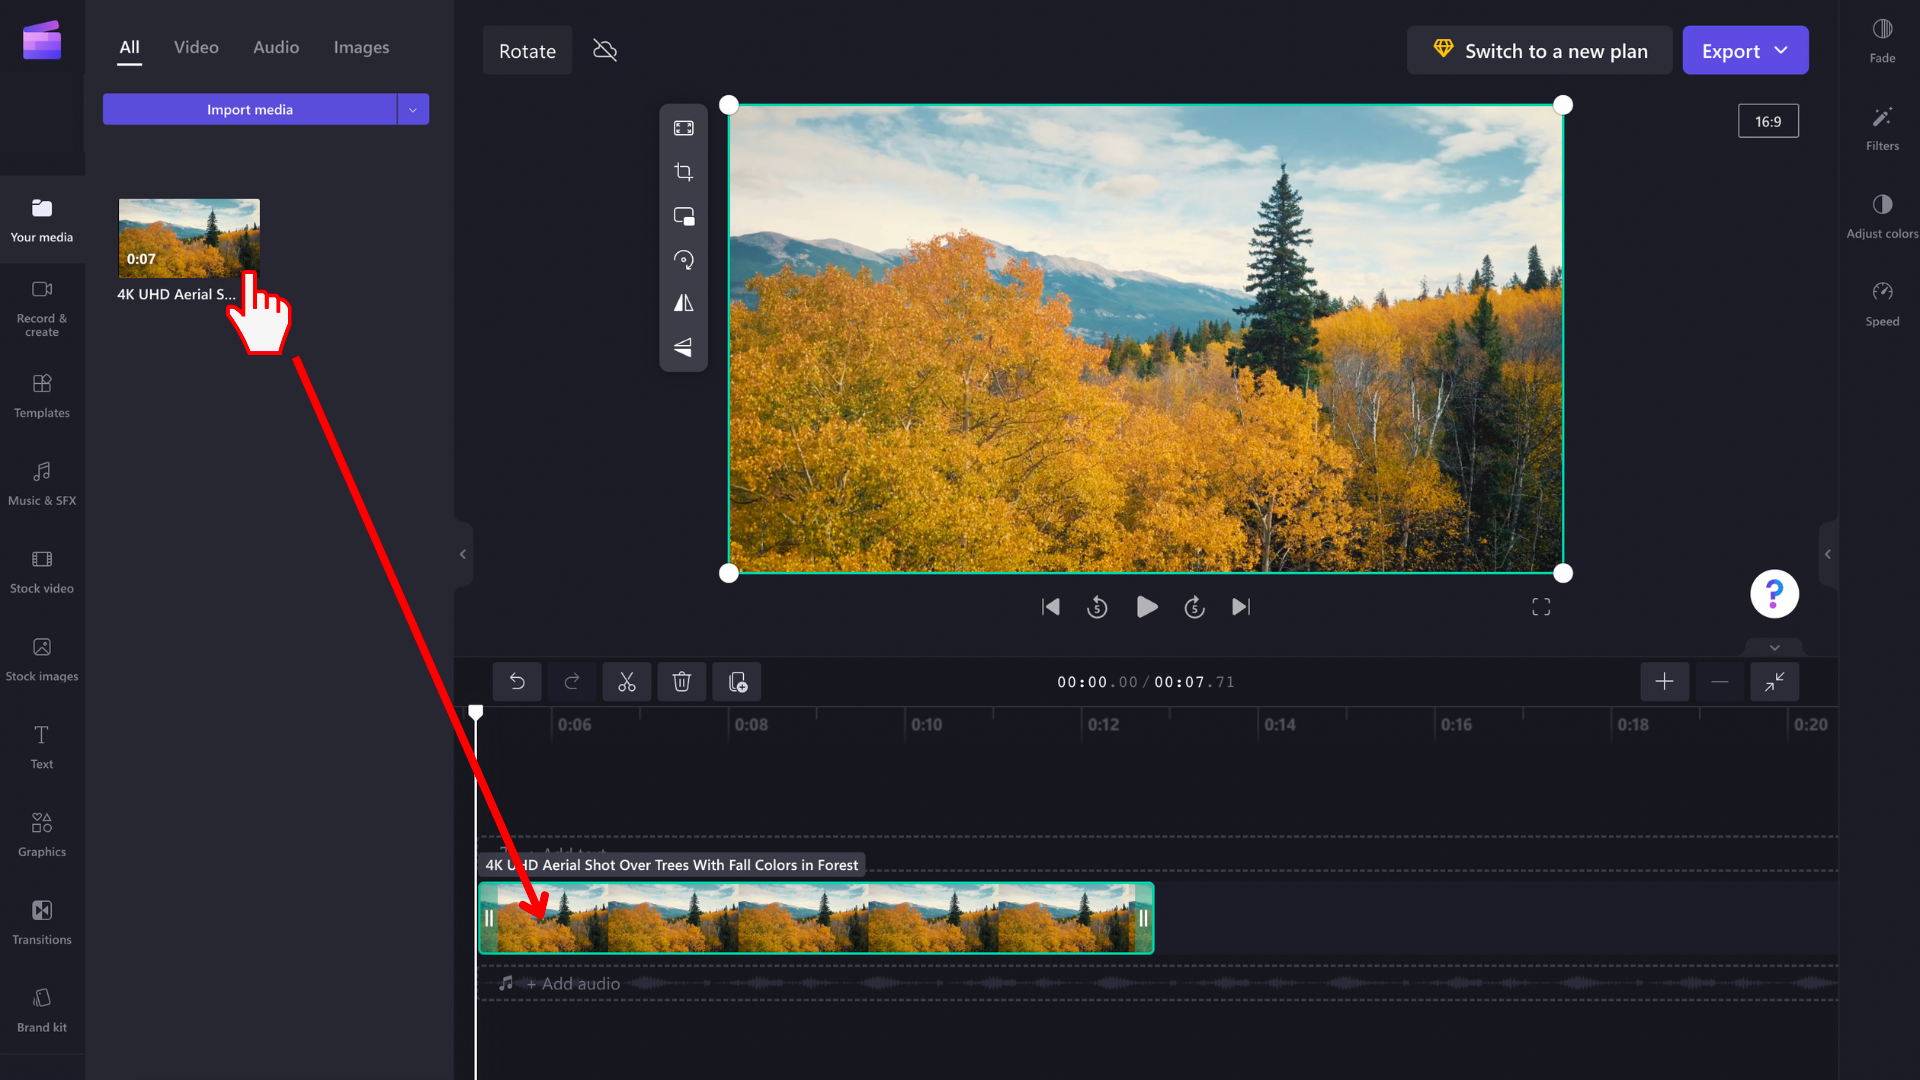
Step 1. Drag and drop the media asset onto the timeline
Drag and drop the video or image from your media library into the timeline, then select it there or in the preview window so it's highlighted.
Step 2. Rotate your video or image
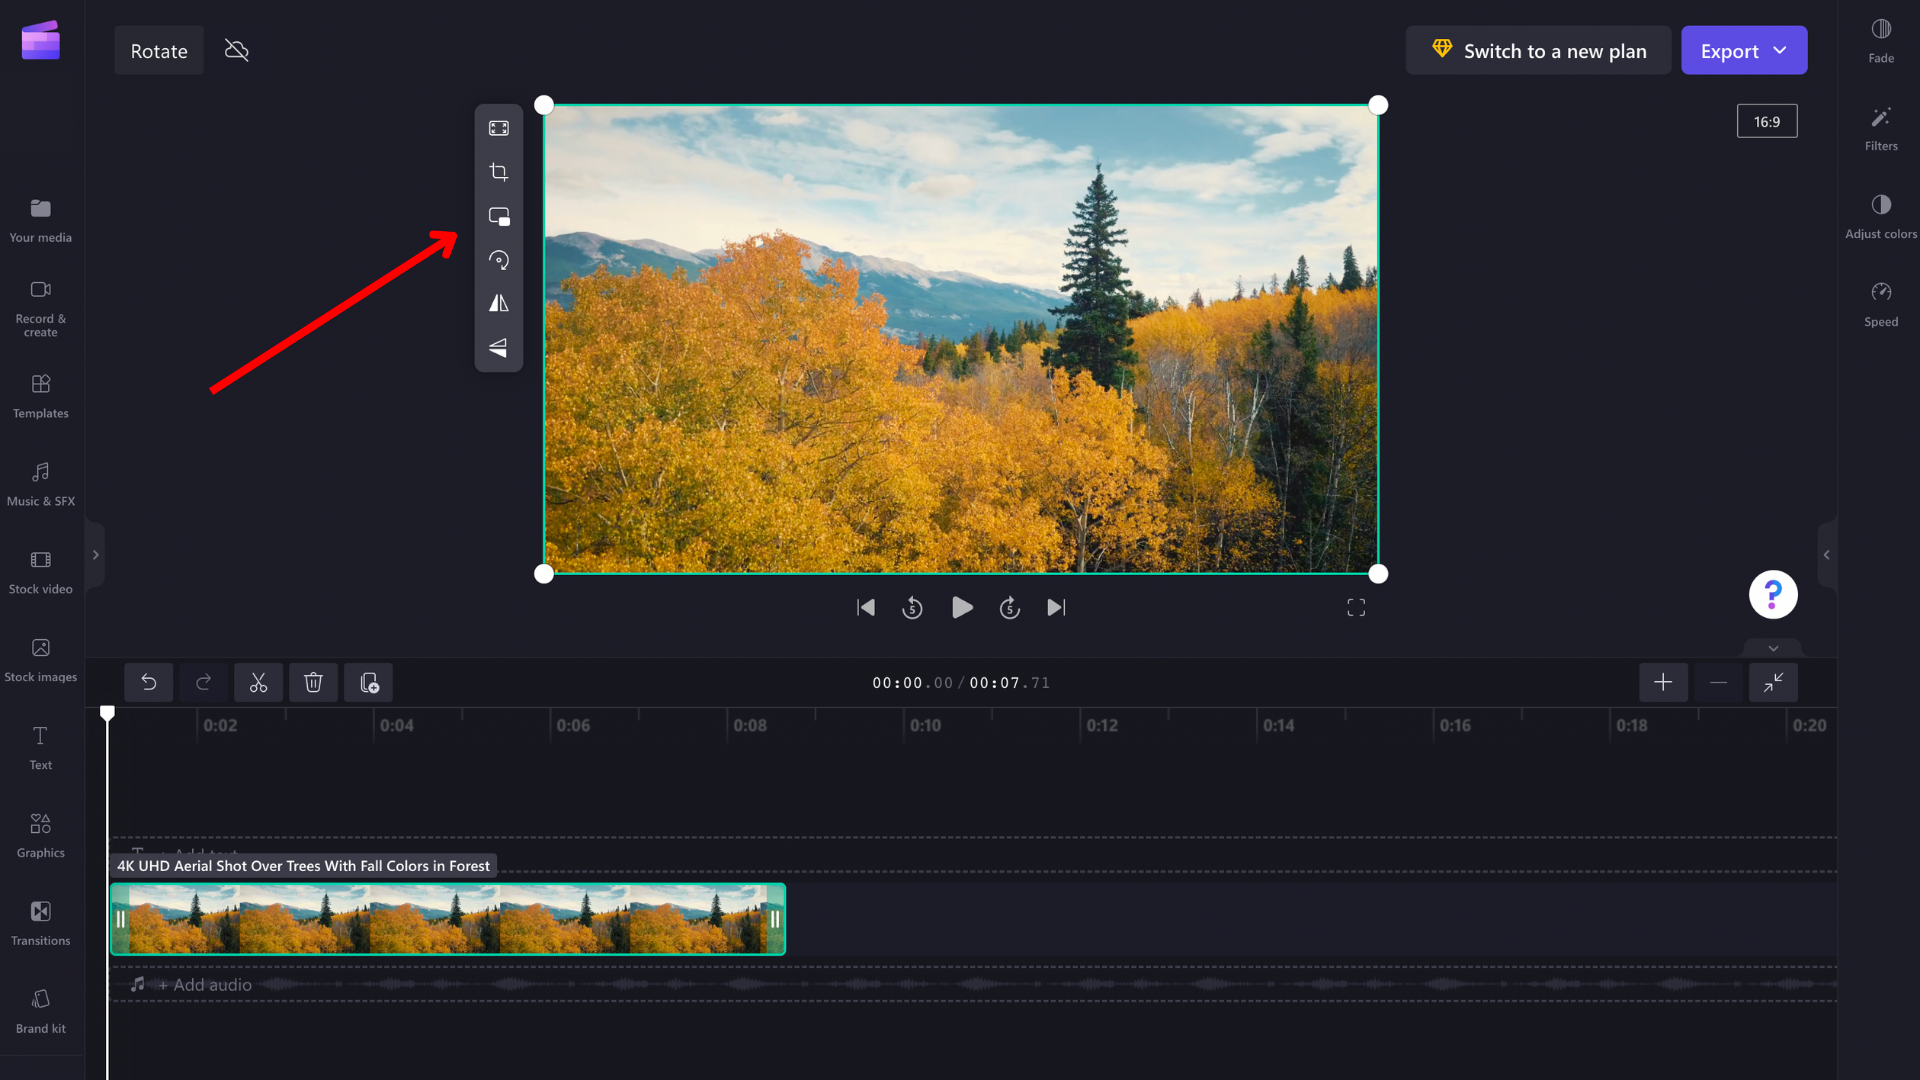
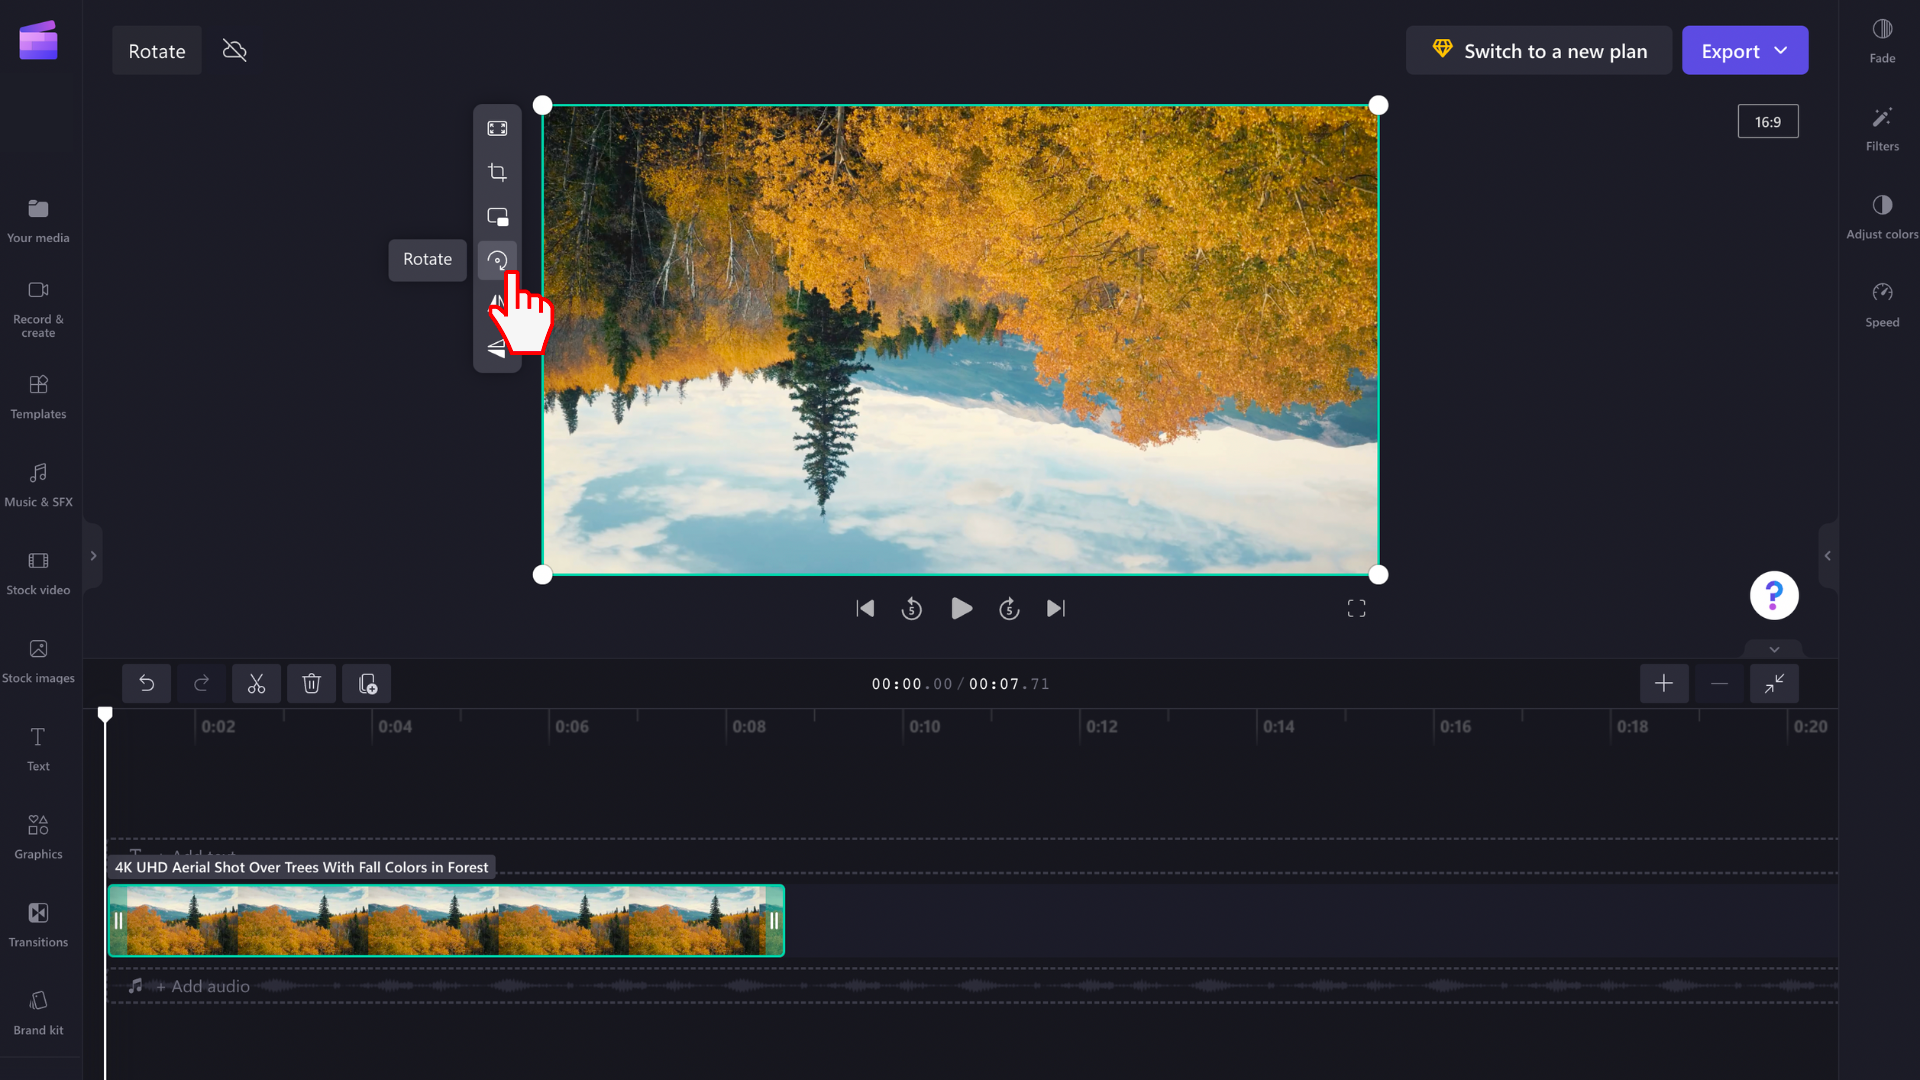
When the media asset is highlighted, a floating toolbar will appear next to the preview window. There will also be a rotate icon be shown underneath the media asset.
Now you have two options, either use the rotate by 90° option in the toolbar or select the rotate icon and freely adjust the rotation angle of your media asset.
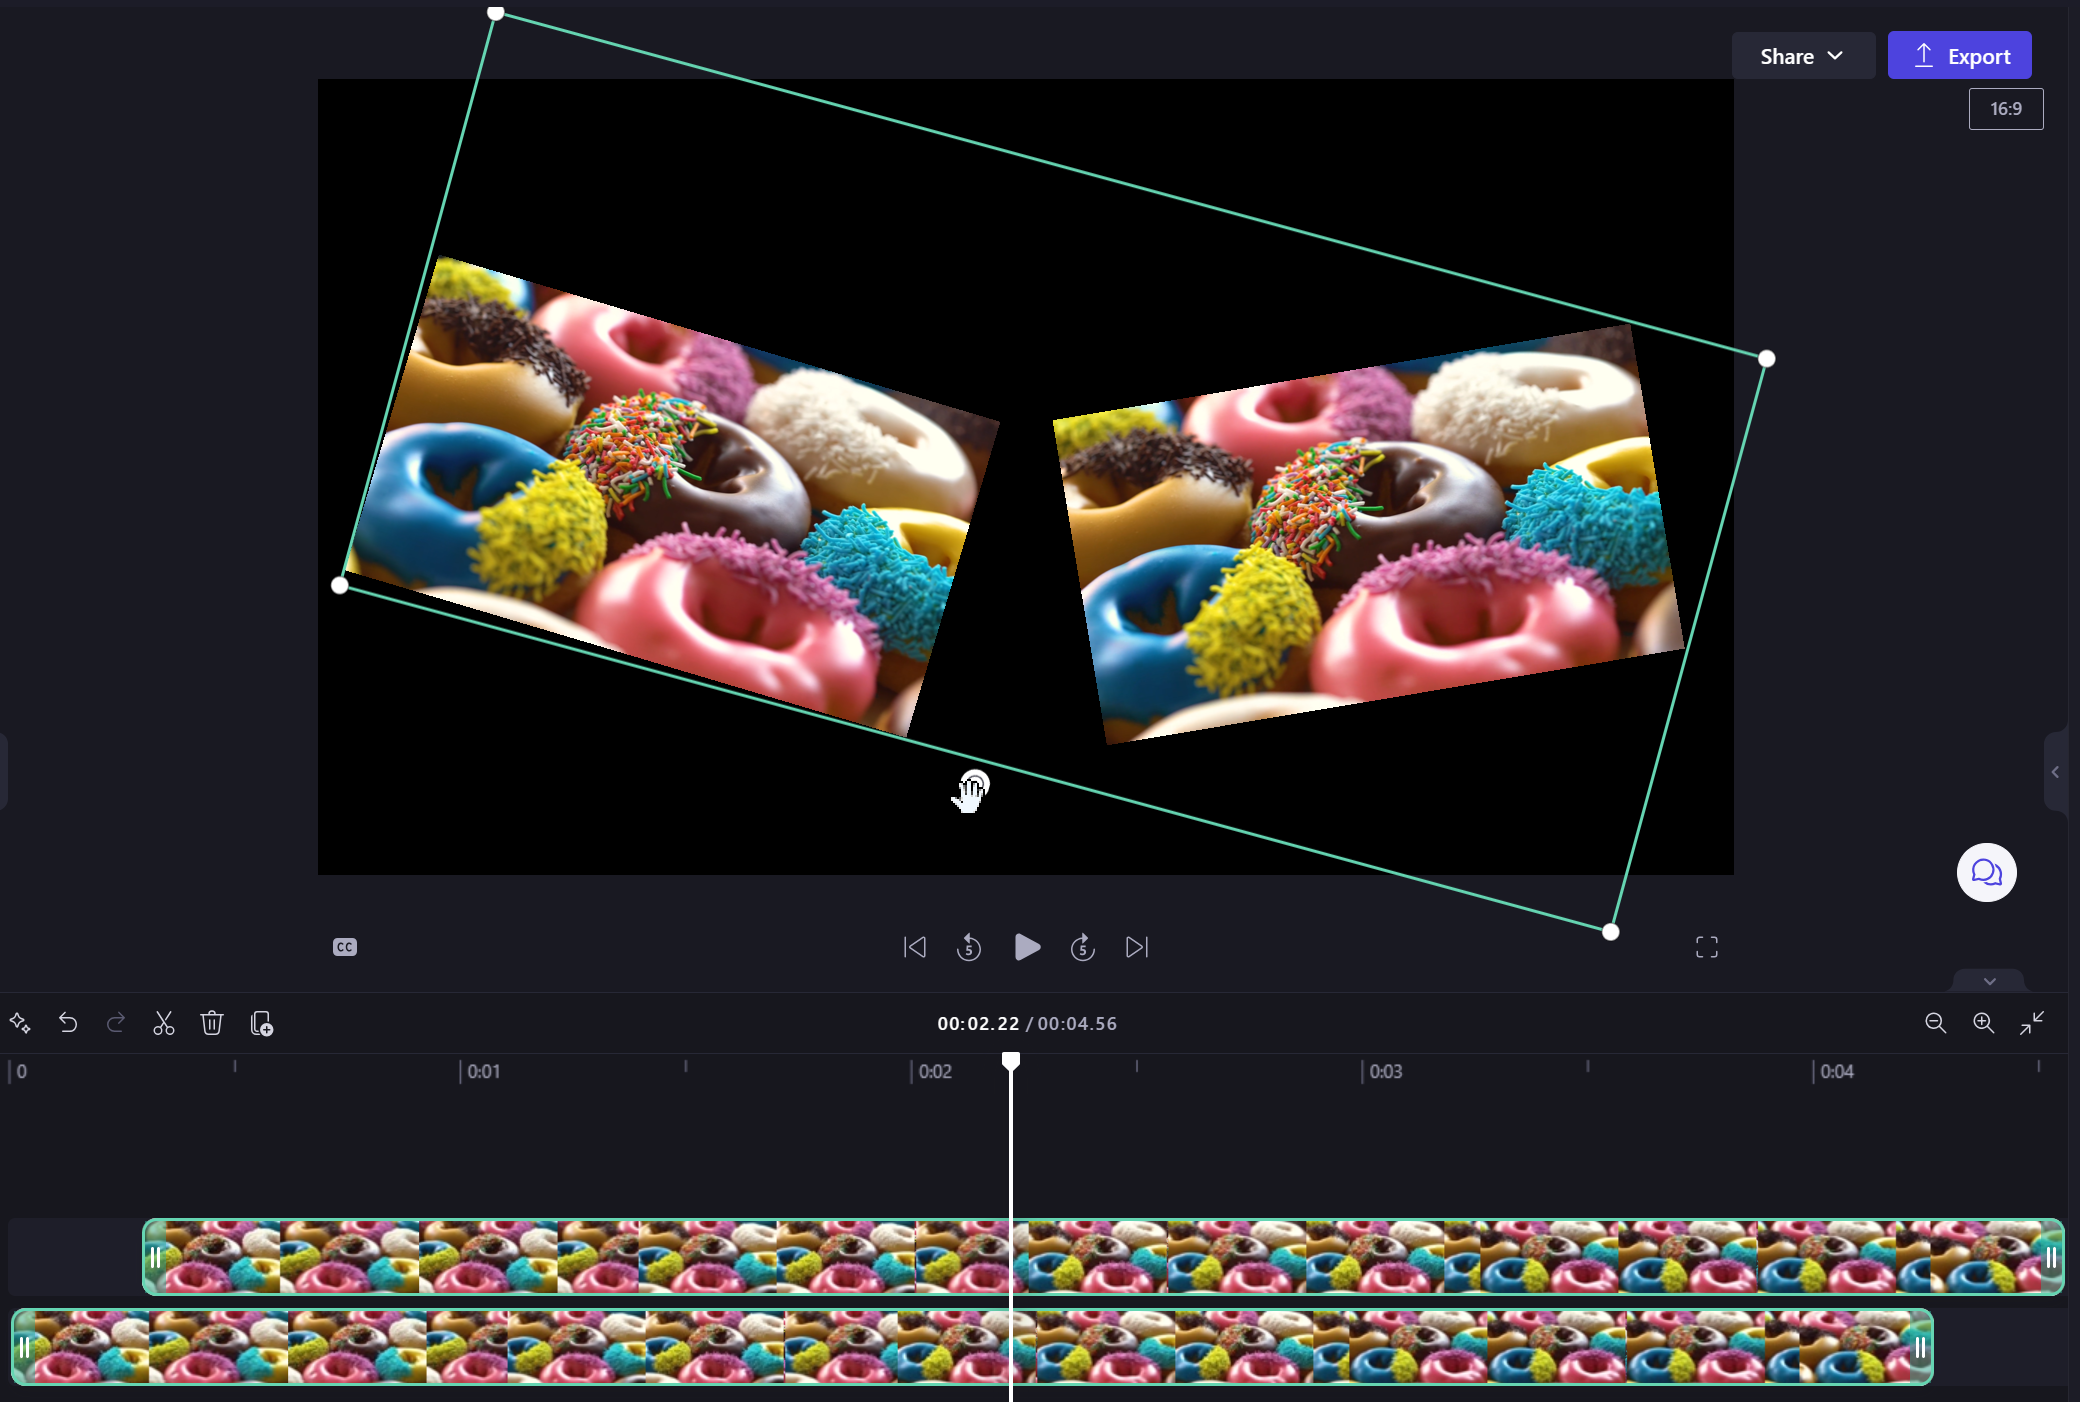
Option 1: free-hand rotate by selecting the icon with your mouse and moving it around, you'll see the video rotate as you move your mouse.

This also works with multiple items. Simply select them together by dragging your mouse across them on the timeline while holding down the left mouse button, or by using the Ctrl key on your keyboard and your mouse.
When the group of items is selected, you can rotate them together with the rotate icon underneath the group on the stage.
Option 2: rotate in 90° steps by using the button on the floating toolbar.
How to undo a rotation change
You can return the media asset to its original state at any time by selecting it on the timeline and selecting the undo and redo buttons in the top left of the timeline.
You can also drag and drop your original media file onto the timeline again from the media library. This will add a new copy of the asset with its original rotation intact. After that, select the rotated copy you want to remove and click the trash icon.


