Sign in with Microsoft
Sign in or create an account.
Hello,
Select a different account.
You have multiple accounts
Choose the account you want to sign in with.

You can save time by creating different Appointment types. Once you do, every time you select an appointment type for a booking, the info or links you’ve set up (e.g. parking instructions, appointment prep details) will be emailed to attendees automatically.
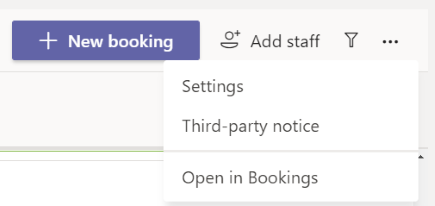
  1. Go to More options Shifts more options icon> Settings.

    In the Bookings app, Go to More options > Settings

  2. Select Appointment typesAdd buttonAdd appointment type.

    Please keep in mind that whatever you write for the title, confirmation message, and reminder message in the form will be emailed to an attendee every time you book this appointment type.

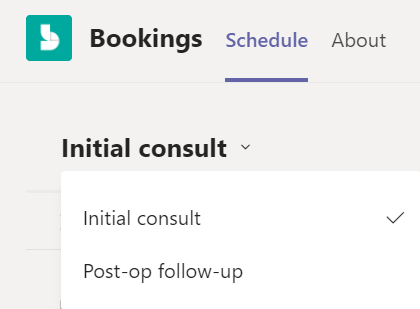
  3. When you create a New booking, you can expand the dropdown at the top of the screen   Inverted caret  to  view all Appointment types and make your selection. 

    Appointment type dropdown in Bookings app

Need more help?

Want more options?

Explore subscription benefits, browse training courses, learn how to secure your device, and more.

Communities help you ask and answer questions, give feedback, and hear from experts with rich knowledge.

Was this information helpful?

What affected your experience?
By pressing submit, your feedback will be used to improve Microsoft products and services. Your IT admin will be able to collect this data. Privacy Statement.

Thank you for your feedback!

×