Get to know the calling experience in Microsoft Teams
Calls are a quick and efficient way to connect in Teams. Here’s a breakdown of what to know in the Calls app that combines contacts, voicemail, and call history.
1. Make a call with a phone number or name
If you have a calling plan set up, you can call anyone from Teams.
To dial a number from Teams, go to Calls. From the dial pad, enter the number of the person you want to reach. Then select Call
To make group calls, enter multiple names or numbers into the dial pad, and select Call
2. See your call history and filter your calls
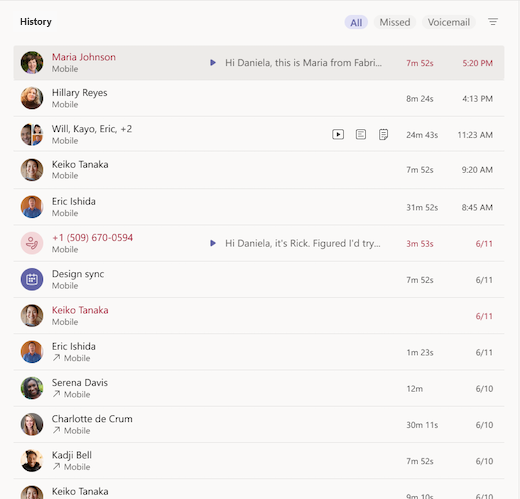
Your call history is at the center of the calls experience and shows a list of past calls and missed calls.
To return a missed call, hover over a contact from your call history list and select More actions
To review past calls, missed calls, and your voicemail, select the appropriate filters at the top of the call history list.
3. Access your speed dial, contacts, and voicemail summaries in one place
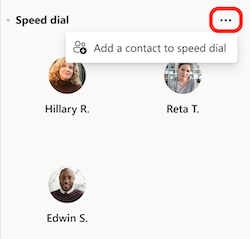
Your speed dial contacts appear to the right of Teams, along with any contact and call groups you manage. Contact groups organize your teammates to help you find or reach certain people based on a role or team. To add someone to a call group, select More actions
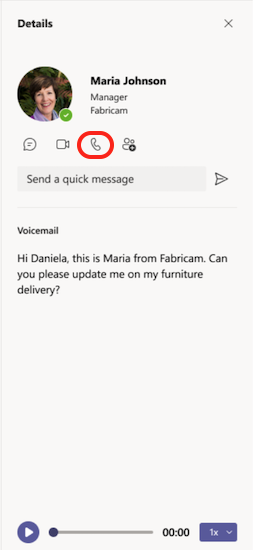
Another familiar tool to get the most out of calls is voicemail. Review your voicemail summaries and transcripts from the right side of Teams.
Call someone back from your voicemail by selecting More actions
4. View call summaries with intelligent recap
Recap is helpful if you missed part of a call or need to confirm details later. Instead of asking others for updates, you can quickly see what was discussed and any decisions made. It saves time and keeps everyone on the same page.
If your call was recorded or transcribed, Teams creates a recap that includes the transcript, recording, notes, and shared files. This makes it easy to catch up without replaying the entire call.
Note: Recap is available for both one-on-one and group VOIP and PSTN calls.
How to access Recap
-
Calls app: In the Calls app, look for the Recap button. It appears for calls that were recorded or transcribed.
-
Recap page popout: Selecting the Recap button opens a popout page, similar to meetings.
-
Web experience: On the web, Recap opens in a new browser tab.
-
Multiple recaps: If a call has multiple recaps, they will appear in the Calls app, similar to chat threads.
Other features
-
Call history: Recap supports multiple occurrences for calls, including multiple recordings.
-
Transcript-only recap: Available for PSTN calls.
-
Recommended documents: Suggested files appear for all call types.
-
Notifications: You’ll get notifications for VOIP calls.
Learn more: Recap in Microsoft Teams
5. Manage call settings
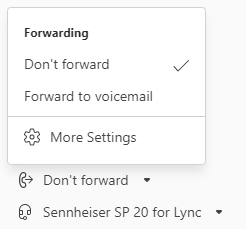
Manage your call settings directly within the calls experience. To change your connected device, select from the dropdown menu at the lower left of the calls experience. You can also manage call forwarding and call groups from this menu.
For more on how to use calls in Teams, check out First things to know about calls in Microsoft Teams.


