
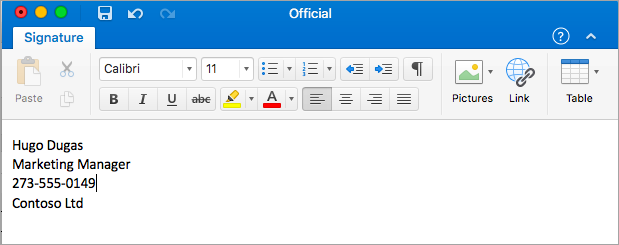
The signature attached to your emails can be customized to reflect your personal tastes, your company logo, or a particular mood. Signatures can contain text, links, and pictures; for example, you can create a signature for a business email that includes your name, job title, phone number, and company logo. Here's an example:
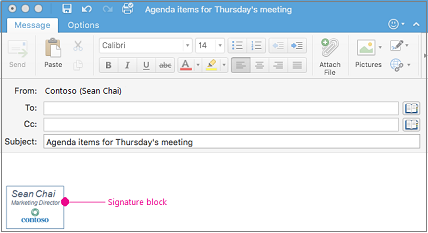
You can add signatures manually to individual email messages, or you can have a signature automatically added to every message that you send.
In Outlook, multiple objects must be anchored before you can drag them all at once. First, select one object. Next, press and hold Ctrl while you select more objects, and then you can drag them into place.
Create an email signature
-
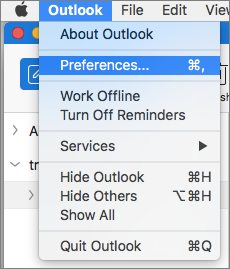
On the Outlook menu, select Preferences.
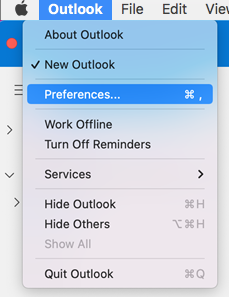
Note: Select Settings if you are using macOS Ventura or higher.
-
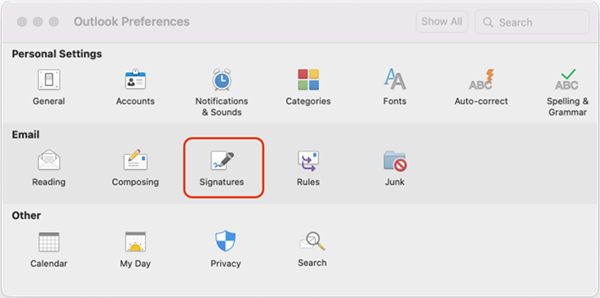
Under Email, select Signatures.
-
Double-click Standard, and then rename the default signature.
or
-
Select

-
Type the desired signature name.
-
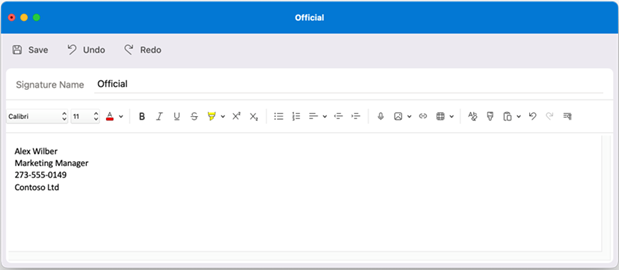
In the Signature editor, type the text that you want to include in your signature. You can:
-
Apply formatting such as font, font style, font size, font color, or highlighting. Select the text before applying any formatting.
-
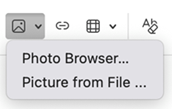
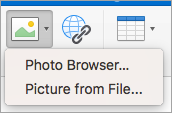
Add a photo, logo, or picture to your signature by inserting Pictures from Photo Browser or Picture from file.
-
Add a hyperlink to your portfolio or company website. Choose Link

-
Insert a table.
-
-
After you are done creating your signature, select Save and close the editor window.
-
Close the Signatures window.
Add a signature to an email or calendar invite
-
Click in the body of your message.
-
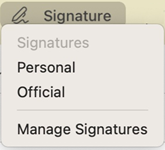
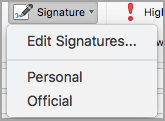
On the Ribbon, select Signature, and then choose a signature from the list.
Add a signature automatically to all messages
You can set a default signature for each of your mail accounts.
-
On the Outlook menu, select Preferences.
Note: Select Settings if you are using macOS Ventura or higher.
-
Under E-mail, select Signatures.
-
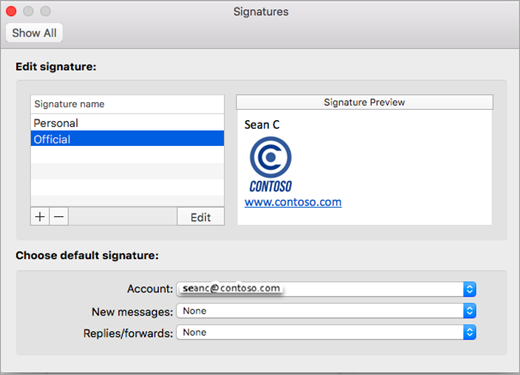
Under Choose default signature, select the account for which you'll set a default signature.
If you have multiple accounts, you must set the default signature separately for each account.

-
If you want to add a signature to all new messages, set the New messages option accordingly.
-
If you want to add a signature to all messages you reply to or forward, set the Replies/forwards option accordingly.
-
Close the Signatures window.
Create an email signature
-
On the Outlook menu, select Preferences.
-
Under Email, select Signatures.
-
Double-click Untitled, and then type a name for the signature you created.
or
-
Select
-
In the Signature editor, type the text that you want to include in your signature. You can:
-
Apply formatting such as font, font style, font size, font color, or highlighting. Select the text before applying any formatting.
-
Add photo, logo or picture to your signature by inserting Pictures from Photo Browser or Picture from file
-
Add a hyperlink to your portfolio or company website. Choose Link

-
Insert a table.
-
-
After you are done creating your signature, close the editor window.
-
Close the Signatures window.
Add a signature to an email or calendar invite
-
Click in the body of your message.
-
On the Message tab, select Signature, and then choose a signature from the list.
Add a signature automatically to all messages
You can set a default signature for each of your mail accounts.
-
On the Outlook menu, select Preferences.
-
Under E-mail, select Signatures.
-
Under Choose default signature, select the account for which you'll set a default signature.
If you have multiple accounts, you must set the default signature separately for each account.
-
If you want to add a signature to all new messages, set the New messages option accordingly.
-
If you want to add a signature to all messages you reply to or forward, set the Replies/forwards option accordingly.
-
Close the Signatures window.


