PC accessories help & learning
Featured topics
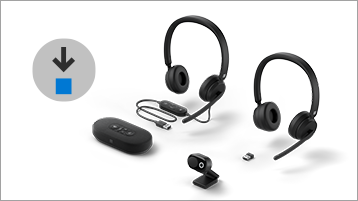
Microsoft Accessory Center app
Customize your Microsoft Modern accessories, like audio accessories or webcams.
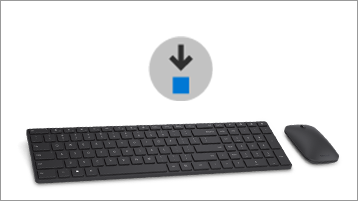
Microsoft Mouse and Keyboard Center app
Customize your mouse and keyboard with this app.
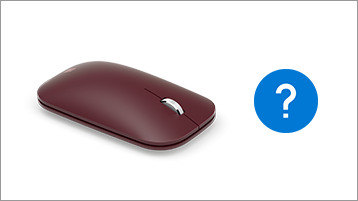
Troubleshoot problems with your Microsoft mouse or keyboard
Try these steps to pair your mouse and keyboard and get them working.
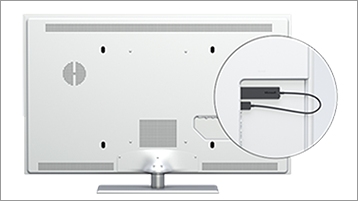
Troubleshoot wireless display adapter
Having problems with a wireless display adapter? Try these troubleshooting steps to fix it.
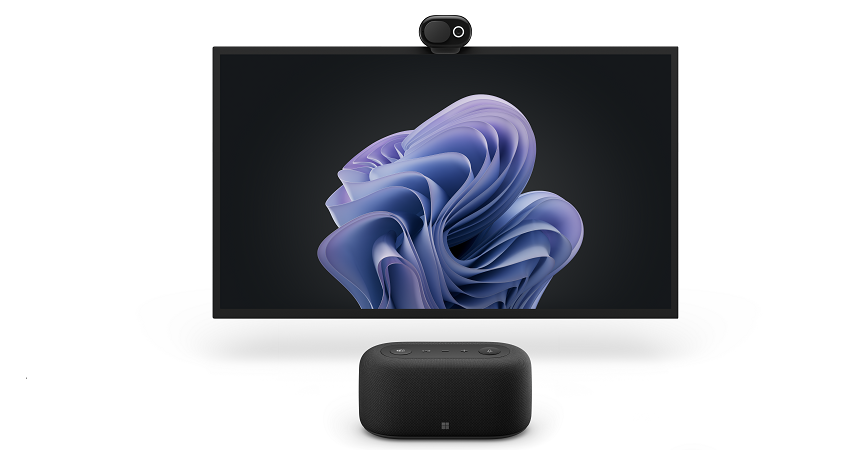
Microsoft Accessories for Teams
Learn how to set up and use these new Microsoft Teams-certified accessories for meetings and calls.
Microsoft Modern Wireless Headset
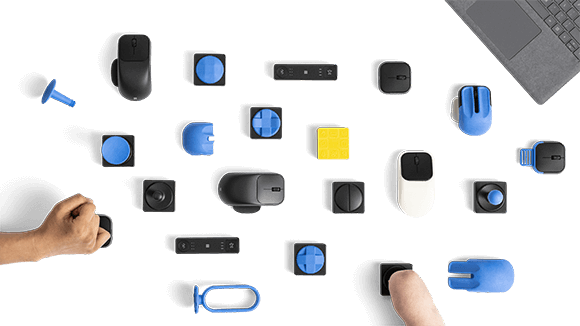
Explore the Microsoft Adaptive accessories
Microsoft Adaptive accessories were developed for people who have difficulty using a traditional mouse and keyboard. Create a setup unique to you with your choice of adaptive accessories and increase your PC productivity.