
Add and remove group members in Outlook
As projects come and go, so too will your group members. Undoubtedly, you'll need to add and remove members over the life of the group; you might even need to add or remove group owners.
Any member of a group can invite others to the group, but only the group owner can remove them. The group owner is usually the person who created the group but others can be assigned this role as well.
Select the tab that corresponds with your version of outlook for instructions on adding and removing members, including guest members.
Add members to your group
-
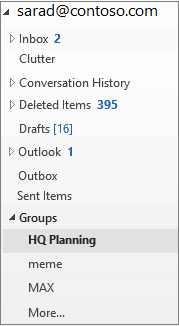
Open Outlook for Windows.
-
Under Groups in the left folder pane, select your group.
-
On the Groups ribbon, select Add Members.
-
In the Add Members box, search for people within your organization either by their full name or email address, and then select the names to add.
-
Click OK.
Note: You can't edit group membership using the Address Book. If you try to add or remove members using the Address Book you may see an error.
Add guests to a group
When you add guests, also known as external users, to a group, you're granting them access to all information within the group. This includes emails, calendar, project notes, project files, and project plans. Guests don't see a Groups node in their navigation pane in Outlook but do receive group emails and links to files through their inbox.
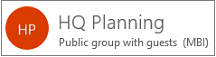
The groups header indicates when guest users are included in the group, as shown in this example.
When you invite a guest to join a group, they will be notified by email that they've been added. They'll begin to receive group conversations and calendar events in their inbox. But guest members do have limitations as to what they can see and do in a group. For example, guests can't:
-
Be group owners
-
View the global address list
-
View all information on group member contact cards
-
View membership of the group
The group owner can revoke guest access at any time.
To add guests to a group
-
Open Outlook for Windows.
-
Under Groups in the left folder pane, select your group.
-
On the Groups ribbon, select Add Members.
-
In the Add Members box, enter the email address of the guest and press Enter.
-
Select OK.
Remove a member from a group
Only group owners can remove members.
-
Under Groups in the left folder pane, select your group.
-
On the ribbon, select Edit Group.
-
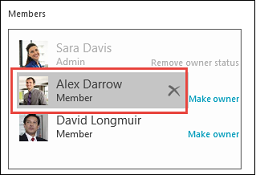
In the Edit Group box, point to the name of the member you want to remove, and click the X.
Note: This feature is available to Office Insider participants with Microsoft 365 subscription. If you are a Microsoft 365 subscriber, make sure you have the latest version of Office.
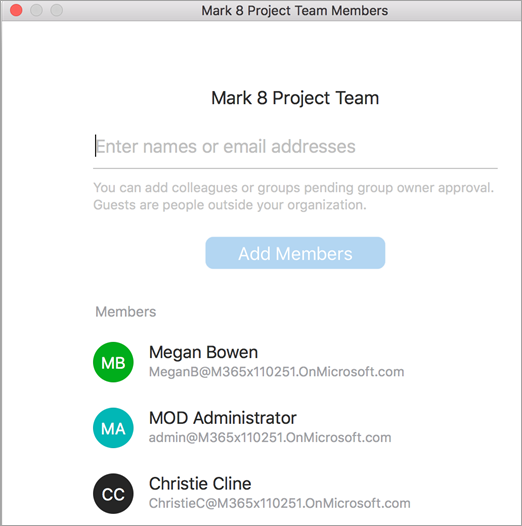
Add members to your group
-
Open Outlook for Mac
-
Open group card of the group to which you’ll add members.
-
Choose Members.
-
Type one or more names or email addresses, or select members from the list. You can add guests who are people outside your school or your organization to the group.
-
Choose Add Members.
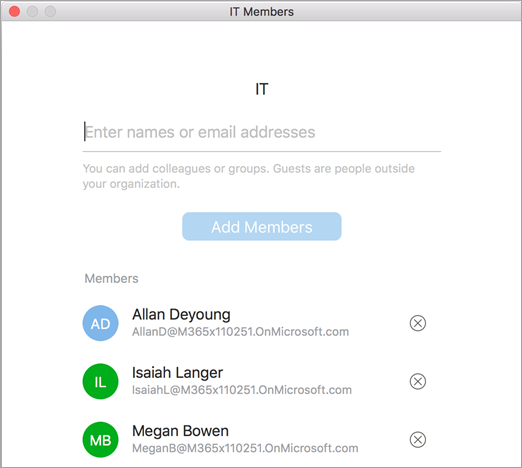
Remove a member from a group
-
Open Outlook for Mac
-
Open group card of the group from which you’ll remove members. Only group owners can remove members.
-
Choose Members.
-
Click X next to the name of the person you want to remove from the group.
-
Choose Remove.
Note: If the instructions don't match what you see, you might be using an older version of Outlook on the web. Try the Instructions for classic Outlook on the web.
As an owner, you receive requests to join your group from people who are not part of your group, but want to become a member of the group.
-
One can request to join your groups in two ways: if it is a Private group select Request to join, if it is a Public group select Join.
-
The group owner/owners gets an email with the join request. The owner can Approve or Decline the join request from within the email.
All the other owners will also see that request has been approved and they don't need to act on it.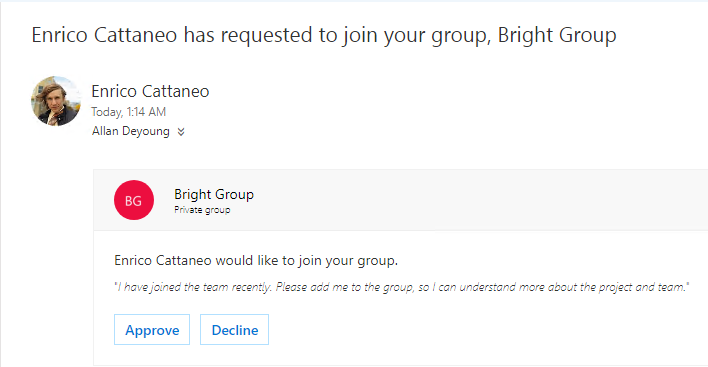
A group member can also send a request to add other users to your group
As an owner, you will receive an email from the group member, who wants to add other users to your group. The same email will go to other owners, if any. Based on the action taken, the email will update and show you the status of requests.
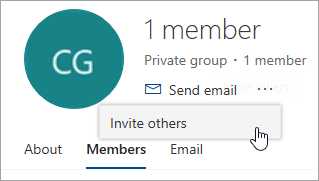
You can invite people to join your group. If it's a private group, the group owner will receive a request from the invitee to join the group. You can also invite guests to join the group. They'll receive group conversations and calendar events in their inbox. However, guests can't be group owners, view the global address list, view all information on group member contact cards, or view membership of the group.
-
Open Outlook on the web.
-
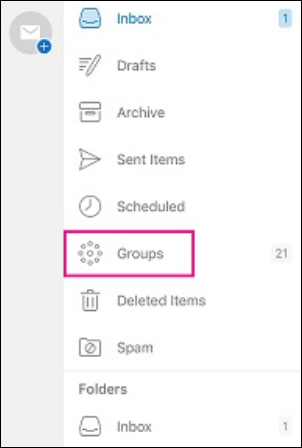
In the folder pane, under Groups, select your group.
-
In the group header, select the number of members next to

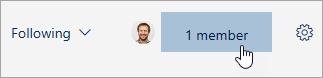
-
Next to the group photo, select

-
Do one of the following:
-
Select Copy to paste the link to join the group into an email that you've already started composing.
-
Select Email to start a new mail with a link to join the group in the message. The recipient will have to click that link to join the group.
If the group is private, the link in the message will submit a request to the group owner join the group.
-
-
Finish composing the mail and click Send.
You must be a group owner to remove members. If you're not sure if you're a group owner, see "View group owners" below.
-
In the group header, select the number of members next to
-
Next to the name of the member you want to remove, select Remove from group

-
In the group header, select the number of members next to
-
Under the Role column, you can see if a person in the group is an owner or a member.
You have to be a group owner to promote one of your group members.
-
In the group header, select the number of members next to
-
Find the person you want to promote to an owner.
-
Under the Role column, select Member > Promote to owner.
When demoting an owner to member status, keep in mind that the group must have at least one owner. Only group owners can demote.
-
In the group header, select the number of members next to
-
Find the person you want to demote to a member.
-
Under the Role column, select Owner > Remove owner status.
Instructions for classic Outlook on the web
You can invite people to join your group. If it's a private group, the group owner will receive a request from the invitee to join the group. You can also invite guests to join the group. They'll receive group conversations and calendar events in their inbox. However, guests can't be group owners, view the global address list, view all information on group member contact cards, or view membership of the group.
-
Open Outlook on the web.
-
In the navigation pane, under Groups, select your group.
-
In the group header, select the member count.

-
Select Add members.
-
Enter the email address of the person you want to add.
-
Select Save.
You must be a group owner to remove members. How do I know if I'm a group owner?
-
In the group header, select the member count.
-
Select All to see all members of the group.

-
Next to the name of the member you want to remove and click

-
In the group header, select the member count.
-
Select Owners to see all of the group owners.

You have to be a group owner to promote one of your group members.
-
In the group header, select the member count.
-
Select All to see all members of the group.
-
Hover over the name of the member you want to promote and choose
When demoting an owner to member status, keep in mind that the group must have at least one owner. Only group owners can demote.
-
In the group header, select the member count.
-
Select Owners.
-
Hover over the name of the member you want to promote and select
Add members to your group
-
Open the Outlook Mobile app.
-
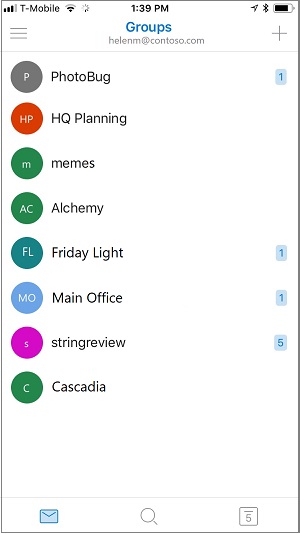
Select Groups from the folder pane.
-
Tap the name of the group to which you'll add members.
-
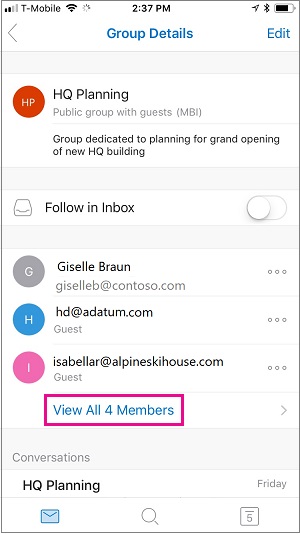
Tap the group name to go to the Group Details page.

-
Below the list of members, tap the View All link.
-
On the Members page, tap Add.
-
Type one or more names or email addresses, or select members from the list. Members from outside your school or organization will have "Guest" beneath their names.
-
Tap

Remove a member from a group
Only group owners can remove members.
-
Open the Outlook Mobile app.
-
Select Groups from the folder pane.
-
Tap the name of the group to which you'll remove members.
-
Tap the group name to go to the Group Details page.
-
On the Group Details page, tap . . . next to the name of the person you want to remove from the group.
-
Tap Remove From Group.
See Also
Create an Outlook.com group and add members


Need more help?
Want more options?
Explore subscription benefits, browse training courses, learn how to secure your device, and more.


Communities help you ask and answer questions, give feedback, and hear from experts with rich knowledge.


