Record a video or audio clip in Microsoft Teams
In Teams, you can record up to a minute of video or audio and send it to people in one-on-one chats, group chats and channel discussions. They can watch the video or listen to the audio directly in the conversation.
Record a video clip using your camera
-
Go to any one-on-one, group chat or channel discussion.
-
Select Actions and apps
-
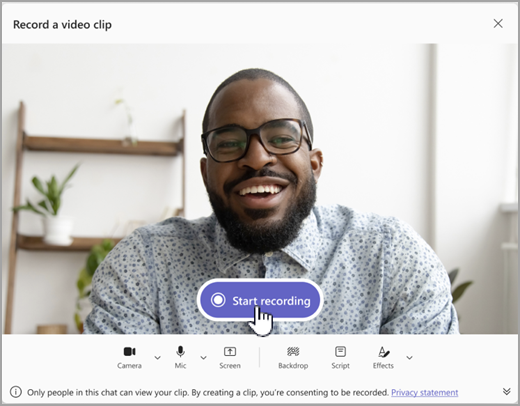
SelectRecord a video clip
-
Select Start recording to record.
Tip: You can pause and continue the recording as many times as you need.
-
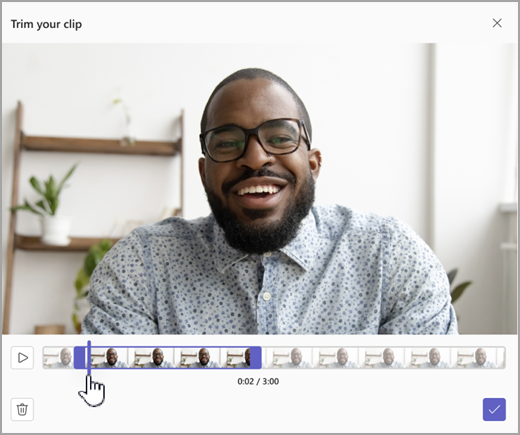
If desired, select Trim to trim your video clip by moving the sliders in the editing tool. Select Confirm trim
-
When you're done recording, select Continue
Tip: If you need to, you can record the video clip again by selecting the left arrow in the lower-left corner. You can choose to delete your previous recording or record more clips.
-
Once processed, you'll see your video where you type a message. Select Send
Record a video clip from a screen
You can record things that happen on your screen, like walkthroughs and presentations, and send them to a chat or channel as a video clip.
-
Go to any one-on-one, group chat or channel discussion.
-
Select Actions and apps
-
SelectRecord a video clip
-
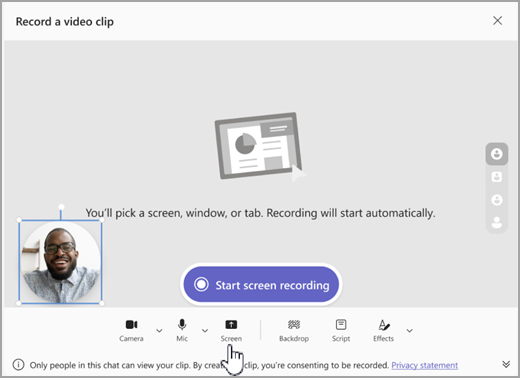
Select Screen, then select Start screen recording.
-
On the next screen, choose the screen or window you want to record from and select Share.
-
Your chosen screen or window will be recorded for up to one minute or select Stop sharing to end the video sooner. You can stop, pause or resume recording at any time.
Note: The recording will automatically end once it's reached one minute long.
-
Review your clips. If desired, select Trim to trim the clip by moving the sliders in the editing tool. Select Confirm trim
-
To send you recording, select Continue
Record an audio clip using your microphone
You can also record an audio only clip with your microphone to send in a chat.
-
Go to any one-on-one, group chat or channel discussion.
-
Select Actions and apps
-
SelectRecord a video clip
-
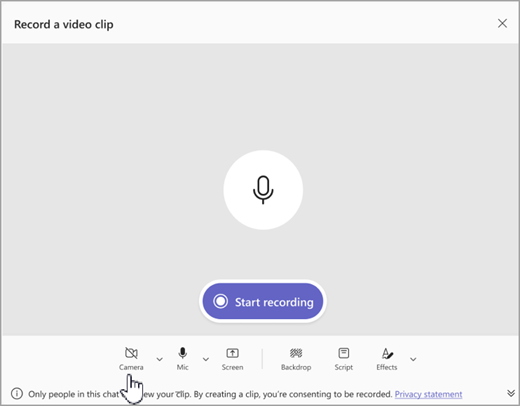
Select Camera to turn on audio-only recording, then select Start recording.
-
Record for up to one minute or select the square to stop the recording.
Tip: You can pause and restart the recording as needed.
-
Select Review to listen to the clip. If desired, select Trim to trim the clip, then select Confirm trim
-
Select Continue
Download and save your video, audio or transcript
-
Open Teams and go to the message with the video or audio.
-
Hover over the clip to choose More video clip options (...) in the top right corner.
-
Select Download Transcript
Tip: Find your file in the download window that appears in the upper right corner of Microsoft Teams. Hover over the file name and select
Turn closed captions on or off
Video clips shared in Teams have auto-generated captions. If you want to turn off the captions for a video clip you're watching, select Captions
To view the list of supported languages for captions, see Language and voice support.
Record a video clip using your camera
-
Open a chat or start a channel post reply.
-
Next to the compose box, tap Camera.
Tip: You can also tap the plus sign on the left of the compose box, followed by media to access the camera.
-
Choose which direction camera you’d like to use.
-
Tap VIDEO.
-
Press then hold the capture button to record your video.
Add background effects to your videos
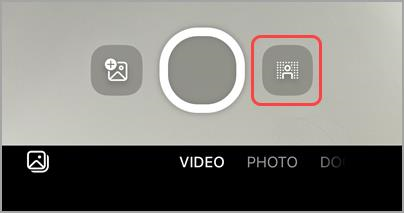
1. Before taking a video, select Background effects. You’ll find it on the right of the capture button.
2. Choose a background option.
-
No background to remove any background effects.
-
Add image to choose an image as your background.
-
Blurred background to blur your background.
-
Opaque blurred background to blur and hide more of your background.
3. Swipe down on the background options to return to the camera.


