Incorporate the grading rubric creation feature when developing assignments in Microsoft Teams Education. This tool helps create highly effective grading rubrics for consistent evaluation of student work.
For more information on managing rubrics, deleting rubrics, grading rubrics and re-using rubrics consult the Create and manage grading rubrics in Microsoft Teams support article.
Create an AI rubric
1. Navigate to your class team and select Assignments.
2. Select Create > Assignment.
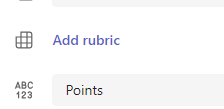
3. Select Add rubric > +Add rubric. This will open the rubric creator.
4. Choose the Create AI Rubric button.
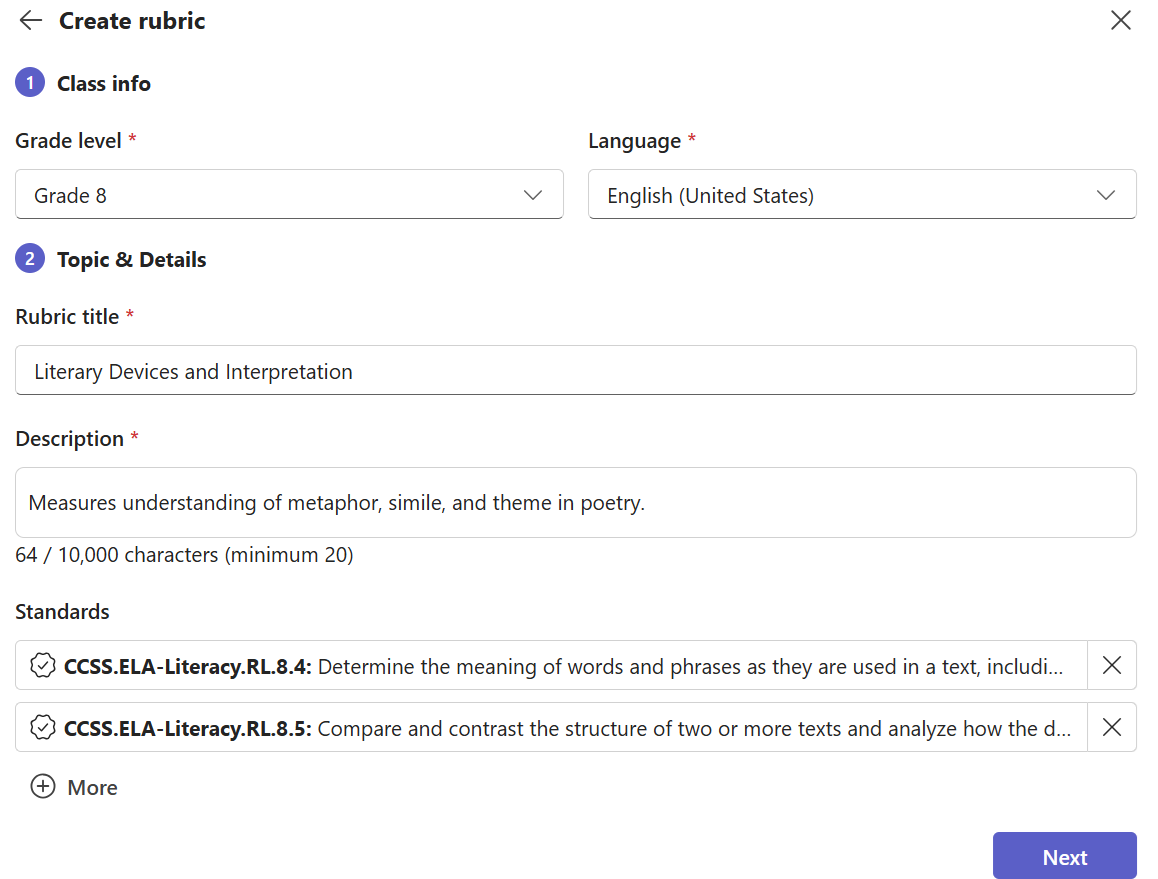
Rubric Setup
-
Select Grade level and Language. Grade level indicates what level you want to target the generated rubric for. Language allows you to select the output language. For supported language see Rubric Generation: Responsible AI FAQ
-
Enter a title and a description. The data entered here will be used to prompt the AI for content, so the more information entered here about your assignment, the AI system is likely to return results that better fit your assignment.
-
Select one or more standards to align your rubric to academic goals, like Common Core or state standards. To learn more about supported standards see Add educational standards in Microsoft tools
Rubric Setup
-
Select a rubric scale, and enter criteria for what the rubric will evaluate. The information you enter here will function as the prompt for the AI feature to compile an appropriate rubric for your assignment.
-
Scale options include:
-
Excellent, Good, Fair, Poor
-
Exceed standard, Meets standard, Below standard
-
Yes, No
-
Custom
Copilot will suggested applicable criteria based on your Rubric Setup. Pick the +New Criteria option every time you wish to add new criteria for the rubric to evaluate.
2. Choose the Generate rubric button in the bottom right corner.
Rubric Edit
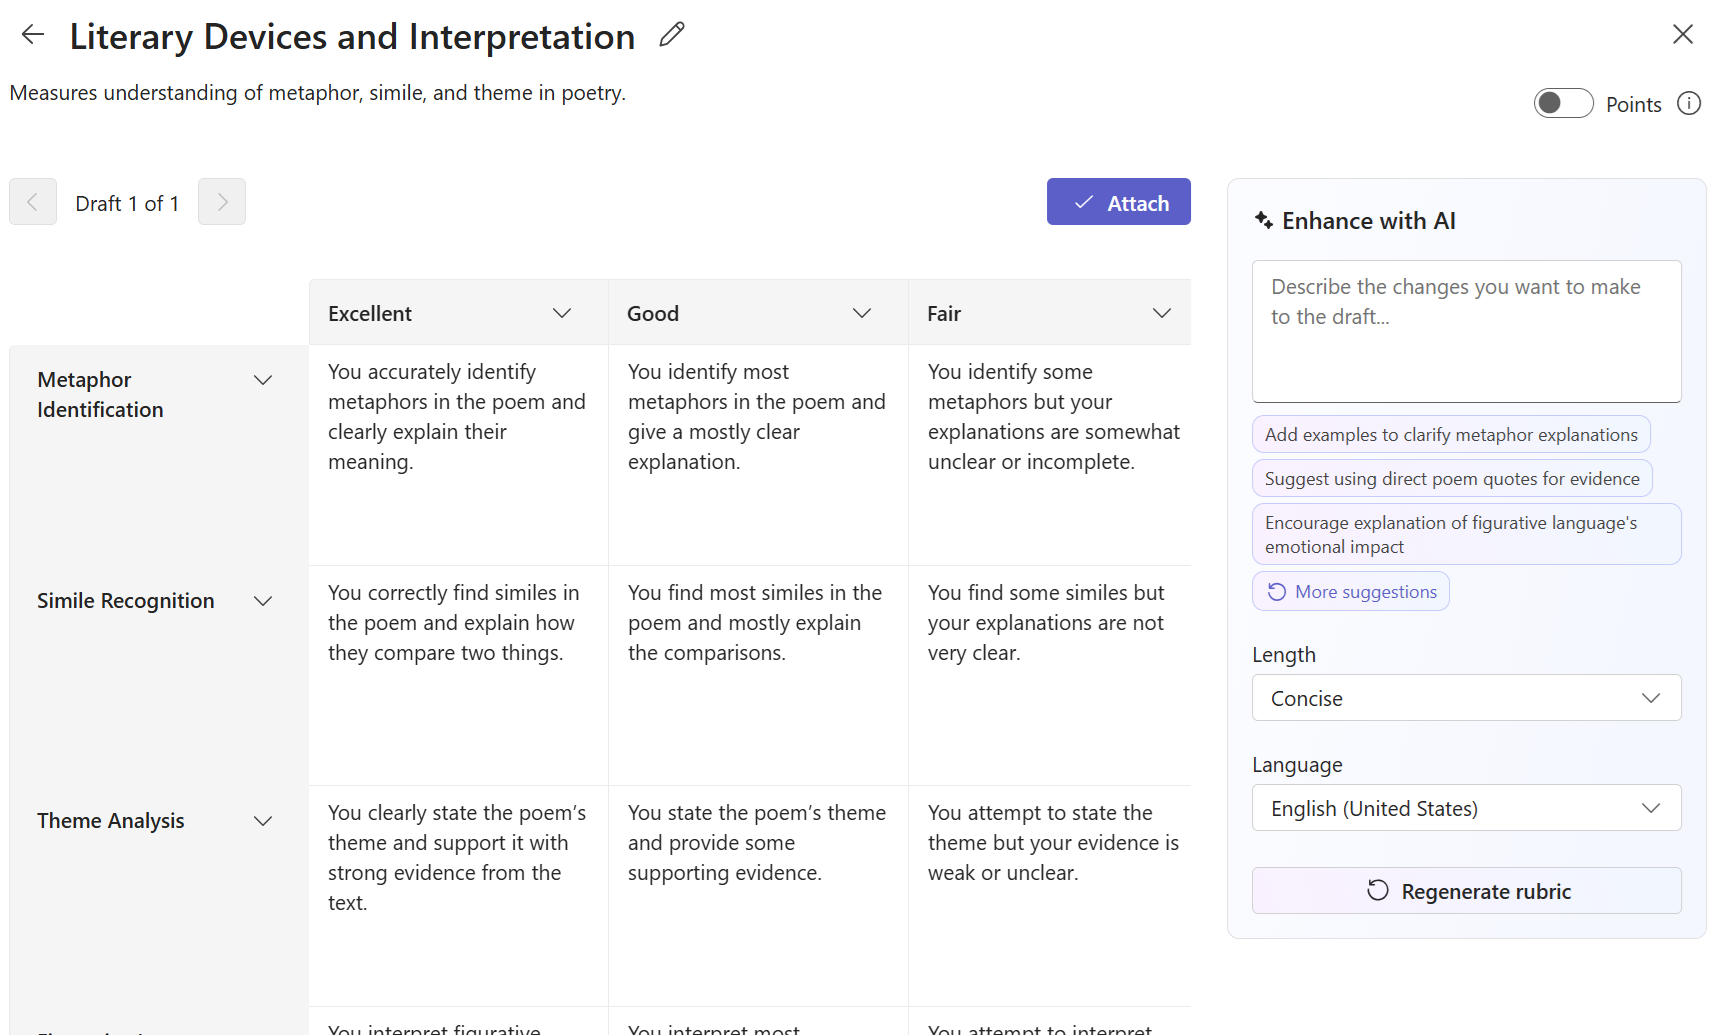
The rubric will be created. No points will be displayed by default. This Generative AI feature will fill in each cell of the rubric with concise, clear, expectations for the student to meet to be awarded a passing grade.
Tips:
-
Navigate up to the top right corner to toggle on the Points switch. This will enable weighted grade percentage points for each row on the rubric.
-
If you chose to add points to your rubric, you can enter different percentages in each row to weigh certain criteria more heavily than others. Make sure all percentages total 100. To reset percentages, select Evenly redistribute weights.
Customize your rubric by performing the following actions:
-
Reordering rows: Hover over a row and choose the
-
Edit Headers: Choose the down arrow icon (
-
Copy Headers: Row and criteria column headers can be duplicated by choosing the down arrow icon (
-
Delete Headers: Select the down arrow icon (
-
Fill in using AI: The first generation of AI content for a rubric isn't always the best. Choose the down arrow icon (
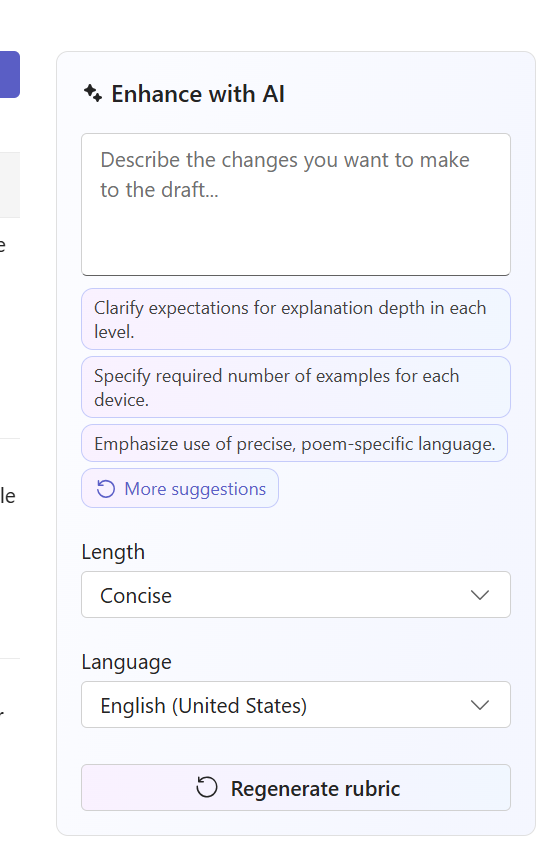
Enhance with AI
Use Enhance with AI to customize your rubric further, all suggestions will apply to the whole rubric
Learn more
Create and manage grading rubrics in Microsoft Teams
Rubric Generation: Responsible AI FAQ
Troubleshooting AI rubrics


