
Record and share Stream video recordings across Microsoft 365 applications. Communicate hard to write topics by recording your screen and creating webcam videos. Recorded videos are inserted directly into the Loop page to be watched by all who have access.
Record video in Loop
-
Go to the Loop App at https://loop.microsoft.com/.
-
Create or open any Loop page.
-
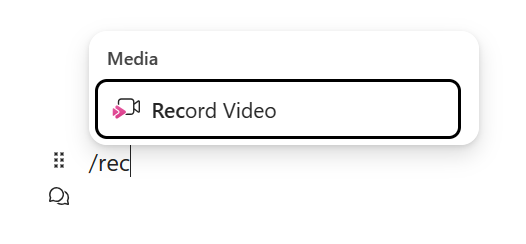
Type / to invoke the discover menu.
-
Scroll or keyboard down to the "Record Video" option. Click or press Enter on the "Record Video" option to start your "Record Video" session. Alternatively, you can filter to "Record Video" option in the discover menu, as you start typing "record" after the "/".
-
When prompted by your browser, select Allow to enable your camera and microphone. See this article for more information on how to enable or troubleshoot your camera.
-
Select your desired webcam, microphone, and screen share settings.
-
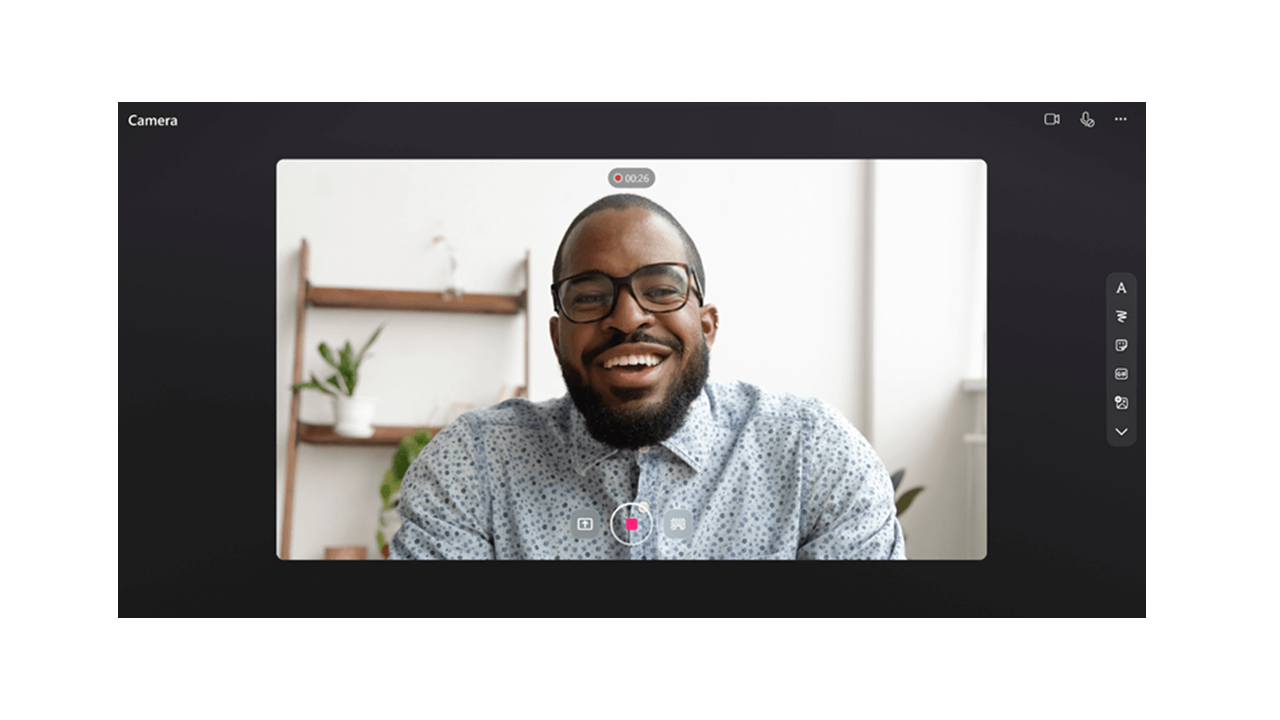
Click or press Enter on the record video button to begin or pause recording.
Review & Share
-
Once you are done recording, click or press Enter on the "Review" button. This will take you to a new view where you can modify your recording.
-
If desired, select the progress bar and drag handles to Trim your recording.
-
From the review screen, click or press Enter on the "Add" button to upload and insert the recording into the Microsoft 365 application.
FAQ
Recorded videos are stored in the creator's OneDrive for Business. Videos recorded in Loop can be found in the Recordings folder and in a subfolder named "Video Clips."
In Loop, anyone within your Work or School with access to the video link can view the video recording. This means that anyone within your Work or School with access to the Loop page where the video link is, will have access to the video.
In Loop, if you wish to restrict who has access to view the video, you can adjust permissions by going to the video file saved in your OneDrive for Business, in the Recordings folder and in a subfolder named "Video Clips."
You can delete your recorded video by finding the file in your OneDrive for Business, in the Recordings folder and in a subfolder named "Video Clips" and deleting the file there.
When a video is deleted all users who have access to the video link will no longer be able to view the video.
Give feedback or get support
We want to hear how we can improve the experience!
For Loop, select ? button in the bottom right corner and choose Feedback.


