Sometimes, putting a border around text will work better in your document than inserting a text box or a one-cell table, to achieve a similar look.

-
Select a word, line, or paragraph.
-
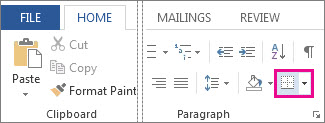
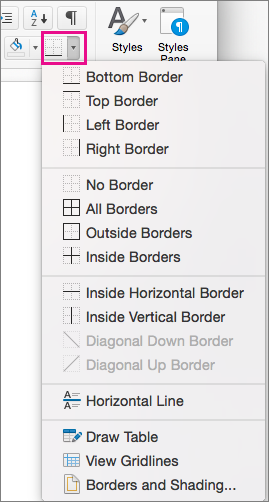
Go to Home > Borders and then open the menu of border choices.
-
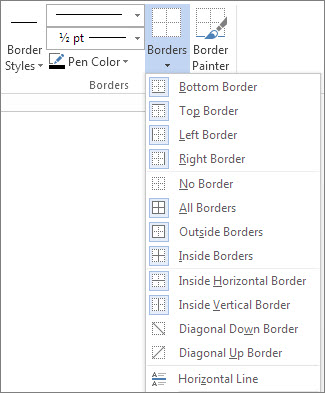
Choose the type of border you want:
Customize the border
-
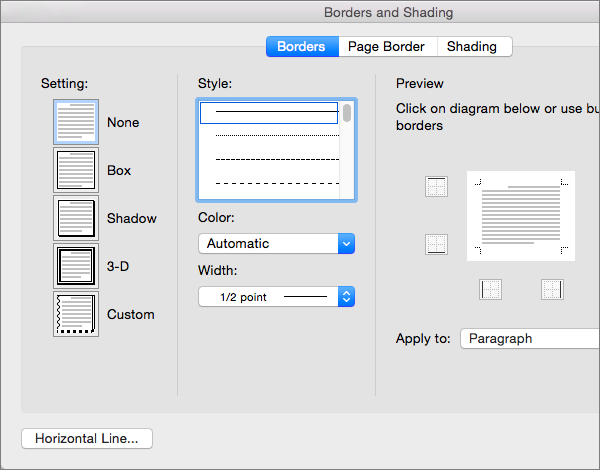
After you've selected your text and found the basic type of border you'd like, open the Borders menu again, and choose Borders and Shading.
-
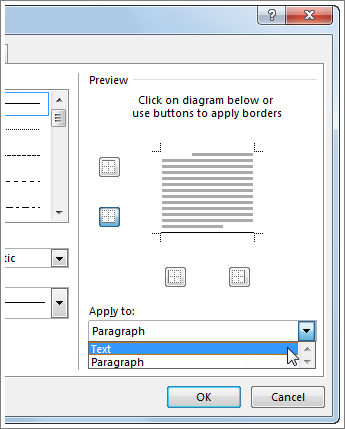
Make your choices for style, color, and width, and then apply the choice with the buttons in the Preview section of the dialog box. When the preview is the way you want it, select OK.
Note: Make sure that the Apply to box has the correct setting: Text or Paragraph.
See Also
You can add a border to an individual word, a line of text, or an entire paragraph. You can make borders as plain or fancy as you want.
You can also add a border to a picture, put a border around a table, add a border to an individual page.
Add a border to selected text
-
Select a word, line, or paragraph.
-
On the Home tab, select the arrow next to the Borders button.
-
In the Borders gallery, select the border style that you want to apply.
Customize the text border
-
After you've selected your text and found the basic type of border you'd like, select the arrow next to the Borders button again, and then select Borders and Shading.
-
In the Borders and Shading dialog box, change Setting, Style, Color, and Width to create the border style that you want.
Note: To make sure the border style is correctly applied, set Apply to to Text or Paragraph. If you haven't selected any text, you can only set Apply to to Paragraph.
-
Select OK to apply your selected border styles.
Tip: You can also fill the area of your selected text with color. In the Borders and Shading dialog box, select Shading to select a color and patterns. The color you pick in the Fill list fills the rectangular area; the color you select from the Color menu is applied to the rectangular area in a pattern you select from the Style list.

