Add steps
Use steps to break your larger tasks down in to smaller, more actionable pieces.

To add a step:
-
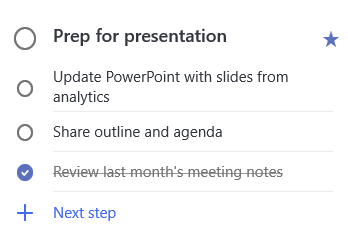
Click or tap the task to open detail view, select + Add step, and begin typing your next step.
-
When you've finished, select Enter on your keyboard to save and close.
To help keep you on track, a counter beneath each task's name displays the total number of steps the task contains and how many have been completed so far.
Add importance
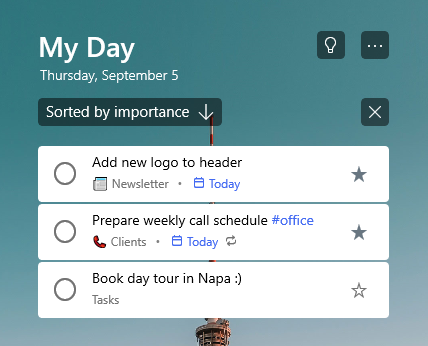
Add priority to your tasks by starring your important tasks in each list. Once starred, you can view all of your prioritized tasks in the important smart list. You can also sort each list by importance to have your starred tasks automatically move to the top of the list.

Add notes
If you have any extra information you’d like to add to your task, you can Add a note. Select the task to open detail view and tap or click within the note to select it. Once selected, you can enter any extra information. When you’ve finished, select Save or Done.
Add tags
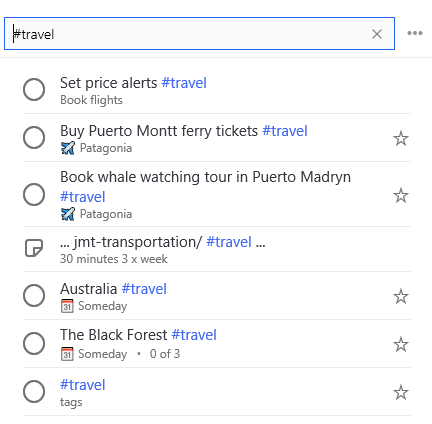
Keep your tasks organized across different lists by adding hashtags (like #work or #school) to your tasks' names. You can add tags when creating tasks or when editing them.
You can quickly see all the tasks, notes, and steps that share a tag by selecting that tag or searching for it in the search bar.

Add notes
If you have any extra information you’d like to add to your task, you can Add a note. Select the task to open detail view and tap or click within the note to select it. Once selected, you can enter any extra information. When you’ve finished, select Save or Done.
To Do supports rich text formatting so you can create a numbered list or apply bold, italic, or underline formatting to your notes.
Keyboard shortcuts
|
To do this |
Press |
|---|---|
|
Apply bold formatting to text |
Ctrl+B |
|
Apply italic formatting to text |
Ctrl+I |
|
Apply underline formatting to text |
Ctrl+U |
This option is currently only available on To Do for the web.
Add categories
If you use Outlook and want to organize your tasks, you can categorize your tasks and view them in your lists in To Do. You can categorize tasks with the same set of categories you use in Outlook.
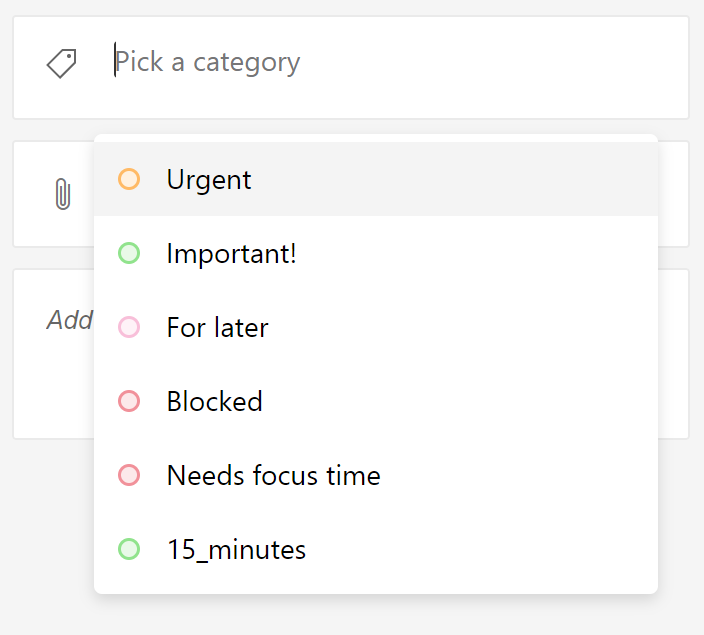
To assign a category to a task, select the task, select Pick a category, and pick the category you want to use. You can assign multiple categories to a task.

You’ll see all the categories you’ve applied to a task in the list view.

To remove a category, select X on the category label, or move your cursor to the category selection and delete it.

You can create new categories in Outlook. Learn more about creating or editing categories in Outlook.
Categories for tasks from flagged email
Tasks created from email you flagged on or after April 27th, 2020 will have the same categories as on the email you flagged. Those categories sync between tasks and email, so you only need to modify a category in one location for it to be updated in the other.
Tasks created from email you flagged before April 27th, 2020 won’t update to show the categories of their source email. You can update them with the categories of their source email by unflagging and reflagging their source email. If you assign new categories in To Do, those will overwrite the categories for the task's linked email.


