You can add or change your profile photo in Microsoft 365 from Microsoft365.com, or while using Microsoft 365 applications on your computer or in a browser on your phone. Your photo will appear everywhere there's a profile photo circle in Microsoft 365.
To add your profile photo to Microsoft 365 for business
-
Find a photo you want to use and store it on your computer, OneDrive, or other location you can get to. The photo needs to be smaller than 4 MB and can be a .png, jpg, or .gif file.
-
Sign in to Microsoft 365 with your work or school account at Microsoft365.com.
-
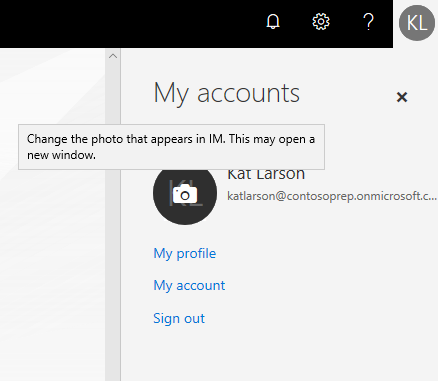
Select the circle in the upper right hand corner of the page that shows your initials or an icon of a person.
-
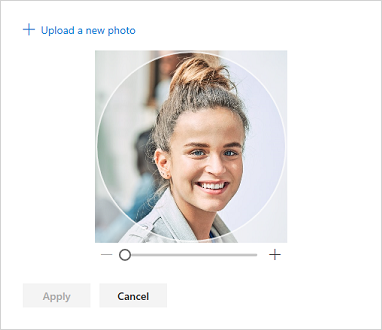
In the My accounts pane, select the circle that shows your initials or an icon of a person. Change your photo in the pop-up that appears.
Note: If you or your IT administrator have already added a profile photo, it will appear in the circle. You can keep that photo, or follow the instructions to change it.
Admins: How to add photos on behalf of users
If you're a Microsoft 365 admin, you can use the Microsoft 365 admin center or Microsoft Graph PowerShell to add photos on behalf of users. For instructions, see Change user profile photos.


