Mega menus enable site navigation to be displayed at-a-glance on communication pages and hub sites. This increases the value of a site by engaging your audience in discovering more content than ever before.
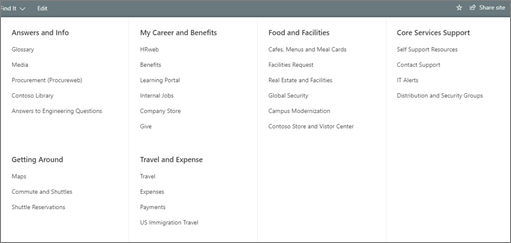
Mega menus are ideal for:
-
Navigation that requires three levels of hierarchy
-
Increasing the likelihood of resources being discovered
-
Enabling your audience to engage in using new tools and content
Notes:
-
Only administrators and site owners can create a mega menu.
-
Mega menus cannot be created on team sites.
Change from a cascade menu to a mega menu:
-
Start by identifying the three levels of hierarchy.
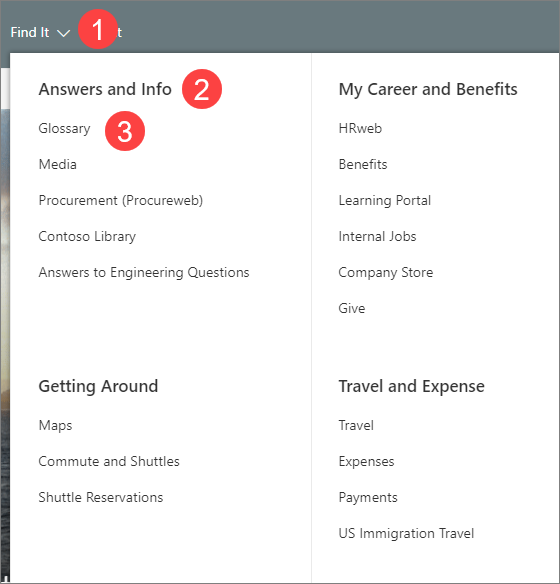
1. Menu item title
2. Menu section title
3. Menu item sub-link
-
Select Edit from the menu bar.

-
Arrange the menu topics into three levels of hierarchy:
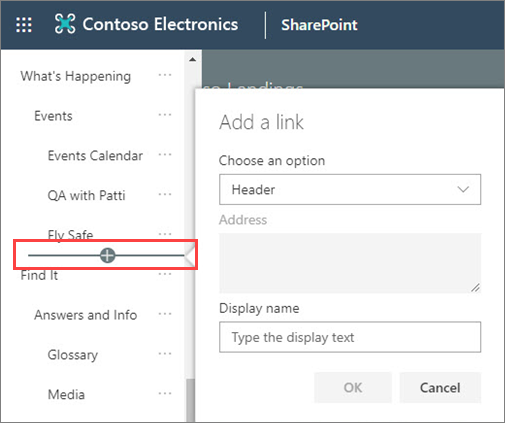
To Add a new header or sub-link, hover above header labels and select the + icon that will appear.
-
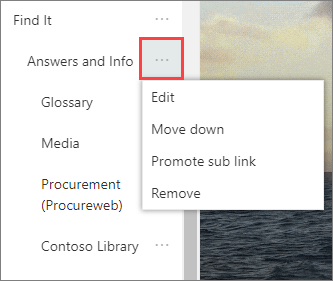
To Edit, Move, Promote, and Remove select the ellipses next to the menu topic.
-
Move and Promote headers and sub-links until they are in the desired position and select Save.
-
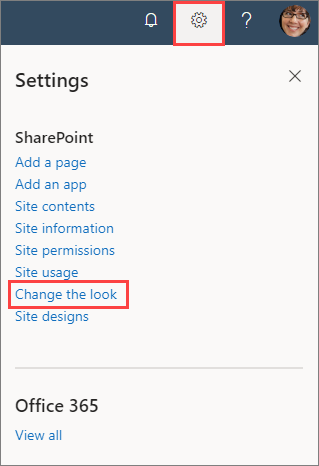
Go to site settings and select Change the look.
-
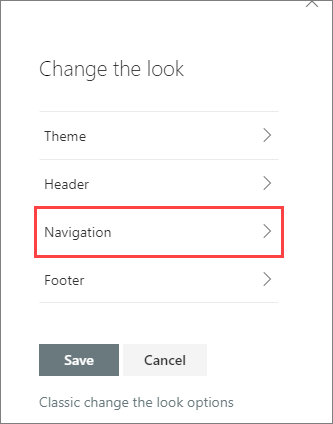
Select Navigation.
-
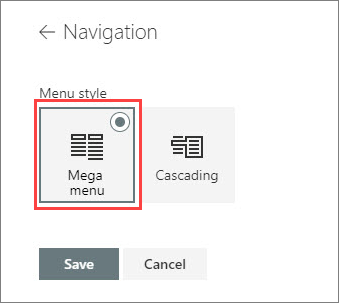
Select Mega menu and then select Save.
Learn more about custom navigation:


