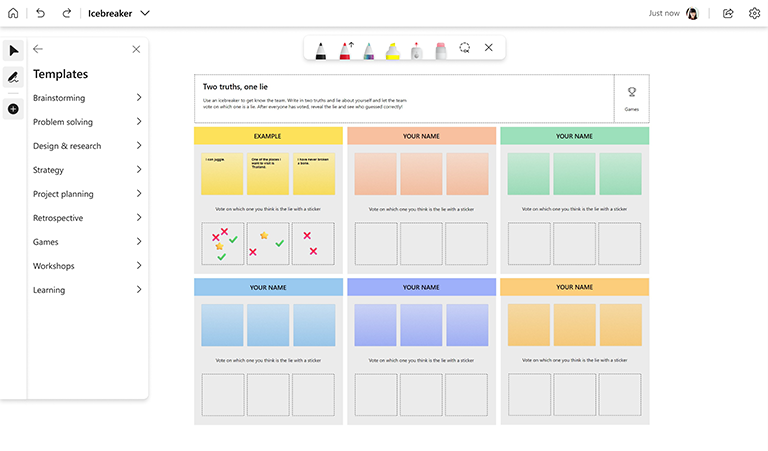
Class doesn’t always have to be serious, and neither does Microsoft Whiteboard.
Whiteboard’s collection of features encourages fun ways for students and teachers to bond and have fun together.
Key features:
-
Start with a premade template, such as “Two truths, one lie” or “Choose your favorite”
-
Encourage students to use ink for freeform, individual expression
-
Insert images from your computer or device to add interesting, fun, or personal content
-
No matter the device, mouse, keyboard, touch, and ink interfaces encourage interaction
-
Use reactions to encourage easy, lightweight interactions
Prepare the board
-
Open Whiteboard and create a new board.
-
Prepare the board with any content to help the planned activity. You can create this yourself with shapes, drawings, and images, or use a template from the Create panel by choosing Templates > Games.
-
Remember, the canvas is infinite — get creative!
During the activity
-
When the activity has started, share the link to the whiteboard.
-
Ensure that all students have access to the board.
-
Define the ground rules for how students should interact with the board during the activity, including what features to use and how to participate effectively.
-
Use reactions as a way to vote, drawing as a way to play games, images as a way to share more about each other, and so on.
-
Have fun!
After the session
-
From the Settings menu, download a PNG image of the finished whiteboard.
-
Share the image with the class, so everyone has a copy.
See also
Check out our other Whiteboard guides to learn more!


