If you run into microphone issues in Microsoft 365 for the web, it's likely due to the site permission in your browser setting preventing access to the system microphone.
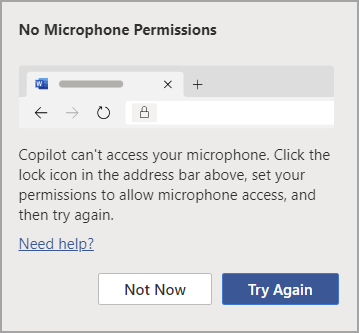
If you see the error message Problem with Dictation or No Microphone Permission, close the dialog box, follow the instructions below, and then try again.
Option 1
-
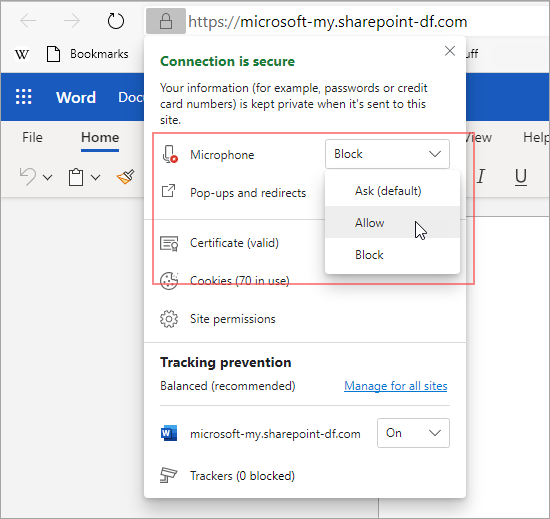
Click the lock icon in the address bar, and and the change the setting for the Microphone permission to Allow.
Option 2
-
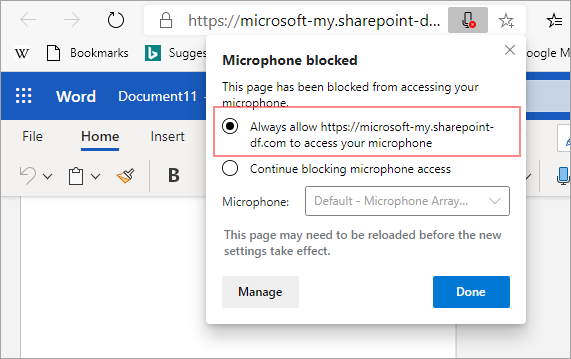
Click the microphone icon in the address bar, and the select the option to Always Allow microphone access for the site that hosts your Microsoft 365 web apps.
Note: The URL for the site that hosts your Microsoft 365 web apps will vary.
Option 3
-
Go to the browser setting for Microphone (edge://settings/content/microphone), and make sure the Office.com domain is listed under Allow.
Option 1
-
Click the lock icon in the address bar, and then change the setting for the Microphone permission to Allow.
Option 2
-
Click the camera icon in the address bar.
-
In the Microphone blocked dialog, select the option to Always Allow microphone access for the site.
Note: The URL for the site that hosts your Microsoft 365 web apps will vary.
Option 3
-
Go to the browser setting for Microphone (chrome://settings/content/microphone), and make sure the onedrive.live.com domain is listed under Allow.
Option 1
-
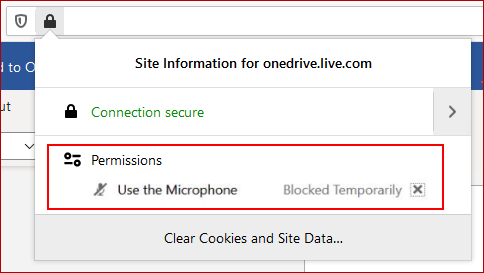
Click the lock icon in the address bar
-
Under Permissions, next to Use the Microphone, clear the check box for Blocked Temporarily.
Option 2
-
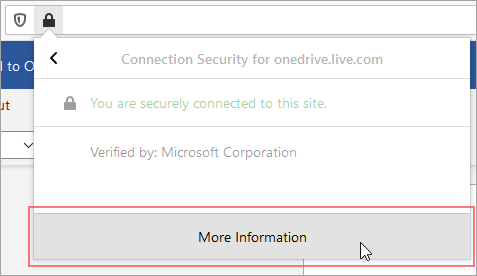
Click the lock icon in the address bar, and next to Connection secure, select Show connection details.
-
Select More Information.
-
In the Page Info dialog box, select Permissions.
-
Scroll down to Use the Microphone and change the setting to Allow.
Option 3
-
Go to the Firefox browser setting for Privacy & Security (about:preferences#privacy).
-
Under Permissions, next to Microphone, select Settings.
-
Next to the URL for the site that hosts your Microsoft 365 web apps, select Allow.
Note: The URL for the site that hosts your Microsoft 365 web apps will vary.


