
Note: This article has done its job, and will be retiring soon. To prevent "Page not found" woes, we're removing links we know about. If you've created links to this page, please remove them, and together we'll keep the web connected.
Master-level guides are color-coded, fixed guides that you set in the slide master. Just slide them into place. Then, as you work in Normal view, you can align slide objects with these guides to help you achieve visual balance across all slides.

1:25
-
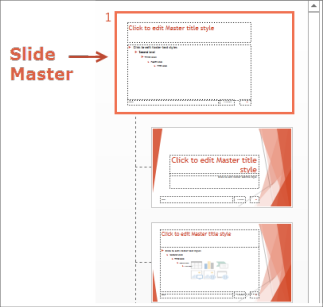
On the View tab, check Guides, check Ruler, and then click Slide Master.
Tip: Showing the Ruler (in addition to the Guides) can help you to better measure how far apart you want to place your guides.
-
At the top of the left pane, click the slide master.
-
One vertical guide and one horizontal guide appear to start with.
-
To add more guides, right-click anywhere on the slide master in the main pane, point to the arrow at the right of Grid and Guides, and then click either Add Vertical Guide or Add Horizontal Guide.
-
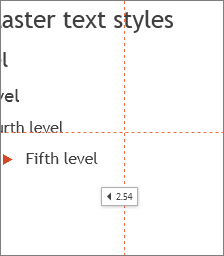
To move a guide, rest the pointer over it, and when the pointer becomes a two-headed arrow (


Note: When you drag a guide, a tag appears near the pointer (below) showing the distance to the center of the slide.
-
To color-code the guides, right-click a vertical or horizontal guide, point to the arrow to the right of Color, and then click a color.
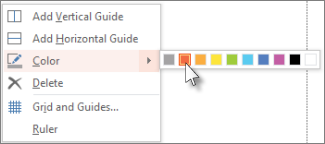
Tip: To delete a guide, right-click the guide and then click Delete.


