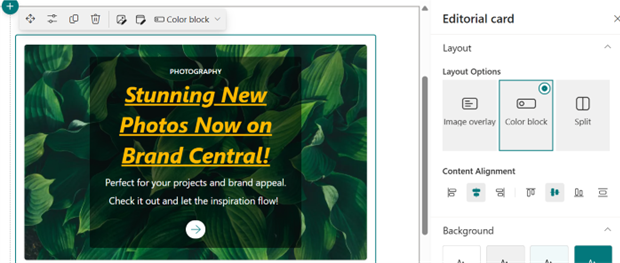
Learn how to add and customize an Editorial card to enhance your SharePoint page with engaging content. This guide covers adding the card, filling in content, adjusting the layout, and configuring content style.
Adding an Editorial Card to Your Page
-
Navigate to your SharePoint page where you want to add the Editorial card.
-
Select Edit at the top right of the page to enter the edit mode.
-
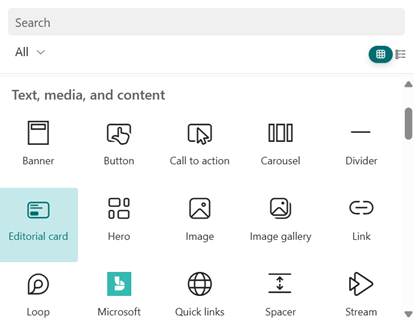
Select the + Add a new web part icon or open the Toolbox.
-
Search for Editorial card in the web part menu and select it.
Filling in Content on the Editorial Card
Once the Editorial card is added to your page, you can customize its content:
Text
-
Select the Editorial card, fill in the following fields on canvas:
-
Section/Category name: Add a short phrase (up to 40 characters).
-
Headline: Enter the main title.
-
Description: Provide additional details.
-
-
Further modify the text size, style, and formatting.
Background
Change background
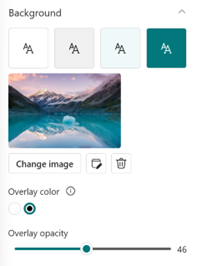
Select Browser images to change background image or open the Content Pane to change background image/background color.
Further editing the background
-
In the content pane: change Overlay color, Overlay opacity
-
On canvas: advanced image editing (crop, adjustment, filter, focal point)
Call to Action
-
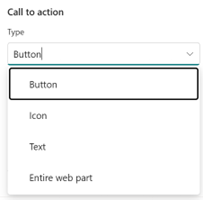
Open the Content Pane, add a link to enable the call to action.
-
Select the Type from drop down:
3. Modify Display text as needed (up to 40 characters).
Configuring the Editorial Card Layout
-
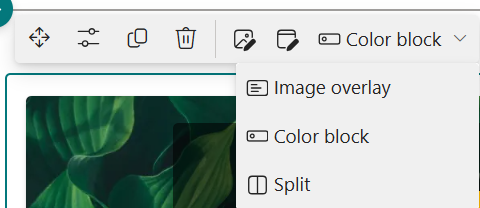
Switch to different layout options:
-
On canvas, select from Layout Options drop down menu.
-
In the Content Pane, choose under the Layout Options.
2. In the Content Pane, change the Content Alignment to further customize your card.
Save and Publish
Once you have finished customizing the Editorial card, select Save as draft or Publish to make your changes live.
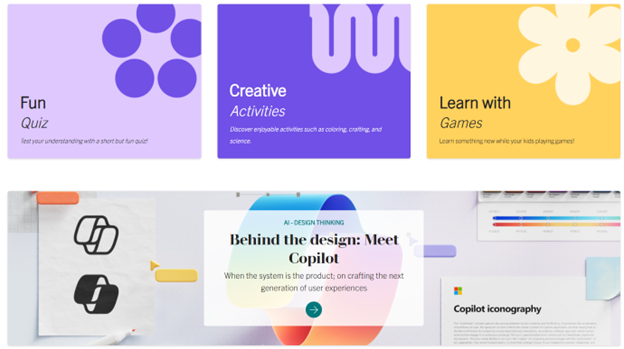
Examples
Find the inspirational example cards as below:

