
Add students to a class team you've already created. You'll also be able to choose if they should receive past assignments in the class. If you're having trouble adding students to your class, check with your IT Admin to make sure you have the right permissions.
Tip: If your IT Admin has created Microsoft 365 groups for your classes, ask for the group name. You can enter the group name to add all students at once. Learn more.
Add students
-
Navigate to the class team you'd like to add a student to, then select More options

-
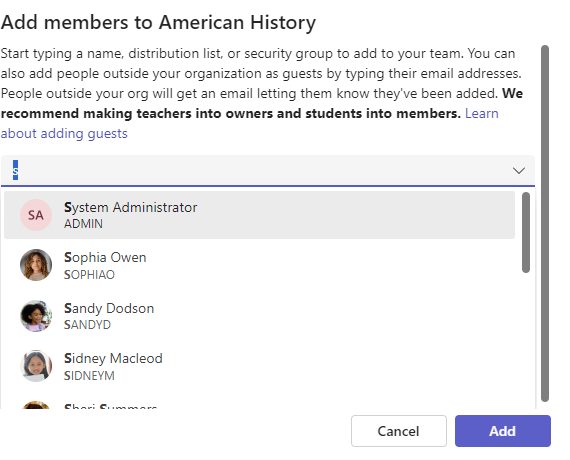
Select Add member.

-
Type in the name of the student and choose them from the list for them to be added to the class.
-
When all students have been selected, choose the Add button.
Assign work to new students
After you've added new students to your class, choose the past assignments you'd like them to receive.
-
Navigate to the class and select Assignments.
-
Pick the assignment in your list or search for it by keyword in the command box.
-
Select the More icon ... > Edit.
-
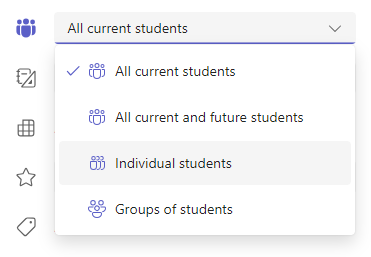
Navigate to the Assign to field and choose the option for Individual students.
-
Select a student from the class list.
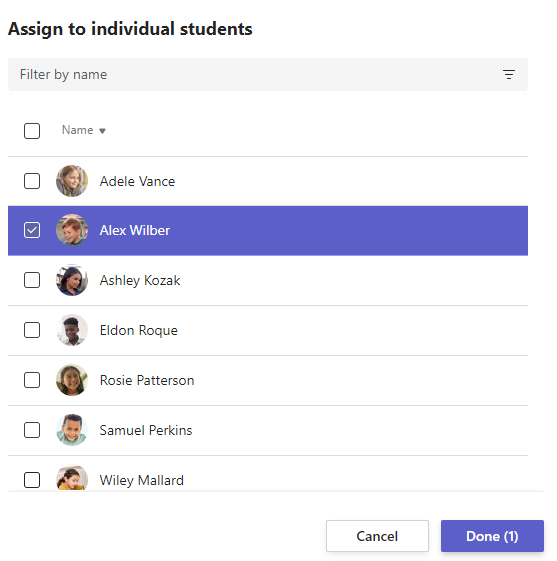
Make your selection, and then select Done. The new student added after the assignment was created will receive the assignment.
Note: If you chose a close date for the assignment, students can receive it up until the close date. Once the close date passes, students can no longer be added.
When creating new assignments, you can make sure they will automatically be assigned to future students by following the steps above.


