With agents in OneDrive, you can ask questions and get helpful answers from your documents—without opening each file. Whether you're managing a project or trying to catch up on work, agents save you time and effort by using AI to summarize and search your content.
Note: AI agents are available with Microsoft 365 Copilot license for work or school accounts only.
Follow these steps to create and use an agent:
-
Sign in to the OneDrive website with your work or school credentials. Sign in
-
Select files that you want to create the agent from. Then select Create agent (you may see this in the toolbar or right-click menu).
-
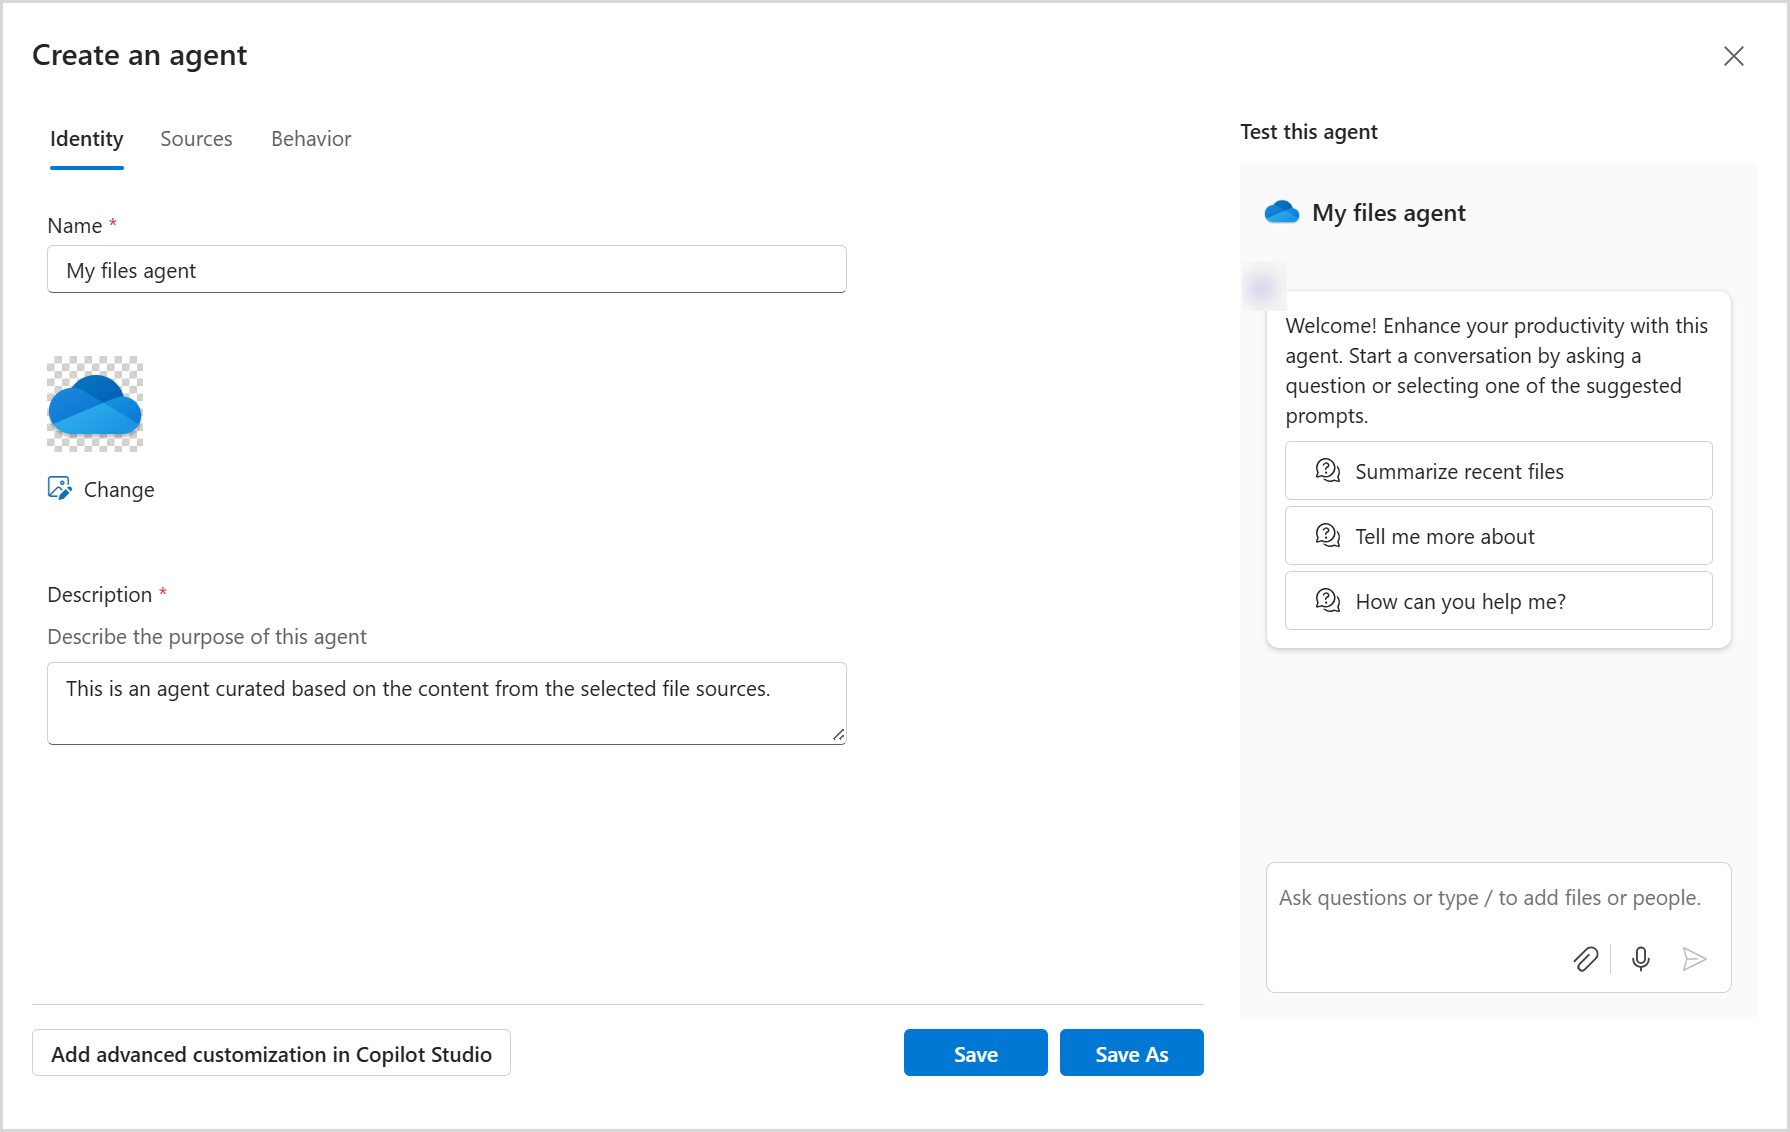
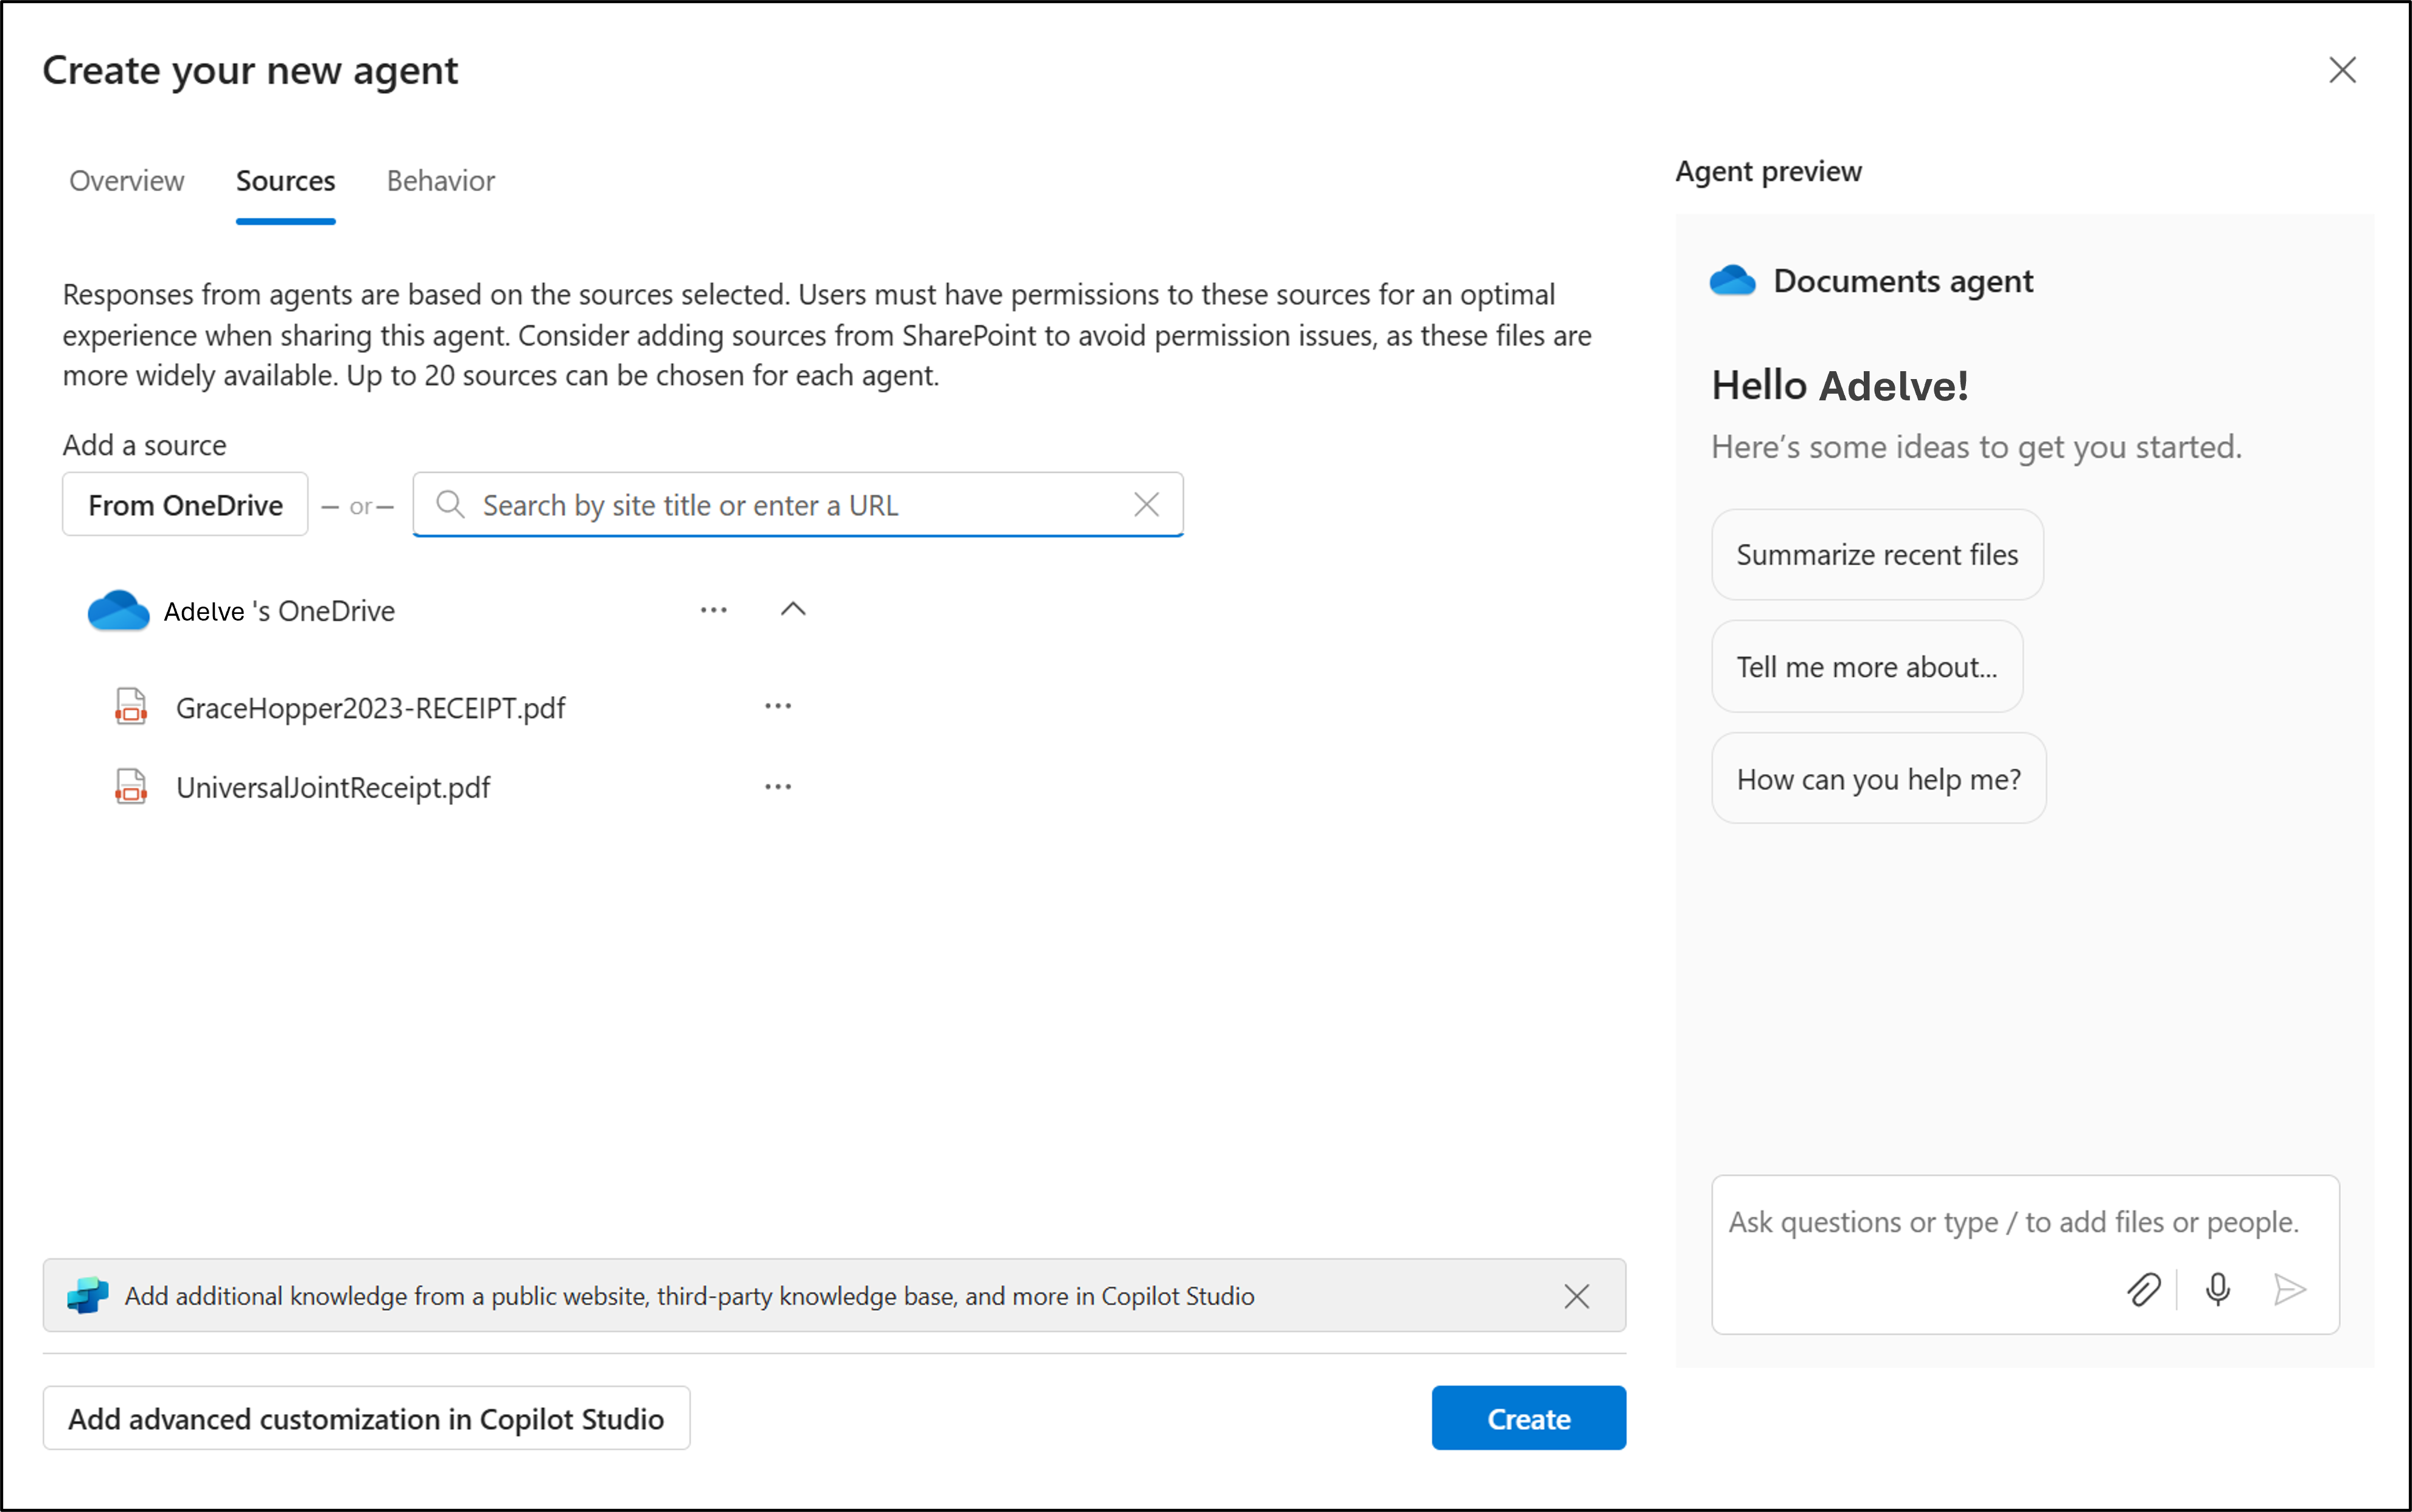
From here, you can specify up to 20 sources, give the agent a name, and modify the behavior of the agent.
-
Select Save or Save as.
Your agent will be saved as a .agent file in your OneDrive. By default, your agent is saved in the folder where it was created.
Note: If you create an agent from a Shared or Favorites folder, it will be saved under My Files > Documents > Agents.
First run experience: Discover how to create an agent
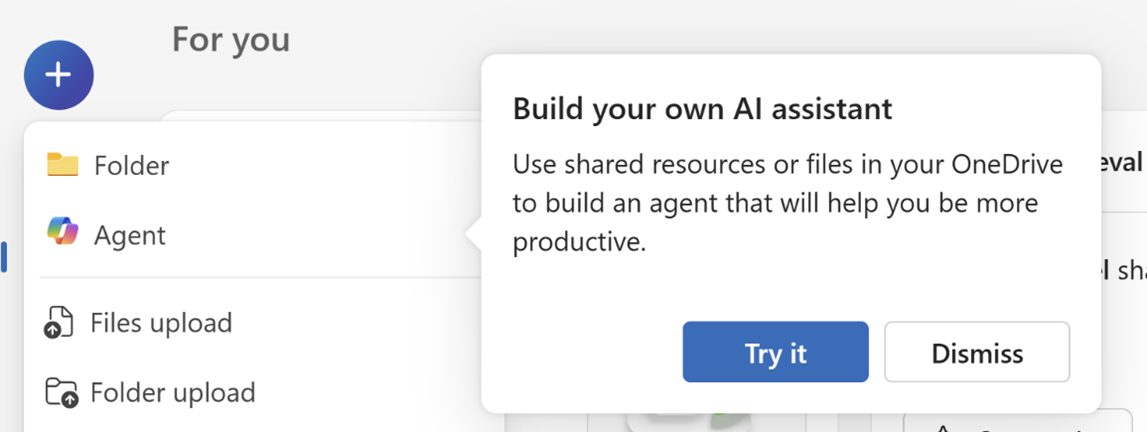
When you open the new menu or select the Copilot button on files for the first time, you’ll see a guided experience that introduces you to creating agents in OneDrive. This helps you quickly learn how to build your own AI assistant using your files and folders.
You’ll see a prompt like “Build your own AI assistant,” with options to try it or dismiss.
1. In OneDrive, find and open your .agent file.
2. The file opens in a full-screen viewer.
3. Type a question like:
-
What are the key updates in this folder?
-
What did we decide in the last meeting notes?
-
When is the next deadline in these project files?
4. Press Enter or Send.
You can ask follow-up questions to dive deeper or clarify anything.
To change the files your agent uses:
-
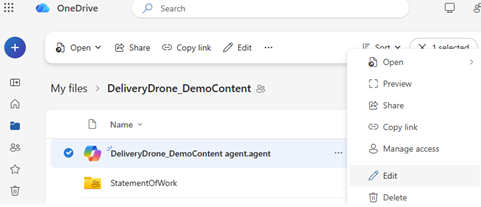
Option 1: Select the ... (More actions) menu next to the .agent file and select Edit.
-
Option 2: Open the agent file, then select Edit from the top of the viewer.
-
Option 3 (if using SharePoint): Use the Edit option in the side panel.
You can rename your agent, update the file list, or remove files as needed.
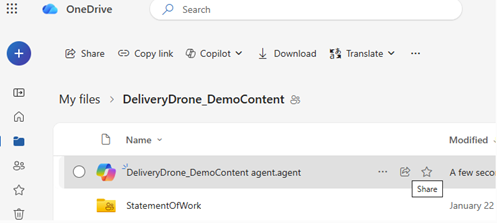
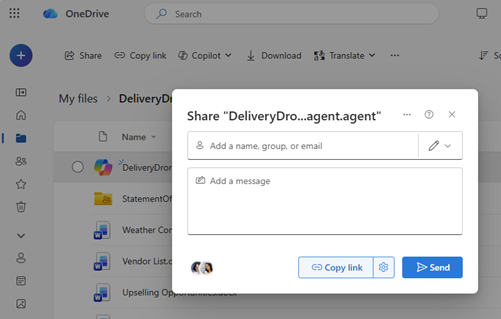
You can share your agent just like a regular OneDrive file:
-
Select the .agent file.
-
Choose Share.
-
Set the sharing permissions and send the link.
Notes:
-
The person you share with must also have access to the files inside the agent. If not, they won’t see the agent’s responses.
-
Agent creation in OneDrive is only available for these file types: DOC, DOCX, PPT, PPTX, PDF, TXT, RTF, MD. You can add up to 20 files when creating an agent. If you select a folder, it must contain no more than 20 files.
Need more help?
|
|
Contact Support For help with your Microsoft account and subscriptions, visit Account & Billing Help. For technical support, go to Contact Microsoft Support, enter your problem and select Get Help. If you still need help, select Contact Support to be routed to the best support option. |
|
|
|
Admins Admins should view Help for OneDrive Admins, the OneDrive Tech Community or contact Microsoft 365 for business support. |

