Bỏ qua để tới nội dung chính
Đăng nhập với Microsoft
Đăng nhập hoặc tạo một tài khoản.
Xin chào,
Chọn một tài khoản khác.
Bạn có nhiều tài khoản
Chọn tài khoản bạn muốn đăng nhập.
Tiếng Anh
Chúng tôi rất tiếc. Bài viết này không có bằng ngôn ngữ của bạn.

Outlook for Mac now has a customizable toolbar so that you can have the features you use the most be easily accessible.
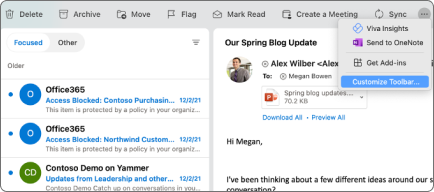
  1. Click the See more items button () in the toolbar and click Customize Toolbar.

    Location for customizing your toolbar.

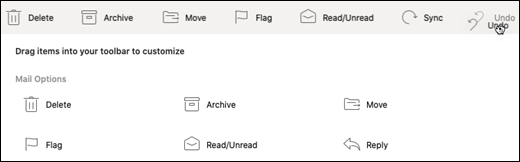
  2. You’ll see the current icons in the toolbar moving at the top of the screen. To add an item to the toolbar, click and drag a Mail Option up to the toolbar in the position you want it to go. Release the mouse button and it will appear where you dragged it.

    Example of dragging a new command to the toolbar.

  3. To remove an item from the toolbar, click and drag an item from the toolbar into the Mail Options area and release the mouse button.

  4. Click Done when you are finished and your toolbar customization will be saved.

    What a customized toolbar might look like when finished.

Bạn cần thêm trợ giúp?

Bạn muốn xem các tùy chọn khác?

Explore subscription benefits, browse training courses, learn how to secure your device, and more.

Communities help you ask and answer questions, give feedback, and hear from experts with rich knowledge.

Thông tin này có hữu ích không?

Điều gì ảnh hưởng đến trải nghiệm của bạn?
Khi nhấn gửi, phản hồi của bạn sẽ được sử dụng để cải thiện các sản phẩm và dịch vụ của Microsoft. Người quản trị CNTT của bạn sẽ có thể thu thập dữ liệu này. Điều khoản về quyền riêng tư.

Cảm ơn phản hồi của bạn!

×