

Making a brochure like this while you're online is quick and easy.
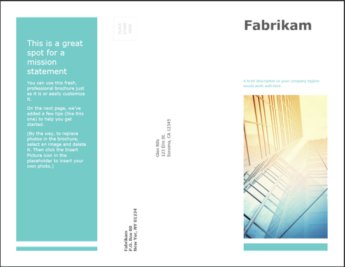
Choose one of our brochure templates, and open it in an Office for the web program to make it yours (some brochures are for editing in PowerPoint for the web; others work in Word for the web).
Tip
If you're already in PowerPoint for the web, get to the brochure templates by going to File > New > Browse templates. Scroll to the bottom to select Explore all templates and themes.
As you work on the brochure, you'll probably want to Rename it and swap out the placeholder pictures with pictures that work for you. To do that, right-click the picture you don't want, click Change Picture, and choose a different picture.
Share your brochure
When you're finished, print it out or share it online. You can do this with the brochure still open in PowerPoint for the web. No need to save it first (that's already done for you).
Print it
To print it, press Ctrl+P, wait for the Print dialog, and then click the link for opening a PDF version of your calendar. From there, use the PDF program's Print command.
Share it
To share it online, send a link:
At the top-right corner, select Share.
Select Copy link.
- Select Share to manage the access by adding name, group, or email.
Select Copy.
You can now copy and paste it into an email, message, or post.
Tip
If you have a blog or website, you can embed a view of your brochure there.