
This article is for people who use a screen reader program such as Windows Narrator, JAWS, or NVDA with Windows tools or features and Microsoft 365 products. This article is part of the Accessibility help & learning content set where you can find more accessibility information on our apps. For general help, visit Microsoft Support.
Microsoft Clipchamp is a video editing tool available as both a web application and a desktop app. This guide provides instructions for navigating key areas of the editor, including the main editor page, sidebar, timeline, property panel, and header. This explains how to move between sections, identify key controls, and use essential video editing tools.
Note
- New Microsoft 365 features are released gradually to Microsoft 365 subscribers, so your app might not have these features yet. To learn how you can get new features faster, join the Office Insider program.
- To learn more about screen readers, go to How screen readers work with Microsoft 365.
In this topic
- Open the Microsoft Clipchamp
- Navigating the Editor
- Navigating the sidebar
- Navigating the timeline
- Navigating the property panel
- Navigating the header
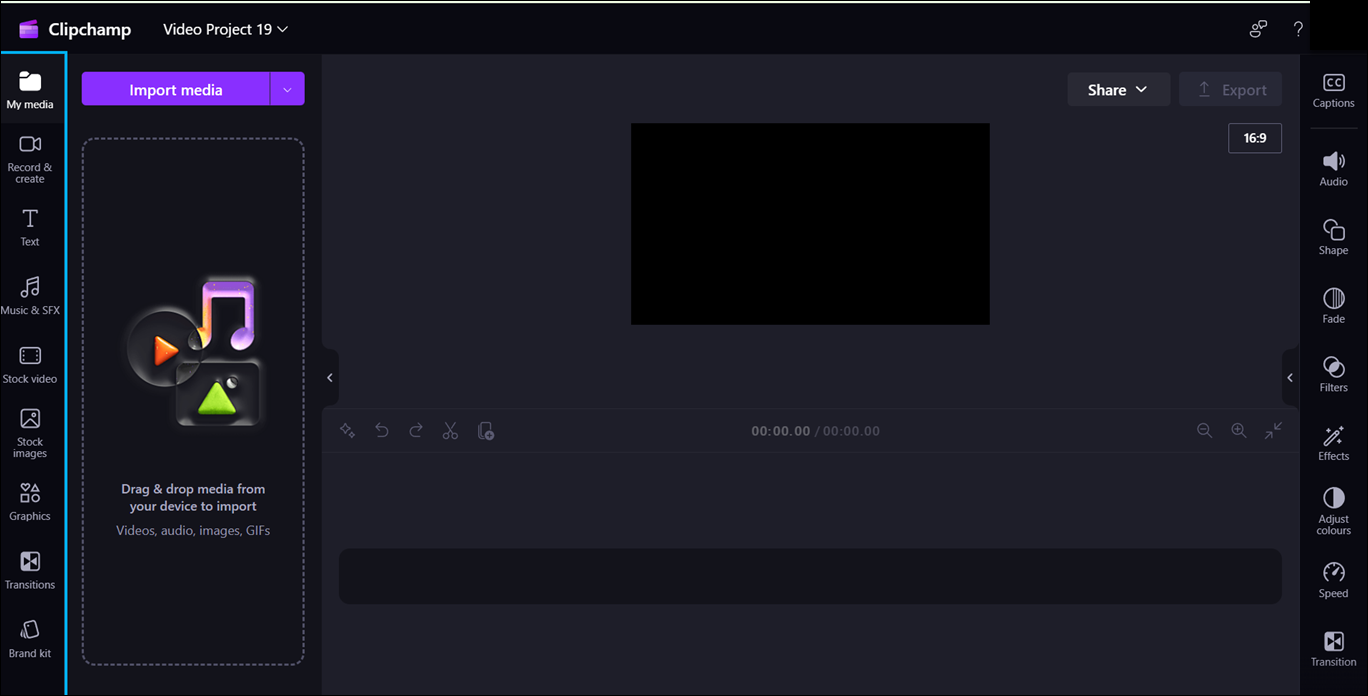
Open the Clipchamp editor page
Press the Windows
 key and type
 Microsoft Clipchamp.Press Enter when you hear "Microsoft Clipchamp, desktop app."
Opening the Clipchamp app should sign you in automatically if you're logged in to Windows with a personal Microsoft account. Otherwise, the Clipchamp sign in page will open.
- For more information, refer to the section "Sign in to your account" in Basic tasks to create a video in Clipchamp using a screen reader.
From the Clipchamp homepage, press the Tab key until you hear “Link blank video.” Then press Enter to open the editor page.
Note
- If Clipchamp is not shown in All Apps, install it from the Microsoft Store.
- For more information on creating and accessing a Clipchamp account, go to How to create and access a Clipchamp account.
Navigating the Editor
To navigate the Clipchamp editor and cycle through the main screen elements, press the Tab key.

Clipchamp editor consists of the following landmarks:
- Sidebar
- Timeline
- Property panel
- Header
Navigating the sidebar
The sidebar in Clipchamp serves as a hub for essential features and tools, allowing users to perform various actions on their video projects.
To navigate the sidebar, follow these steps:
Press Alt+1 to navigate to the sidebar.
The sidebar consists of the following Tab items:
- My media
- Record & create
- Text
- Music & SFX
- Stock video
- Stock images
- Graphics
- Transitions
- Brand kit
Press the Up or Down arrow key to navigate through all the media tabs.
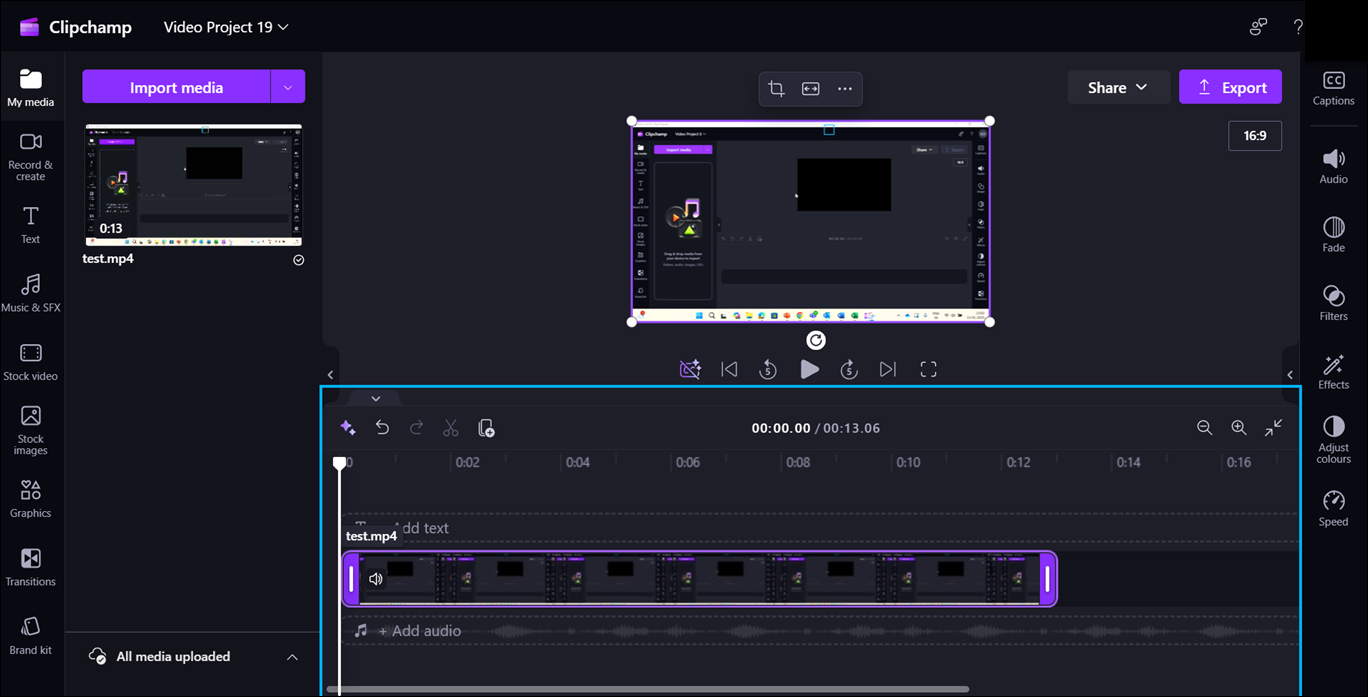
Navigate using the Tab key and press Enter when you hear the “Import media button.” A dialog box will open.
Type the name of the media in the File name edit box or browse through the files list using the Up or Down arrow key.
Select the media you want to add by pressing Enter. You will hear “Item has been successfully added to your media section.”
To add the media to the timeline, navigate using the Tab key and press Enter when the screen reader reads “Add media name to timeline button.”
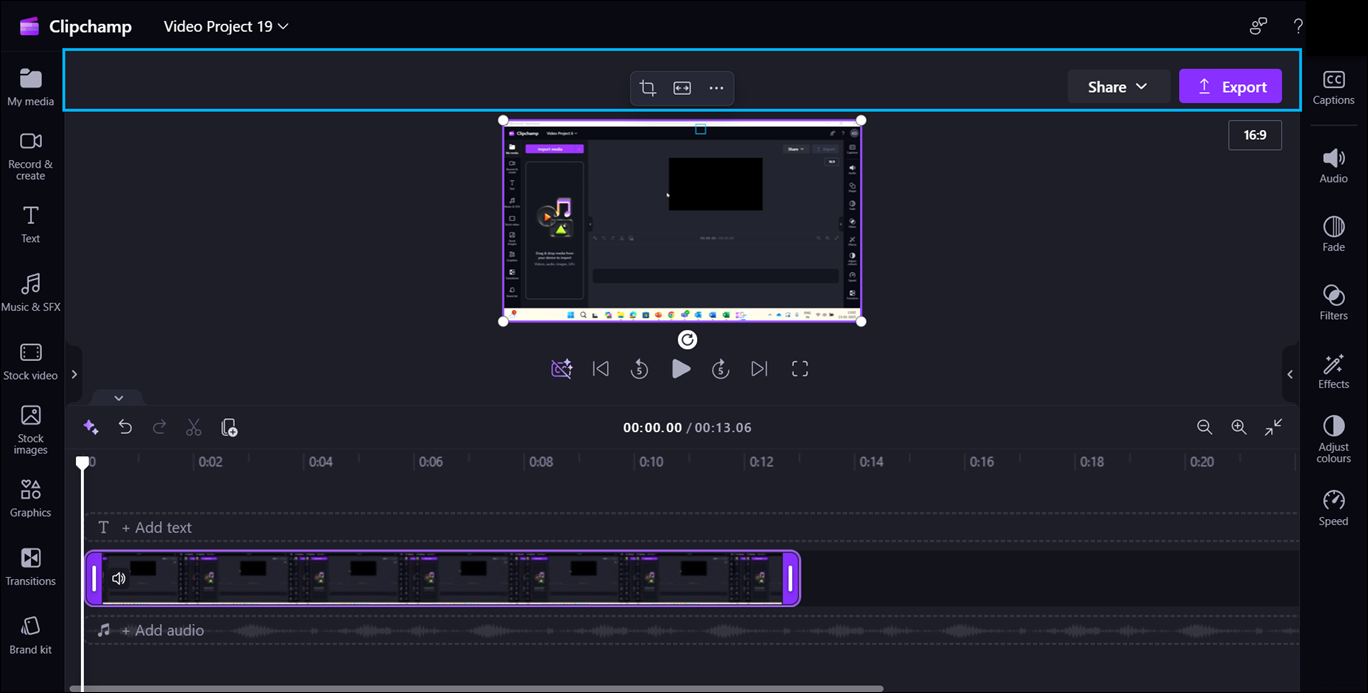
Navigating the timeline
When you're creating or editing a video in Clipchamp editor, the timeline is a landmark where you add media to construct your video. The timeline allows you to arrange videos together, trim out unwanted parts, and overlay text.
To navigate the timeline, use the following keyboard shortcuts:
- Press the Alt+3 keys to navigate to the timeline.
- Use the Tab key to navigate through the timeline media.
- Navigate using the Tab key until you hear “your media name selected.”
- To move the slider one frame forward and backward, press the Left or Right arrow key.
- Press the Home key to move the slider to the beginning of the timeline.
- Press the End key to move the slider to the end of the timeline.
- Press the Spacebar to play or pause the video.
Note
You can also visit Basic tasks to create a video in Clipchamp using a screen reader to create a video in Clipchamp using a screen reader.
Navigating the property panel
The property panel is your toolkit for complete adjustments in the video. Navigate the property panel to modify clip duration, and text, or apply effects, tailoring your video to your vision.

To navigate the property panel, use the following keyboard shortcuts:
Press the Alt+2 keys to navigate to the property panel.
The property panel consists of the following properties:
- Caption
- Audio
- Fade
- Filters
- Effects
- Adjust colors
- Speed
Press the Up or Down arrow key to navigate through the properties.
To adjust the volume of the media, navigate using the Tab key until the screen reader reads, “Audio Tab item,” then press Enter.
Press the Left or Right arrow keys to change the volume.
To add filters, navigate using the Tab key until the screen reader reads “filters Tab item” then press Enter.
Navigate using the Tab key to select the desired filter.
Navigating the header
The header in Microsoft Clipchamp serves as your command center for managing your video project.
To navigate the header, use the following keyboard shortcuts:
Press the Alt+5 keys to navigate to the header.
Press the Tab key until it says, “Video name, edit” to add a name to your video.
To export your video, press the Tab key until you hear “Export button collapsed.”
Press Up or Down arrow key to select desired quality.
Press the Tab key until you hear “File name edit,” and then type the file name.
Note
To save the file on the cloud, navigate to the Save in the cloud toggle switch and press Spacebar to turn on, then press Tab key to Write the optional description, navigate to select change location and press Enter to save desired location.
Press the Tab key until you hear “Export button,” and then press Enter.
See also
Accessibility tools for Clipchamp
Keyboard shortcuts for Clipchamp
Basic tasks to create a video in Clipchamp using a screenreader
Set up your device to work with accessibility in Microsoft 365
Technical support for customers with disabilities
Microsoft wants to provide the best possible experience for all our customers. If you have a disability or questions related to accessibility, please contact the Microsoft Disability Answer Desk for technical assistance. The Disability Answer Desk support team is trained in using many popular assistive technologies and can offer assistance in English, Spanish, French, and American Sign Language. Please go to the Microsoft Disability Answer Desk site to find out the contact details for your region.
If you are a government, commercial, or enterprise user, please contact the enterprise Disability Answer Desk.