You can create alternative text (Alt text) for shapes, pictures, charts, SmartArt graphics, or other objects in your Microsoft 365 documents. Alt text helps people with visual disabilities understand pictures and other graphical content. When someone using a screen reader comes across a picture in a document, they will hear the alt text describing the picture; without alt text, they will only know they've reached a picture without knowing what the picture shows.
Use the procedures in this article to learn how to add alt text to a shape, picture, chart, SmartArt graphic, or other graphical objects.
To learn how to write alt text, go to Everything you need to know to write effective alt text.
Add alt text
Do one of the following:
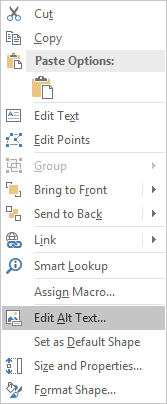
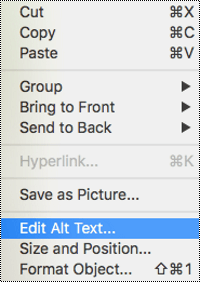
Right-click the object and select View Alt Text.
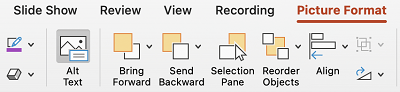
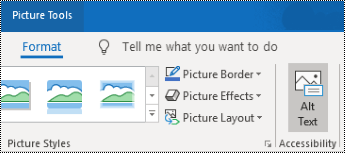
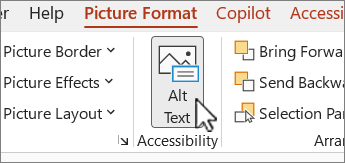
Select the object and then select the format menu for the object, for example, Picture Format. Select Alt Text.
Note
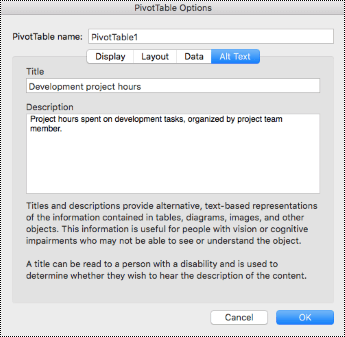
To add alt text to the entire SmartArt graphic or chart, click the border of the SmartArt graphic or chart, and not an individual shape or piece.
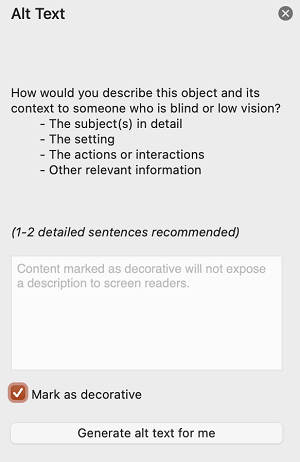
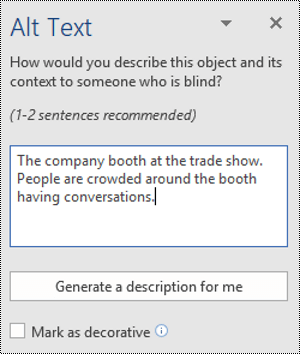
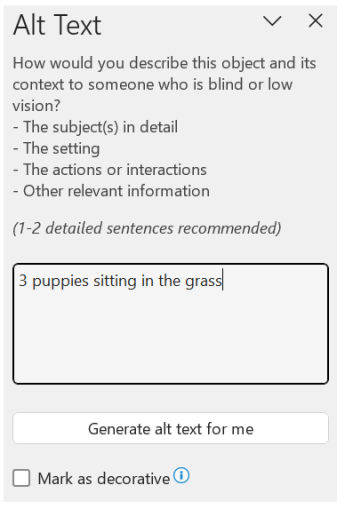
In the Alt Text pane, type 1-2 sentences in the text box to describe the object and its context to someone who cannot see it.
Mark visuals as decorative
If your visuals are purely decorative and add visual interest but aren't informative, you can mark them as such without needing to write any alt text. Examples of objects that should be marked as decorative are stylistic borders. People who use screen readers will hear that these objects are decorative so they know they aren't missing any important information. You can mark your visuals as decorative in Excel, PowerPoint, and Word.
To open the Alt Text pane, do one of the following:
- Right-click an image, and then select View Alt Text.
- Select an image, select Picture Format > Alt Text.
Select the Mark as decorative checkbox. The text entry field becomes grayed out.

Toggle Automatic Alt Text on and off
If you don't want automatically generated alt text to be added to inserted pictures, you can turn off the automatic alt text option. If you change your mind later, you can just as easily turn it back on.
- Select File > Options > Accessibility.
- Select or clear the Enable the option to generate alt text using AI checkbox under Alt Text, and then select OK.
Approve the automatic alt text
You can approve the auto-generated alt text in Microsoft 365.
If the alt text is satisfactory, select the Approve alt text checkbox.